1 / 6
60 likes | 68 Views
If you are looking to install and maintain your data cables, then we suggest you follow each and every mandatory step. <br>

E N D
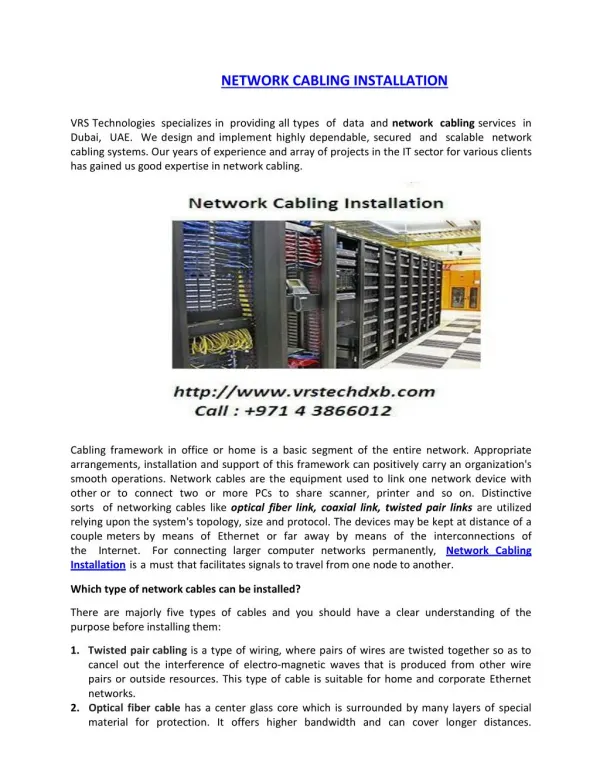
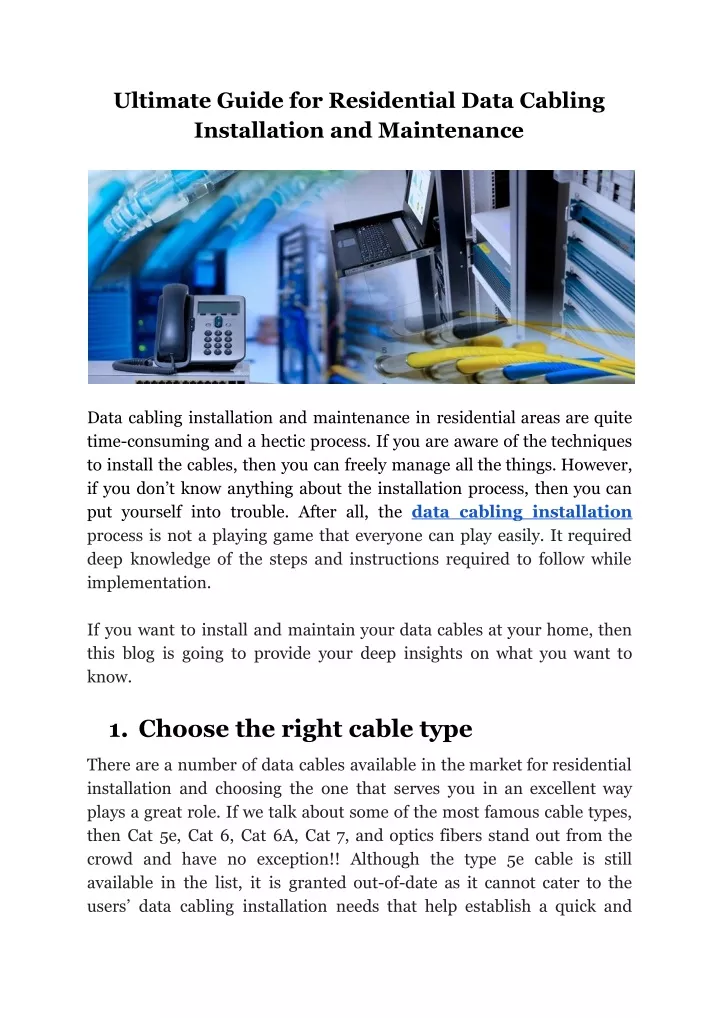
Ultimate Guide for Residential Data Cabling Installation and Maintenance Data cabling installation and maintenance in residential areas are quite time-consuming and a hectic process. If you are aware of the techniques to install the cables, then you can freely manage all the things. However, if you don’t know anything about the installation process, then you can put yourself into trouble. After all, the data cabling installation process is not a playing game that everyone can play easily. It required deep knowledge of the steps and instructions required to follow while implementation. If you want to install and maintain your data cables at your home, then this blog is going to provide your deep insights on what you want to know. 1.Choose the right cable type There are a number of data cables available in the market for residential installation and choosing the one that serves you in an excellent way plays a great role. If we talk about some of the most famous cable types, then Cat 5e, Cat 6, Cat 6A, Cat 7, and optics fibers stand out from the crowd and have no exception!! Although the type 5e cable is still available in the list, it is granted out-of-date as it cannot cater to the users’ data cabling installation needs that help establish a quick and
trustworthy network. The rest of the cables support high-speed networks that are perfect for networking equipment and home workstations. The choice will entirely be yours! Which one you choose is your sole decision. The best cable you choose the better installation results you will have in the future. 2. Choose the Jacket After you have chosen the best cable for the installation process, the next thing you need to do is choose the jacket. Determining the right type of jacket plays an important role. if you overlook this feature, then you can lack in many things. Here we have curated a list of two best cable jackets that you must try to buy and use while installing the data cables. ● Plenum: Here comes the first and the most useful jacket type is a plenum. This jacket type is extremely fire-resistant and catches fire. It releases non-toxic smog. Some residential networks require this as a fundamental unit in event of a fire break out. and it is thus considered as important for residential cable installation. ● PVC: It is another type that is generally termed as a standard cable jacket. This jacket type is extremely pocket-friendly. Although it does not hold the same fire-resistant properties as the plenum, it works the same as the Plenum. For residential use, we can assure you, PVC type will not be an inadequate selection. Notwithstanding, it will not be proper when it comes to office fabricating. 3. Choose the perfect type of Ceiling Another crucial thing that you must consider for the successful residential data installation is choosing the perfect type of ceiling. Choosing the best type will undeviatingly impact your data cabling installation process. Therefore, make sure you choose the best ceiling
ever. Here we have curated a list of some of the best ceilings that you can choose for residential data cable installation. Have a look below. ● Drop Ceiling: This type of ceiling is quite easy to install data cables. It easily conceals the cables and is hassle-free to work with. ● Hard Ceiling: Here comes another important type. If your home has a hard ceiling, then your installation process can take a lot of time and cost you quite expensive. Therefore, at this time, we advised you to choose the hard ceiling. ● Open Ceiling: Although open ceiling is not very famous among residential installations, still, various houses and residential complexes prefer open ceilings for aesthetic effects. Using this ceiling is quite troublesome as the installers need to put in too much effort to conceal the data cables and beams from the naked eye. 4. The number of Room Sockets This thing is dependent on the size of your residential area. It is analyzed and decided by the number of wired equipment you own or will own in the future in your residential complex. As a safety measure, it would be an excellent decision to give each room with multiple sockets, so you can have hassle-free multiple connections at a time. Depending upon the
number of sockets in a room you can connect your printer, PC, home stereo, TVs, game consoles, computer, and phone bases. 5. Data Cabling Installation Process If you have decided what cable you want in your residential complex and are done deciding what building structure you will be working on, then the next steps you need to implement is moving to the actual installation process. Here are the best ways that you can adapt to a smooth and hassle-free installation process. Let's begin knowing them! ● Choosing a Pathway This is the most important step when it comes to an effective data cable installation process. If you are living on the lower ground and have great access to the basement, then moving your data cables from this pathway will be a better option. Alternatively, if you have a two-story home and have access to the loft & roof, then you are advised to pass your data cables from the loft. ● Choose the needed tools When you have decided on the pathway, the next thing you need to make sure is you have gathered all the essential tools. Make sure you have selected the right ethernet crimper tool and a pointed hand saw. Apart from these two, here are some other important things that you must buy carefully. ➔ Cable tester ➔ Label marker ➔ Stud finder ➔ RJ-45 plugs ● Mount the partition plates Before you take any action, find out the route of the cables, which are already in your residential area. To begin this process, find a suitable network jack. Then, utilize a stud finder & determine which part of the cable jack includes the stud. For the best results, make sure the studs are placed 16 inches apart in nearly every residential area.
● Measure the cables To make things simpler for you, measure the cables. Mark the cable from start to end and ensure you have measured the required length. Do the same in each of your rooms. ● Test connections When you have done the aforementioned steps, test the cable connectivity to ensure success in the installation process. Nothing will work until the network stability is there. Bring on the ethernet internet connection or wi-fi connection whichever you find suitable and convenient. 6. Maintenance Installation is the half job done. To maintain the installation process for an extended period, you just need to focus on its maintenance. The proper maintenance ensures the longevity and the health of your data cabling system. It’s all you need to know about data cabling installation and maintenance!!