Download
1 / 10
100 likes | 203 Views
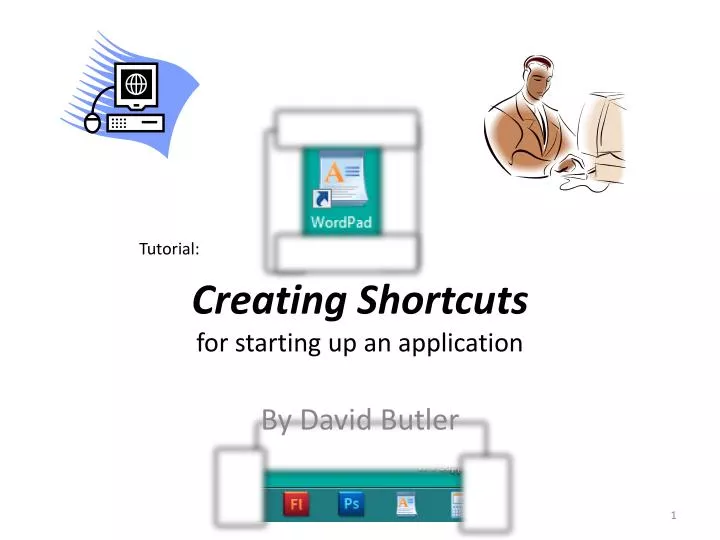
Creating Shortcuts for starting up an application. Tutorial:. By David Butler. In a previous tutorial, we learned how to start up an application using the START button menu. Remember? Creating a Shortcut Icon on your desktop and Pinning a Shortcut Button to your Taskbar .

E N D
Creating Shortcutsfor starting up an application Tutorial: By David Butler
In a previous tutorial, we learned how to start up an application using the START button menu. Remember? • Creating a Shortcut Icon on your desktop and • Pinning a Shortcut Button to your Taskbar The problem with that is, if you need to use that application quite often, it’s rather inconvenient. Let’s look at some quicker ways to get MS WordPad started from our desktop, by ….. a) b)
Creating a Shortcut Icon Step 1. Open the START button menu on your desktop and click on “All Programs” Left click 3
Step 2: Scroll down the programs list and find the yellow folder called “Accessories” and click on it to open. (WordPad is there, but don’t click on it. We don’t want to open it yet.) Left click
Step 3: Now Right-Click and Drag the WordPad logo onto a spare spot on your desktop. It behaves much the same as moving files in Windows Explorer: a “ghost” version of the logo follows your pointer. NB: Take note of where the white target marker bar is before you release the button. That’s where your shortcut icon is going to land. Right click & drag
Step 4: When you release the mouse button, the ghost logo and message disappears and a small menu appears. Left Click on “Create shortcuts here”. Your Shortcut Icon is created! Left click
But if you find the double-click doesn’t work well for you, try a single right-click on the icon instead. It opens a menu next to it.Now left-click on “Open” Now whenever you wish to open the WordPad application, just double-click on this shortcut icon. OR Double - Left click Left click Right click
Pinning a Shortcut Button on your Taskbar This makes it even easier for you. Step 1. Repeat Steps 1 and 2 as you did before to find WordPad on your START menu Left click
Step 2. Now left-click-and-drag the WordPad logo down to the Taskbar at the bottom of your screen. Make sure it’s sitting in between or on the far right of any other buttons already there before you release. You’ll see the “Pin to Taskbar” message appear…. ….and there it is! Now you only have to click on it once to open WordPad Left click & drag
Final Note: These shortcuts are only representatives of WordPad, they are not applications in themselves, so it won’t hurt if you need to delete them. If you have too many icons on your desktop, you can delete the shortcut by left-clicking on it, and pressing the “Delete” key on your keyboard. then Left click A pop-up window appears, asking you to confirm that you really want to delete it. Left-click the “Yes” button and it’s gone.