Download
1 / 11
110 likes | 279 Views
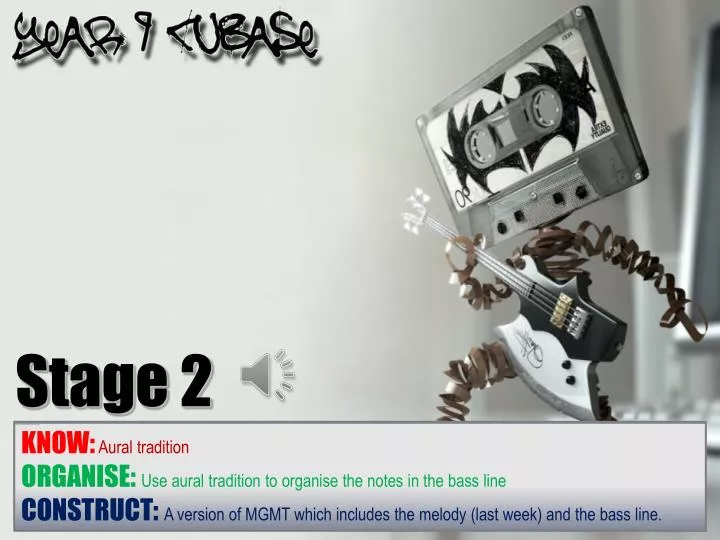
Stage 2. KNOW: Aural tradition ORGANISE: Use aural tradition to organise the notes in the bass line CONSTRUCT: A version of MGMT which includes the melody (last week) and the bass line. . The first bar is an F# and another F#. Have a listen to the hook and work out the following Bars .

E N D
Stage 2 KNOW:Aural tradition ORGANISE: Use aural tradition to organise the notes in the bass line CONSTRUCT: A version of MGMT which includes the melody (last week) and the bass line.
The first bar is an F# and another F#. Have a listen to the hook and work out the following Bars. The tonality of the song is A major: Which means? A B C# D E F# G# F# F# F# F# F# F# F# F# F# & F# Bar 1. _ & _ TASK: Aurally work out the bass line 10. Bar 2. _ & _ Bar 3. _ & _ Bar 4. http://www.youtube.com/watch?v=vtrq4FVkLUg
Open last weeks work MIDI leads Do slides 3-9 with them
Turn PC mode MU1 -Hold PC mode down until ‘PC mode’ appears on Keyboard then turn black dial to ‘On’ mode. Turn PC mode MU2 –Follow the images below 1. Push the function button 2. Push the down category button 16 times until PC Mode appears on screen 3. Move the black wheel so the screen says PC2
Right mouse click here Select ADD MIDI TRACK Select ADD TRACK
Setting up key editor in Cubase 1. Select ‘Draw’ from the tool bar 2. Draw across 4 bars in the new track 3. Select the arrow from the tool bar and then double click in the box you have just created.
Recording your hook Quantize: • Correct timing mistakes. • Input notes with precise timing. • Ensure ‘Snap’ is turned on. • This is the quantize box. • Select 1/8: By selecting 1/8 your dividing each bar (numbered sections) into 8ths. So, we can now fit 8 notes in a bar. (look at music notation poster). Don’t forget - End of Lesson process: • Save In your ‘My Documents’, ‘Music’ folder • Close Cubase and VLE • Email work to your teacher Simples!
Click here • Select DIGITAL KEYBOARD
Drawing in Cubase • Select the ‘draw’ function- to draw notes into cubase. • Use the piano on the left hand side as a note guide. • Use the zoom function here.
DUPLICATE THE BASSLINE – ‘ctrl + D’ • Select the bass line • Touch ctrl and D
Track 3 is currently set up to fingered bass. As an extension task you may be able to locate a more accurate sound on the keyboard. Search the keyboard then follow the instructions on this slide (and the following slides) and insert a more accurate voice. Changing voices • 1. Turn PC mode on • If you’re using a new Keyboard hold PC mode down until ‘PC mode’ appears on Keyboard then turn blak dial to ‘On’ mode. If you’re using an old keyboard press ‘PC’ and then the ‘+’ button. • Chn = 3 • Ensure each track has a different channel. To change channel click on the number and a drop down box will appear. For drum sounds you will need to be on Channel 10. • 3. PRG = 82 • Look at the voice list on the next slide. • 4. Bnk = 119 • Look at the voice list on the next slide.