Download
1 / 19
190 likes | 373 Views
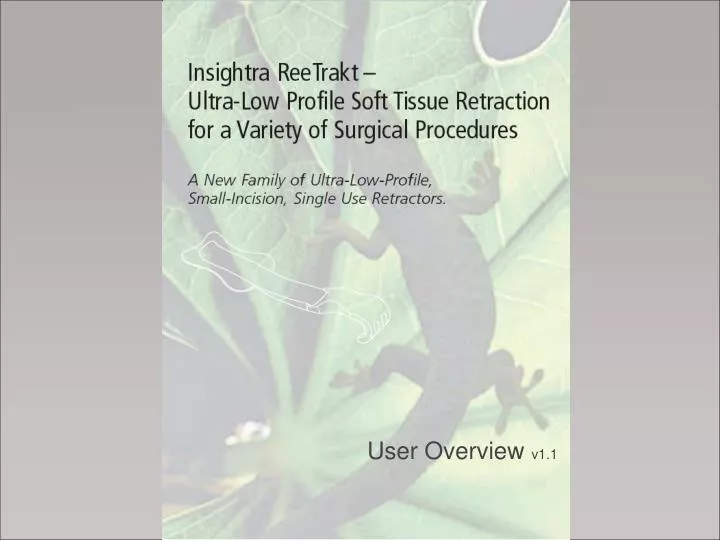
User Overview v1.1. ATTENTION!. The documentation enclosed in this file is intended only as extra product information. For full instructions on how to use this product please refer to the Instructions For Use packed with each product. ReeTrakt product overview. Section 1.

E N D
User Overview v1.1 Confidential not for circulation
ATTENTION! The documentation enclosed in this file is intended only as extra product information. For full instructions on how to use this product please refer to the Instructions For Use packed with each product
ReeTrakt product overview Section 1
Product description • ReeTrakt is a family of novel surgical soft tissue retractors • Simple to use • Ultra-low profile • High tech • Patent protected • A new, advanced product for surgical retraction • They are single patient use • Note: they are NOT procedure specific
3PAWS - ReeTrakt • Ultra low profile sticky base • Easy to adjust hook / loop retraction strap • Ergonomic clear view polycarbonate tissue tip • Designed for small incision soft tissue retraction Sticky pad base 3 Paw Hook design Retraction Strap
3PAWS Hook Ergonomic finger grip • Tissue fingers have been designed to hold the tissue without exerting excessive pressure - aiming to minimize trauma • Ergonomic finger grip has been designed to make placement and adjustment easier with gloved hands • Strap slot has been designed to exert the optimal retraction force at the back of the tip - strong yet low profile • Low profile design to give maximum wound access • Clear View polycarbonate construction to minimize light glare, give a strong tip design, allow tissue beneath to be visualized Strap slot Tissue fingers Clear View Polycarbonate construction
3PAWS retraction Strap Power Strap with hooks • Power strap has been designed to offer optimal length and optimal strength. Utilizing the simple mechanics of a pulley through the strap slot, accurate tension can be placed on the wound • Simple Hook & loop system has been chosen to open and close the strap. Simply peel and adjust the tension, then press the strap back down • Low profile design of the strap means there are no big metal, rubber or plastic supports in the way to obstruct the wound. The profile of the retractor is less than 2mm. • Flexible Tyvek® construction means the strap follows the contours of the body, so will wrap around the arm or leg - keeping an ultra low profile Interlocking base loops Adjustable strap locks flat to the base
3PAWS Sticky Base Ergonomic design • Easy peel backing has been used to make application as simple as a Bandaid™ - just pull of the backing and apply the base • Ergonomic design has been used to ensure maximum contact of the sticky base, optimal load distribution, and easier removal • Sticky base is the crucial part of the system. Designed to be easy to apply and peel off with low forces in the up direction - yet huge sticking force in the lateral sheer direction to prevent slippage • Ultra Flexible design has been created to ensure the sticky base can conform perfectly to both concave and convex surfaces - to give maximum sticking power • Integrated design means no assembly - simply open the pack - peel - stick - use - remove and dispose Simple to apply stick base
Key features & Benefits FOR INTERNAL USE ONLY
Example ProcedureAV Fistula Section 2
AV Fistula background • Definition • An arteriovenous fistula (AV fistula) is the connection of a vein and an artery, usually in the forearm, to allow access to the vascular system for hemodialysis, a procedure that performs the functions of the kidneys in people whose kidneys have failed. Connecting the vein and artery is a surgical procedure. The fistula develops over a period of months after the surgery. • Purpose • The surgical creation of an AV fistula provides a long-lasting site through which blood can be removed and returned during hemodialysis. The fistula, which allows the person to be connected to a dialysis machine, must be prepared by a surgeon weeks or months before dialysis is started.
AV Fistula with ReeTrakt • ReeTrakt is used throughout the procedure to act as a low profile retractor • The incision is made and retract is introduced on one side only to give traction • The wound is made deeper until the vein and artery are found • The second ReeTrakt is then added to give full traction • As the wound is developed further, more tension is placed by adjusting the straps • The anastamosis can now be performed with a clear unhindered approach to the vein and artery • The ReeTrakt is then removed(“Low and Slow”) and disposed of
Other potential procedures with 3PAWS • Other procedures and applications are being constantly evaluated, however others so far identified are: • Small plastics procedures • Breast lumps • Cut down femoral access • ER room - cuts and incisions • Small facial incisions
Tips & TricksWhen using ReeTrakt Section 3
Using the 3PAWS • When peeling the backing from the sticky base avoid touching the adhesive with the gloves as this will reduce the sticking ability • Wipe the area of the skin where the base will be applied with alcohol or Betadine • DRY! The area well and then dry again - fluid will greatly reduce the sticking ability of the base • Excess hair should be removed - although the base will stick to hair, removing it will improve adhesion (ideally this should be performed by clipping not shaving) • Make the incision PRIOR to deciding where to put the sticky base • Leave a good 2-3cm (1 inch) between the front of the sticky base and the wound - this allows room to get full retraction with the strap. If you are too close you have no room to leverage the strap
Using the 3PAWS • Do not reposition the base - once it has been removed it will not stick again (if this happens - take a new ReeTrakt) • Use the ergonomic tissue hump when repositioning the tip • If using 2 ReeTrakt devices on the same arm - ensure there is enough room so they don’t overlap at the back of the arm - offset them slightly if you think this will happen • Use just 1 ReeTrakt initially as you develop the wound - this allows you to see how far away the second ReeTrakt should be placed (essential for long wounds such as radial artery) • When removing the ReeTrakt, always start at the edge closest to the hook, pull “low and slow” parallel to the skin. If you feel major resistance - then use alcohol and a swap to tease the ReeTrakt up • Try to keep the “velcro®” hook and loop surfaces of the ReeTrakt as clean as possible from fat - this will help with function
Product packaging Section 4
Product Packaging & Coding • Each Blister contains 1 ReeTrakt • Each Box (outer) contains 10 Blisters • Product codes First release: RTKa-3PAWSRTKb-3PAWS • RTK = (ReeTrakt) • a = model a standard • b = model b ultra flexible • 3PAW = 3 paw design • S - Size - Small (XS, S, M, L, XL) available later