Download
1 / 53
540 likes | 699 Views
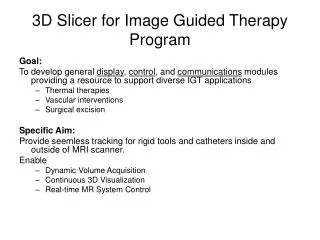
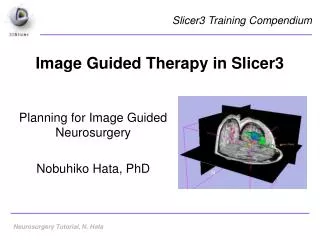
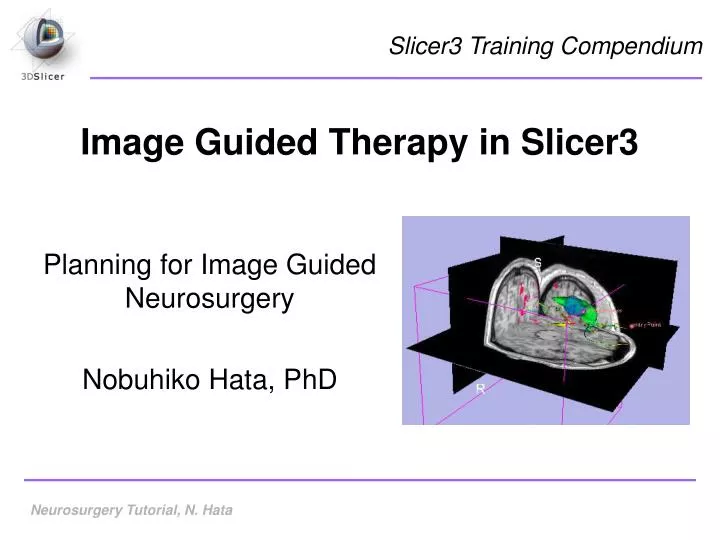
Image Guided Therapy in Slicer3. Planning for Image Guided Neurosurgery Nobuhiko Hata, PhD. Slicer3 Training Compendium. Acknowledgements. National Alliance for Medical Image Computing NIH U54EB005149 Neuroimage Analysis Center NIH P41RR013218 Surgical Planning Laboratory (BWH)

E N D
Image Guided Therapy in Slicer3 Planning for Image Guided Neurosurgery Nobuhiko Hata, PhD Neurosurgery Tutorial, N. Hata Slicer3 Training Compendium
Neurosurgery Tutorial, N. Hata Acknowledgements National Alliance for Medical Image Computing NIH U54EB005149 Neuroimage Analysis Center NIH P41RR013218 Surgical Planning Laboratory (BWH) Nobuhiko Hata, Steve Pieper, Ron Kikinis, Haiying Liu, Sonja Pujol, Randy Gollub, Rodrigo de Luis Garcia, Carl-Fredrik Westin National Center for Image Guided Therapy NIH U41RR019703 NEDO Intelligent Surgical Instruments Project Kiyo Chinzei
Acknowledgements Neurosurgery Tutorial, N. Hata • This tutorial is based on a similar tutorial for version 3.4. created by • Danielle Pace • Isaiah Norton • Haiying Liu • Thanks to • Alexandra Golby, Department of Neurosurgery, Brigham and Women’s Hospital • Ron Kikinis, MD, SPL, Brigham and Women’s Hospital for images and valuable inputs.
Learning objectives Neurosurgery Tutorial, N. Hata • Following this tutorial, you will be able to perform many common Image Guided Therapy tasks using Slicer3, including: • Manual tumor segmentation • Model making • DTI tractography using the example ofpreoperative planning forimage guidedneurosurgery
Material Neurosurgery Tutorial, N. Hata • This course requires the installation of the Slicer3 version 3.6 (rev. June 10, 2010) and the training datasets accessible at the following locations: • Slicer3 version 3.6 software:http://www.slicer.org/pages/Special:SlicerDownloads • Training datasets: http://www.slicer.org/slicerWiki/index.php/Slicer_3.6:Training Disclaimer: It is the responsibility of the user of 3D Slicer to comply with both the terms of the license and with the applicable laws, regulations and rules.
Prerequisites Neurosurgery Tutorial, N. Hata The learners are required to take the following tutorials for Slicer 3.6 as prerequisite to this tutorial. • Slicer3Minute Tutorial • Slicer3Visualization Tutorial • Editor • Manual Registration • Diffusion MRI Tutorial • These tutorials are available at http://www.slicer.org/slicerWiki/index.php/Slicer_3.6:Training.
The goal of neurosurgical planning Neurosurgery Tutorial, N. Hata • Prior to surgery: • Integrate image information from multiple sources, including anatomical MRI, functional MRI and diffusion tensor imaging • Highlight structures of interest • Determine the best surgical approach
Clinical Case - brain tumour resection Neurosurgery Tutorial, N. Hata • Imaging showed a large lesion in the left frontal region of the brain, predicted to be a glioma (brain tumour originating from glial cells) • Preoperative imaging included 3D SPGR MRI, T2-weighted MRI and FLAIR MRI, language and motor functional MRI (fMRI) imaging, and diffusion tensor imaging (DTI) • fMRI showed speech areas close to the lesion • Surgical procedure: left frontal craniotomyand tumour resection See the clinical_background file within the patient dataset for more information
Load the Scene file Neurosurgery Tutorial, N. Hata Select “Load Scene…” from the File menu
Load the anatomical MRI data Neurosurgery Tutorial, N. Hata Select the “slicer-tutorial-neurosurgery” directory containing the training datasets you downloaded 2 1 Choose “SlicerScene1.mrml” and “Open” the scene file.
Load the anatomical MRI data Neurosurgery Tutorial, N. Hata Open the Data module
Load the anatomical MRI data Neurosurgery Tutorial, N. Hata Observe that the name of the nodes in the MRML tree
Images in the scene Neurosurgery Tutorial, N. Hata • Three clinical datasets from a single patient with a large tumour in the left frontal region SPGR MRI(SPGR) Language fMRI (fMRI, deformed fMRI) Diffusion Weighted Images (DWI)
Quiz Neurosurgery Tutorial, N. Hata • Which MRML nodes in Data view represent the following images • SPGR • fMRI • (baseline) DWI • How is “deformed fMRI” different from “fMRI”?
Functional MRI (fMRI) Neurosurgery Tutorial, N. Hata • fMRI: • Measures the blood oxygen level in each part of the brain while the patient performs a task, such as a speech or motor task • Statistical techniques are used determine which brain regions are active during the task • This statistical pre-processing has already been done using SPM (http://www.fil.ion.ucl.ac.uk/spm/) Courtesy S. Pujol, W. Plesniak and R. Gollub
Functional MRI (fMRI) Neurosurgery Tutorial, N. Hata • Utility of functional MRI in IGT: • Damage to regions of the brain important for language or movement could result in problems with speech, reading or movement • Knowing where these regions are allows us to modify our surgical plan so that we avoid them (as much as possible)
Functional MRI (fMRI) Neurosurgery Tutorial, N. Hata • Steps involved in this section: Identify language fMRI from patient dataset Indentify language fMRI registered to SPGR Threshold registered language fMRI to display regions with high activation
fMRI registration to SPGR Neurosurgery Tutorial, N. Hata Open the Volumes module 1 Set the foreground to fMRI and the background to SPGR 2 Click on the “fit to window” button 4 3 Change blending ratio to appreciate fMRI registered to SPGR
Deformable fMRI registration to SPGR Neurosurgery Tutorial, N. Hata Set the foreground to “fMRI” and the background to “deformed MRI” 1 Click on the “fit to window” button Change blending ratio to appreciate deformation applied to fMRI 3 2
Deformable fMRI registration to SPGR Neurosurgery Tutorial, N. Hata Set the background to “SPGR” and the foregraund to “deformed MRI” 1 Click on the “fit to window” button Change blending ratio to appreciate deformable application of fMRI to SPGR 3 2
Threshold image intensity Neurosurgery Tutorial, N. Hata Move to Volume window Choose deformed fMRI as the active volume Choose fMRI in the Lookup Table
Threshold image intensity Neurosurgery Tutorial, N. Hata Set the threshold to Manual and set range: --TBD-- Note that there are speech activation regions close to the tumour
Model Making in Slicer3 Neurosurgery Tutorial, N. Hata • Utility of model making in IGT: • View the structure as a complete unit (instead of slice by slice) • Perform measurements, such as volume measurements, that can be difficult to perform on the image volume itself
Model Making in Slicer3 Neurosurgery Tutorial, N. Hata • Steps involved in this section: Segment the tumour volume in the anatomical MRI Create the tumour model using Slicer3’s ModelMaker Change the tumour model’s appearance Save the tumour model
Place the seed point Neurosurgery Tutorial, N. Hata Chose SPGR as Background image
Segment the tumour volume Neurosurgery Tutorial, N. Hata Open the “Editor” module
Segment the tumour volume Neurosurgery Tutorial, N. Hata Set the Master Volume to “SPGR” When “Color Table” option window pop up, press “Apply” button.
Segment the tumour volume Neurosurgery Tutorial, N. Hata Choose Treshold editor. Put 2517 and 4042 in the entry box, or move the slider till you can see isolated tumor lesion.
Segment the tumour volume Neurosurgery Tutorial, N. Hata Choose Treshold editor. Put 1894 and 3977 in the entry box, or move the slider till you can see isolated tumor lesion. Hit Apply button
Save Island Neurosurgery Tutorial, N. Hata Choose “Save Island” option Click on the tumor lesion Confirm that only tumor lesion remains painted green
Create the tumour model Neurosurgery Tutorial, N. Hata Choose Model Maker in the Editor module Click “Apply”
View the anatomical MRI, fMRI and tumour model Neurosurgery Tutorial, N. Hata Display “SPGR” in 3D View with the generated 3D Display “deformed fMRI”
Diffusion Tensor Imaging (DTI) Neurosurgery Tutorial, N. Hata • Acquire diffusion weighted images (DWI) and baseline images • Estimate a tensor at each voxel to create a Diffusion Tensor Image (DTI) • Calculate a scalar “diffusion anisotropy index”, such as fractional anisotropy, to quantify the diffusion’s anisotropy • Perform tractography (fiber tracking)
Diffusion Tensor Imaging (DTI) Neurosurgery Tutorial, N. Hata • Utility of Diffusion Tensor Imaging in IGT: • Major tracts that run between functionally important regions of the brain must remain intact to prevent side effects for the patient • Knowing where these tracts are allows us to modify our surgical plan so that we avoid them (as much as possible)
Diffusion Tensor Imaging (DTI) Neurosurgery Tutorial, N. Hata • Steps involved in this section: Load and inspect the DTIdata Place the tractography seed points Create and inspect the tensors using a precomputed MRML scene Perform tractography Registration using a precomputed MRML scene
Load the DTI data Neurosurgery Tutorial, N. Hata Choose “Add Volume” from the File menu. Load “Output DTI volume.nhdr”
Inspect the DTI data Neurosurgery Tutorial, N. Hata Go to “Volume” Choose “Output DTI Volume” as the Active Volume Pull down the slider….
Inspect the DTI data Neurosurgery Tutorial, N. Hata Toggle on “Visibility Red” “Visibility Yellow” and “Visibility Green” See Fractional Anisotropy are visualized as lines
View the tensors Neurosurgery Tutorial, N. Hata Scroll down and turn the glyphs on for all three views 1 Adjust the scale factor and the spacing 2
View the tensors Neurosurgery Tutorial, N. Hata Line direction: the direction of the tensor’s main eigenvector Line magnitude: the magnitude of the diffusion Line colour: fractional anisotropy
View the tensors Neurosurgery Tutorial, N. Hata Change the Glyph Type to “Ellipsoids”
View the tensors Neurosurgery Tutorial, N. Hata Change the Glyph Type back to “Lines”
Place the tractography seed points Neurosurgery Tutorial, N. Hata Open the Fiducials module 1 Create a new Fiducial List 2
Place the tractography seed points Neurosurgery Tutorial, N. Hata Expand “Other Display List Properties.” 1 2 Set the glyph type to Sphere3D
Place the tractography seed points Neurosurgery Tutorial, N. Hata Set the mouse mode to “place items”
Place the tractography seed points Neurosurgery Tutorial, N. Hata Click to place one fiducial point in the corpus callosum 2 Set the mouse mode to “transform view” 1
Perform tractography (fiber tracking) Neurosurgery Tutorial, N. Hata Open the tractography “Fiducial Seeding” module
Perform tractography (fiber tracking) Neurosurgery Tutorial, N. Hata • DTI volume Output DTI Volume1 • Fiducial list = FiducialList • Output FiberBundle Node = Create New Fiber Bundle
Perform tractography (fiber tracking) Neurosurgery Tutorial, N. Hata Open the Volumes module 1 Turn the glyphs off for all three views 2 Click on the “visibility” button to turn off the slice visibility 3
Perform tractography (fiber tracking) Neurosurgery Tutorial, N. Hata One tract is generated for each fiducial The tract colour is the fractional anisotrophy by default. Click and drag the pin sphere in 3D view to interactively select tracts.