Download
1 / 9
100 likes | 267 Views
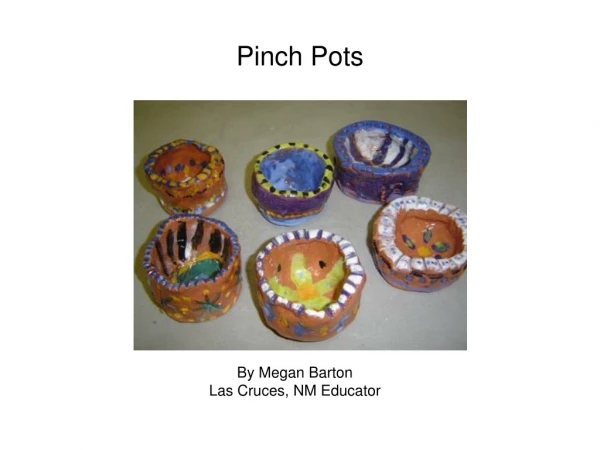
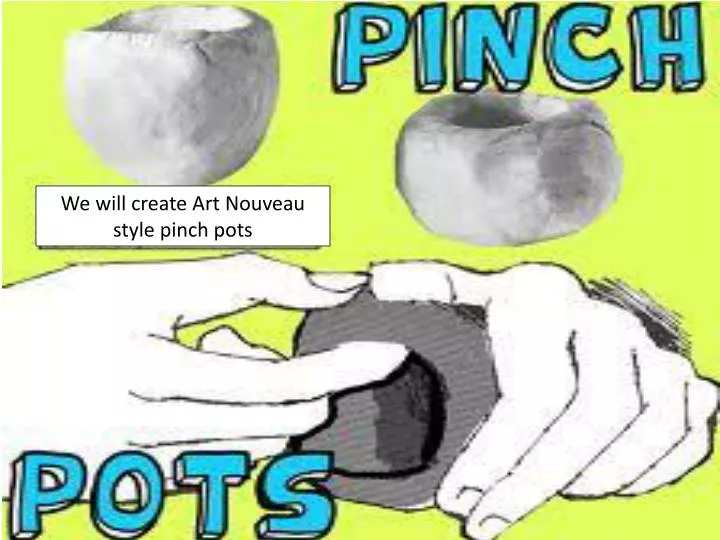
We will create Art Nouveau style pinch pots. Step 1. By using 1 to ½’ of wedged stonewear clay, form a simple pinch bowl with walls, a base, and a lip of even thickness (approximately 3/8”). What Shape? Where to start?. Write your name or initials on the bottom of the pinch pot. Step 2.

E N D
Step 1 • By using 1 to ½’ of wedged stonewear clay, form a simple pinch bowl with walls, a base, and a lip of even thickness (approximately 3/8”)
Step 2 • Let Pinch pot dry to leather-hard. • This could take a few days or sometimes a week.
Step 3 • When the Pinch pot dries to leather hard • use a modeling tool and a small amount of water to smooth and burnish the inside and outside of the pot. • Be VERY CAREFUL!!! CLAY IS EXTREMELY FRAIGLE!!! • IF YOU BREAK IT YOU MUST START OVER!!!
Step 4 • After Burnishing the pot, use a pencil to scratch an incised line design or pattern on the outside and inside of the pot. • Use a Art Nouveau Design. Create a design through the use of lines and patterns
Step 5 and 6 • Let you pinch pot dry to bisque • This could take a couple of days or weeks • Fire your pinch pot. • I do mass firings when I have a full kiln
Step 7 and 8 • After your pinch pot has been fired for the first time, you will add contrast to your pot by glazing the pot with our clay paints/glazes. • Look at glaze charts rather than the color of the glaze. • The glaze changes color in the firing due to a chemical reaction. • Glaze Fire your work of art