Download
1 / 20
200 likes | 287 Views
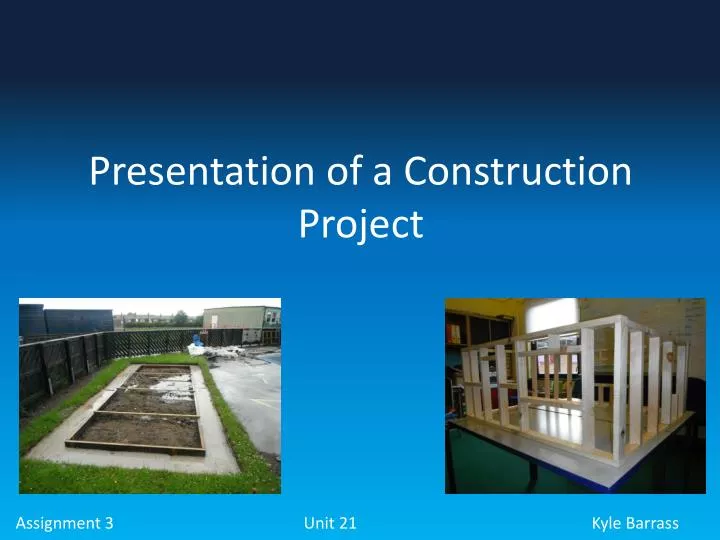
Presentation of a Construction Project. Assignment 3 Unit 21 Kyle Barrass. First Stage of the Construction Building. The first step was to design a drawing of the building to give the client an idea of what he wanted. First Stage of the Construction Building.

E N D
Presentation of a Construction Project Assignment 3 Unit 21 Kyle Barrass
First Stage of the Construction Building • The first step was to design a drawing of the building to give the client an idea of what he wanted.
First Stage of the Construction Building • The client decides on what he wants.
First stage of the construction Building • Before the building was even started there was a Gant chart make to know what was going to happen, when it was going to happen and how long it should take.
Designing the Building • After the design on the building was chosen I designed a mini version of the timber frame.
Designing the Building • Before the brick walls started the timber frame flooring was put into place.
Designing the Building • After the mini model of the timber frame was done the work on the foundations had already been done so work on the brick and block walls was started.
Designing the Building • The work on the building was set back down to the bad weather, it was set back by a few weeks.
Designing the Building • As the brick walls had been held back the timber frame walls were being put together.
Designing the Building • After the timber frame walls were built the work on the window frames and door frames started.
Designing the Building • The Gant chart had to be changed as the bad weather set the building back by a few weeks, as you can see in the photo below.
Designing the Building • As you can see the brick walls had been kicked down by someone coming onto the site, so the brick and block building was set back even more.
Designing the Building • Here are the students putting the plywood on the timber floor.
Designing the Building • The timber framed walls were put up and as you can see we ran into a little problem that was easily solved.
Designing the Building • The first timber roof trust was built and the only thing that needed changing was the length of the overhang.
Designing the Building • The plywood was put onto the timber walls and the roof trusts were constructed with more overhang.
Designing the Building • The work on the brick and block building was started again and the block work was started on the timber and block building.
Designing the Building • The rest of the roof trusts were put in place and then the ply wood was put in place.
Designing the Building • The work on the tiling being done and the rest of the brick and block building is being done at the same time.
Summary • Timber frame construction was erected quicker than traditional building • Adverse weather had little impact on timber frame construction • Quality issues with some of the timber walls and roof construction – to improve inspection off-site