Download
1 / 2
20 likes | 179 Views
MEC1011 Fall’05 Assignment 2 Due at the end of our week 2 meeting Reference Chapter 2 Part Modeling 1 (pp 25-134). Create a new folder using your full_name and located in V:/MEC/1011/Fall_05/Assignment2/TxA. Make the project file reflecting the assignment # (A2). See Page 2 for more detail

E N D
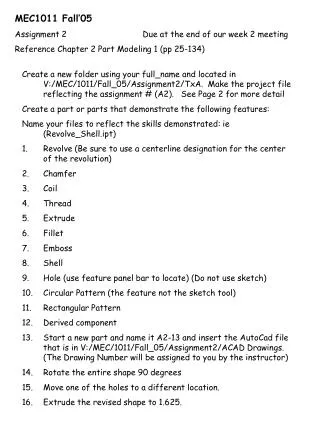
MEC1011 Fall’05 Assignment 2 Due at the end of our week 2 meeting Reference Chapter 2 Part Modeling 1 (pp 25-134) • Create a new folder using your full_name and located in V:/MEC/1011/Fall_05/Assignment2/TxA. Make the project file reflecting the assignment # (A2). See Page 2 for more detail • Create a part or parts that demonstrate the following features: • Name your files to reflect the skills demonstrated: ie (Revolve_Shell.ipt) • Revolve (Be sure to use a centerline designation for the center of the revolution) • Chamfer • Coil • Thread • Extrude • Fillet • Emboss • Shell • Hole (use feature panel bar to locate) (Do not use sketch) • Circular Pattern (the feature not the sketch tool) • Rectangular Pattern • Derived component • Start a new part and name it A2-13 and insert the AutoCad file that is in V:/MEC/1011/Fall_05/Assignment2/ACAD Drawings. (The Drawing Number will be assigned to you by the instructor) • Rotate the entire shape 90 degrees • Move one of the holes to a different location. • Extrude the revised shape to 1.625.
INVENTOR PROJECT MANAGEMENT THE key to success in Inventor is to follow the rules. Rule #1 Understand the file extensions 1. .ipj (project file) (creates the folder) 2. .ipt (part file) 3. .iam (assembly file) 4. .ipn (presentation file) 5. .idv (design file) 6. .idw (drawing file) 7. .dwf (web file) 8. .dwg (autocad file) Rule # 2 Create and faithfully use PROJECT FILES. (ipj) Make sure you are using the appropriate PROJECT FILE every time you start up Inventor. You can have ONLY 1 project open per session of Inventor. Do NOT use one PROJECT FILE for multiple assignments. Rule # 3 Work on V: Save multiple copies elsewhere. Initially create and save your files in the V:/MEC/1011/Fall_05/Assignment_TxA folder COPY this folder to you H: drive or alternative drive. Do this at the end of every session.