Download
1 / 20
200 likes | 207 Views
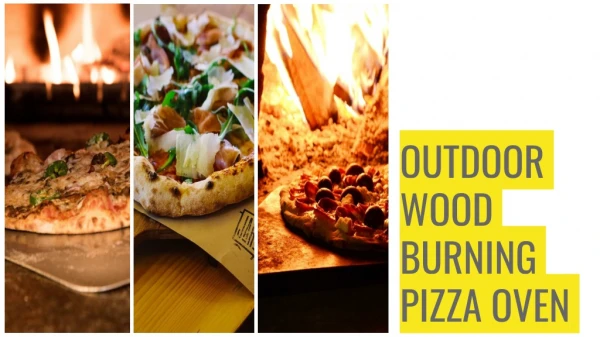
Most of the people like the stone-baked oven pizza. They surely enjoy the delicious taste of a brick oven pizza. Bur what if you can build one for yourself in your backyard? You could anytime enjoy the natural taste of a brick oven pizza at your convenience. To get more information please visit: https://bit.ly/33z7L8a

E N D
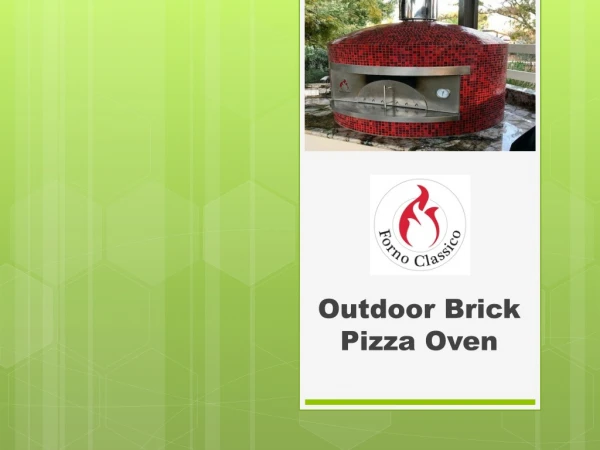
Know the Complete Details of Building an Outdoor Pizza Oven Many of us like the stone-baked oven pizza. We surely enjoy the delicious taste of a brick oven pizza. What if you can build one for yourself in your backyard? You could anytime enjoy the natural taste of a brick oven pizza at your convenience. You must be wondering that building your own pizza oven would require a lot of technical skills. But, relax! Even if you are an intermediate or a fresher you will be able to build an amazing pizza oven with the help of our detailed guide on building an outdoor pizza oven. For those who are not much familiar with how the pizza oven works, here is a brief explanation on how do pizza oven work.
How Do Pizza Oven Work? Source: wordpress.com The wood-fired ovens have a small interior that heats up very fast to the temperatures that are much higher than your regular kitchen oven. A secret to pizza dough being cooked to perfection is extremely hot bakes for a short period of time. Wood-fired ovens have a range of 750 to 1200 degrees Fahrenheit temperature. The rich and savoury taste of the wood smoke adds into the pizza and makes its flavour amazing. Your kitchen oven cannot match up to the taste an outdoor pizza oven provides. The next thing you will have to check is the codes and permits from your local government department. You must thoroughly understand the restrictions associated with building an outdoor pizza oven. If you have a property that is controlled by the homeowner’s association (HOA), you will require clearance before commencing the construction work.
Now, without further ado, let us know what materials and skills you will be required for building the outdoor pizza oven. Materials Required ● ● ● ● ● ● ● ● ● ● ● ● ● Concrete (quick set) 4 x 4-foot melamine faced fibreboard (medium-density) with a thickness of ¾th inch. Drywall screws, 1 5/8- inch long Attractive bricks Steel rebar mesh, flush cut, 10 gauge Silicone caulk, black or another dark colour Scrap cardboard Mortar Release agent: mineral oil or paste wax Plastic sheeting Sand 75 lbs Scrap pieces of MDF, plywood, or OSB each 18 x 18 inches 6-inch diameter * 2 feet round metal duct pipe Equipments/ Tools ● ● ● ● ● ● ● ● ● ● ● ● Measure tape Circular saw Rubber mallet Cordless drill Metal snips or hacksaw Spray bottle with water Tub for mixing concrete Mason’s trowel Jigsaw Carpenter’s pencil Masonry chisel Hammer Instructions
1. Building bottom mould for base Source: architecturesideas.com The main thing an outdoor pizza oven contains is a wood fire, so you will need a base that is solid and fireproof. A base can be created out of concrete pavers but, a cast of a rough concrete slab can be specifically designed for the greatest flexibility in terms of appearance and size. The slab must be cast close to the location of the pizza oven . You must build a mould from the melamine faced MDF by initially cutting a large piece from the bottom of the mould, then cut the four side pieces. The bottom piece can be cut to your desired size or 36 x 36 inches. With the hacksaw or snip, cut the mesh into 35 x 35 inches.
2. Building sidewalls for base mould Source: architecturesideas.com Rip another piece of MDF wood with a circular straw into strips of 2 3/4th inches wide * 36 inches long. Attach the sidewalls to the side of the concrete mould bottom with drywall screws of 1 5/8 inch. Now, insert the silicone to all the 90-degree angles in the mould and smoothen it with your finger. After the caulk has settled, coat the mould with the release agent.
3. Prepare concrete for mould Source: instructables.com Mix the concrete and add 1 inch of concrete into the mould. Place the mesh on top of the concrete and then completely pour to the top. Tap the sides of the mould with a mallet to settle the concrete. Let it settle down for at least two days while occasionally settling the concrete with water to prevent cracking.
4. Removing base from mould Source: architecturesideas.com After the concrete has settled, carefully remove the side form pieces. With the help of someone, now flip the slab upside-down and remove the lower form.
5. Dry-fitting lower bricks Source: instructables.com For getting a rough view of the outdoor pizza oven footprint, layout the bottom bricks on the concrete base. A pizza oven consists of two areas that are linked, the front opening arch and the back dome of the oven. The front opening consists of two double-stack bricks side-by-side about 18 inches apart. 5 bricks form the arch and they rest on the double-stacked bricks. The rear dome is the free form. Begin from the back of the arch. Form a near circle that touches both sides of the arch. Settle the type of bricks as needed with the masonry chisel and hammer.
6. Building front arch form Source: pinimg.com The sides of the arch are created by mortaring together two stacks of two bricks. Place the double-stack bricks about 18 inches apart to form two side walls of the front arch. Next, you have to build a form for the arch. Set one 18 x 18-inch scrap board on-edge across the stacks. With the help of carpenter’s pencil draw an arch that goes from the inside of one wall to the inside of another wall. Remove, and then lay the second board underneath. Now cut both arches with a jigsaw.
7. Building front arch Source: pizzaovensupplies.co.uk The two arch forms must be placed 3 inches apart from each other between sidewalls. With the stack of bricks, support the arch forms underneath. Across the top of the arch form mortar five bricks together. Locate one of the five bricks at the centre to act as a keystone. Each side of the arch must be mortar to the side walls. Before removing the arch form let it fully arch dry.
8. Creating arch for oven’s rear dome Source: architecturesideas.com Once the dome footprint is established, mortar the bottom course directly to the concrete base. After the course is cured, create the dome form by mounding up sand. The sand must be mixed with water to moisten and help it stick together. Transfer the sand to the centre of the brick. Build the sand forming half sphere. Now, cover the sand dome tightly with a plastic sheet.
9. Adding brick to rear dome of oven Source: architecturesideas.com Brick the sand dome. Mortar each course on the below course along with mortaring neighbouring bricks. When you reach a higher course, cut bricks in halves or in quarters for a closer fit. Do not add brick when you reach 6-inch diameter circle at the top of the dome.
10. Creating the oven chimney Source: architecturesideas.com In the top opening of the dome, insert the metal dome. Ensure it does not go down more than the inside wall of the top of the dome. If the duct extends, it will interfere with the
making of the pizza and might not draw the smoke appropriately. Now, mortar duct into place. 11. Mortar over oven’s brick Source: architecturesideas.com Mix a lot of mortar and apply it to the top of the pizza oven. Smooth it with a trowel and shape it by hand. The topcoat of mortar gives outdoor oven its desired round shape.
12. Removing supports Source: architecturesideas.com Let the oven-dry fully for 3 days. Now, remove the arch form and its supporting bricks. Next, go to the pizza oven’s dome area and remove the supporting sand. Remove all the sand and the plastic sheeting as well.
13. Total dry with small fire Source: architecturesideas.com Before firing the pizza oven outdoor to a maximum temperature, build a small wood fire to complete the process of drying. Keep the fire low or else there is a risk of mortar and bricks cracking if you heat the oven too fast.
Can you cook something else in a brick pizza oven? Source: wordpress.com Although the oven is named after pizza, it is very versatile. It will allow you to cook a wide variety of food. You can cook tarts, stew, gratins, fish, skewers, bread, barbecued meat, meringues, and even toasts. The accumulated heat in the oven can be used long after the main meal is ready. It can be used for drying vegetables, fruits, mushrooms, and to keep your tea nice and warm.
Do you know how hot pizza ovens can get? Source: architecturesideas.com The hotness of the outdoor oven can vary according to the material used. It can also reach onto really high temperatures of 500 degrees Celsius and up. The professionally modern made ovens can withstand up to 1000 degrees Celsius. It might be impressive, but you don’t have to get them that hot. For a thin crispy pizza, all you will need is 430 degrees Celsius for just 90 seconds. Barbecued meat and less crispy pizza pies can be done at 300 degrees Celsius. You can cook bread/stew dishes at 200 degrees Celsius and large roasts at 230 degrees Celsius. Meringues can be done when the temperatures drop to 100 degrees Celsius.
Which is more cost effective option – building or buying one? When considered all the aspects there is not much difference in building and buying the oven. Depending upon the size an outdoor pizza oven will cost you around 800$ to 4000$. Building it yourself can bring you a lot of satisfaction and give the desire of DIY that many people have. But if construction is not your thing, you will want to make pizza in your backyard with a pre-made oven kit. It is very easy to assemble and you will not need manual prodigy to properly set it up. Signing Off An outdoor pizza oven is a valuable addition to any backyard and can satisfy the fan of home-made food. Either you can buy it or go for a DIY option; the cost of both is similar. So, mostly it depends on personal choice. For more information on home improvement, visit HouseDecorationTip .
Contact Us : Website : https://housedecorationtip.com Email Id : housedecorationtip@gmail.com To Connect With Us Visit