Download
1 / 8
80 likes | 86 Views
Steps to Connect Canon IP7240 Printer to WiFi.Dial 1-888-633-7151 for Canon IP7240 Wireless Printer Setup and Connect Canon Pixma IP7240 Printer to WiFi.

E N D
Connect Canon IP7240 Printer to Wi-Fi Call us Toll-Free : USA/CA: +1-877-760-6133 UK: +44-808-164-5280
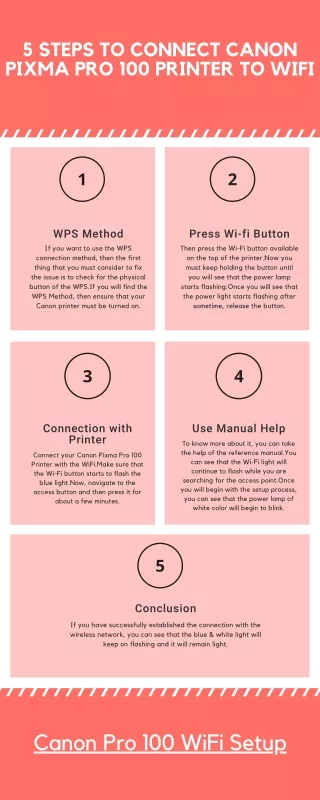
Connect Canon IP7240 Printer to WiFi Many access points are sometimes referred to as (routers or hubs) it is a feature of an automatic connection button with a “WPS” label (Wi-Fi protected configuration). It is feasible to connect authorized equipment such as PIXMAiP7240 to the network without the need to enter a password. This allows you to remove the fast and simple technique of connecting your equipment. It’s a very easy way to connect your ip7240 canon printer to wifi if there’s a WPS access point button then you need to pick the’ WPS Connection Method’ below to use this method to connect. If router does not support WPS, alternative instructions are available for connecting Canon PIXMAiP7240 printer. Choose the’ Standard Connection Method ‘ tab, kindly.
WPS Connection Method: Conditions for matching WPS push button method that we should take care of before starting: A device user manual would be useful to you as it includes directions for performing any kind of activities well. A physical WPS button to be pushed must be available to the access point. For details, you need a correct guidance check with the user guide for your device. You must use WPA (Wi-Fi Protected Access) or WPA2 safety protocol as an active user. Most access points enabled by WPS will not communicate using the WPS technique when using the safety technique of WEP (Wired Equivalent Privacy) is used or no security is allowed. Would you like to have a detailed instruction version? Check your computer’s wireless connection settings.
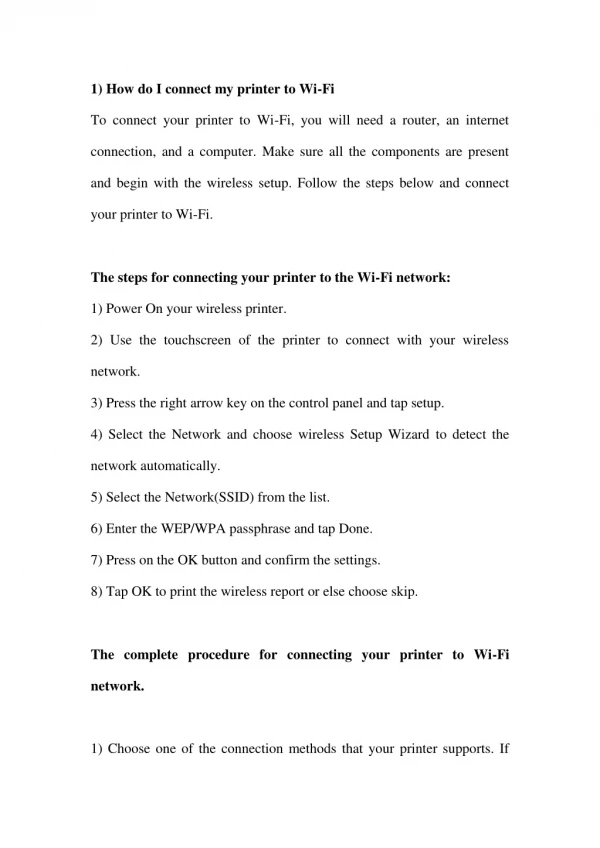
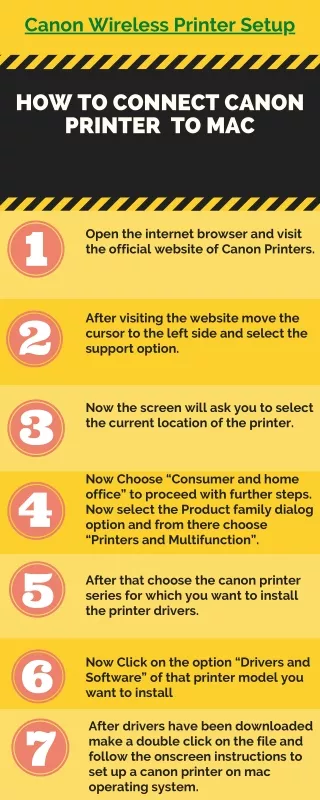
Below are the steps to follow in connecting Canon ip7240 Printer to Wi-Fi: • Step 1: Printer must be switched on. • Step 2: Hold and click the Wi-Fi button for a few seconds on the front of the printer. • Step 3: By pressing the button you must be sure of blue flash and then press[ WPS] button within 2 minutes. • Step 4: For exact details of the WPS button, refer to the access point manual. • Step 5: Blue light keeps flashing while searching or linking to the access point. When the printer connects to the wireless network, the blue lamp stops flashing and stays illuminated. • Network Setting Confirmation Regarding How to Connect Canon ip7240 Printer to WiFi • Connect Canon ip7240 Printer to WiFi To confirm your wireless network printer link, network settings can be printed from your printer: • Make sure your printer is switched on. • A4 sheet or letter-sized plain paper must be loaded.
Press and hold the resume / cancel button until the energy bulb flash is released six times. • The network data page for connecting the ip7240 model to Wi-Fi will then be printed. • Check the “connection” for “Active” and the Service Set Identifier SSID (the name of your wireless network) for the correct name of your wireless network when referring to the printout. • This entire operation will conclude the WPS configuration. • Install the software to make the most of your PIXMAiP7240 now. • If the installation CD that comes with your product is not available, you can download the manuals and software from the PIXMA range page. • If you still don’t have your wireless setup after following the guide, please contact the help line so you can connect the ip7240 printer to Wifi. • Standard USB connection method: 1st step: Insert your CD with your printer to run the setup.
Windows User: • If the “Setup CD-ROM” is not running automatically, insert the CD-ROM again into your computer and click (My Computer), select the CD-ROM and double-click[ MSETUP4.EXE]. • Windows 8 users: • [ Canon IJ] is double-clicked. Double-click the[ MSETUP4.EXE] after the selection window is opened. • Note: Double-click on the icon of[ Canon IJ] mounted on your desktop for those using MAC. After opening the selection window, click[ setup] to begin the download connection for the software. • PIXMAiP7240 Wireless Standard: • This is a driver that should give your selected model complete operational workout. It also enables you to set up your printer for wireless printing and scanning. We also recommend installing My Image Garden software for improved person skills. Within the CD provided with your very first product, a variation of this regular driver might have been involved.
GET IN TOUCH WITH US USA Toll-Free : +1-877-760- 6133 UK Toll-Free : +44-808-164-5280 Mail us : support@canonprintersupport247.com