Download
1 / 37
390 likes | 526 Views
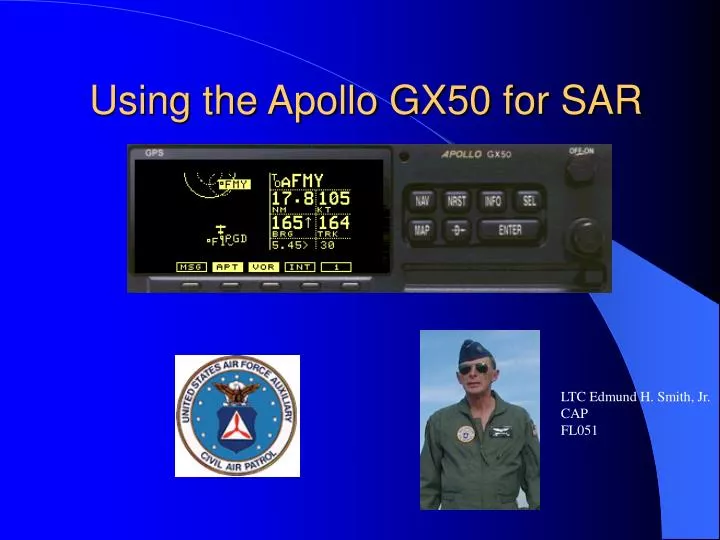
Using the Apollo GX50 for SAR. LTC Edmund H. Smith, Jr. CAP FL051. How?. Define the commence search point Choose the search pattern Parallel, Expanding square, creeping line Define the search extent Display the search grid Follow the moving map Even turns are shown!.

E N D
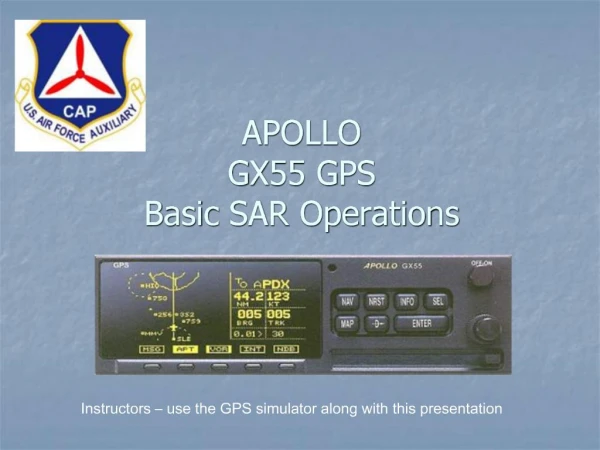
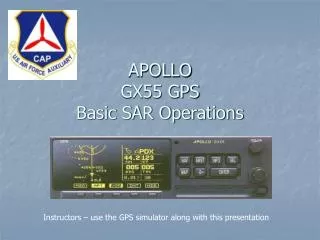
Using the Apollo GX50 for SAR LTC Edmund H. Smith, Jr. CAP FL051
How? • Define the commence search point • Choose the search pattern • Parallel, Expanding square, creeping line • Define the search extent • Display the search grid • Follow the moving map • Even turns are shown! It is really that simple!
GX50 Startup Push the on/off button Enter button
GX50 Default NAV Page Press DB button to access data base
Enter the CSP Large knob selects the character to change Small knob selects the letter or number
Let’s use this CSP waypoint Next, push the MAP button
The MAP Display Route line Lake Placid MOA Arcadia Airport Shell Creek Airport
MAP Only Rotate large knob to toggle between Map Plus Nav, Map Only, SAR Map and Map Setup
Entering the SAR Mode Push the SAR Pattern Button
Rotate the large knob to choose type of pattern - Parallel Line, Creeping Line, Expanding Square-
Use small and large knobs to select User Waypoint #4 (CSP) and then press enter
Large knbo selects spacing or direction. Small knob changes values. Press enter twice when all done.
Displaying Grid Squares Select MAP, use the large knob to select the setup page, use the small knob to select the SAR Map page
Displaying Grid Squares Now push the SEL button to select the page for modification Now use the large and small knobs to select the function for change
Displaying Grid Squares Important. You need to select the Miami sectional in order to get grid lines for SW Florida! Use the large knob to select Position Use the small knob to scroll through US sectionals
Displaying Grid Squares After selecting the appropriate sectional, push ENTER The GX50 is now setup to display grids. Return to the graphics display
Grid Display Alternatives • Off • Grid 1 • Grid lines, no Grid Number • Grid 2 • Grid Lines, Grid Number • Grid 3 • Grid Lines, Grid number, Quarter Grid Lines • Grid 4 • Grid lines, Grid numbers, Quarter Grid lines, Quarter Grid Letters
Grid Display #1 Push button once to select GRID 1 Old-style grids are shown; 15 minutes x 15 minutes
Grid Display #2 Old-type grid number is now displayed
Grid Display #3 Quarter grids now shown. 7 ½ minutes x 7 ½ minutes
Grid Display #4 Quarter Grid Lines show in GRD #4 display
Grid + Pattern 10 nm scale Grid 77C Parallel search pattern with grid details shown
Grid + Pattern next waypoint track distance to go to next waypoint 5 mile scale aircraft locations grid lines
Marking a Position of Interest Press the MRK key
Marking a Position of Interest Display comes up with next sequential SAR identifier Records present latitude and longitude
Flying the Mission • Set up the GX50 for SAR while still on the ground! • Once airborne, use the MAP display to fly to the CSP • Follow the pattern on the display • Use the grid square outlines to make sure you stay within the assigned grid
In Summary • The GXS50 has built-in SAR patterns • It is easy to setup • The GX50 gives a picture that shows how to fly the pattern chosen • Grid squares can be displayed • Turns are shown • Set up the GX50 while still on the ground