Download
1 / 12
150 likes | 410 Views
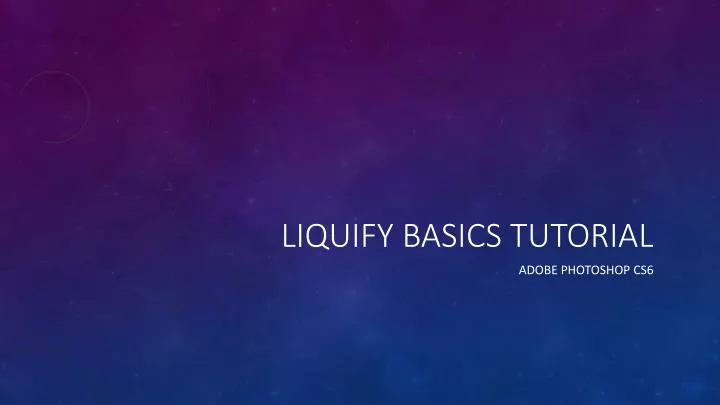
Liquify Basics tutorial. Adobe Photoshop Cs6. In this tutorial is -. How to open liquify H ow to use bloat tool P ucker tool Forward warp Reconstruct tool Twirl clockwise How to exit liquify with your changes intact. First.

E N D
Liquify Basics tutorial Adobe Photoshop Cs6
In this tutorial is - • How to open liquify • How to use bloat tool • Pucker tool • Forward warp • Reconstruct tool • Twirl clockwise • How to exit liquify with your changes intact
First Open the filter menu at the top and select liquify, or use the hotkey Shift+ctrl+X
2nd Selecting liquefy or using the hotkeys will open the liquify menu
The forward warp tool The forward warp tool warps the image in the direction you drag your mouse
Reconstruct tool Drag your mouse over the area you want to reconstruct until the area is what it was originally
The twirl clockwise tool The twirl clockwise tool warps the image in a clockwise spiral, dragging the picture into the centre of the twirl where you’re mouse is.
The pucker tool The pucker tool drags the area into the point where your mouse is. It only drags in the area covered by your brush size
The bloat tool Basically the opposite of the pucker tool. The bloat tool enlarges the area that your mouse is over.
Back at photoshop To return to the liquify menu again open the filters menu again and click the second liquify menu, as now there will be two, or use the hotkeys shift+ctrl+X.
That was the Liquify basics tutorial Thanks for watching