Download
1 / 10
100 likes | 246 Views
Imagens. Para incluir uma imagem usamos a tag <img> Formato: <img src= “URL da imagem” alt =“comentário” border=“0”align=“left” hspace=“n”> Ex1. <img src=“teste.gif”> Ex2. <img src= “fotos/teste.gif”> Ex3.<img src=“http://www.ibpinet.com.br/figuras/teste.gif”>

E N D
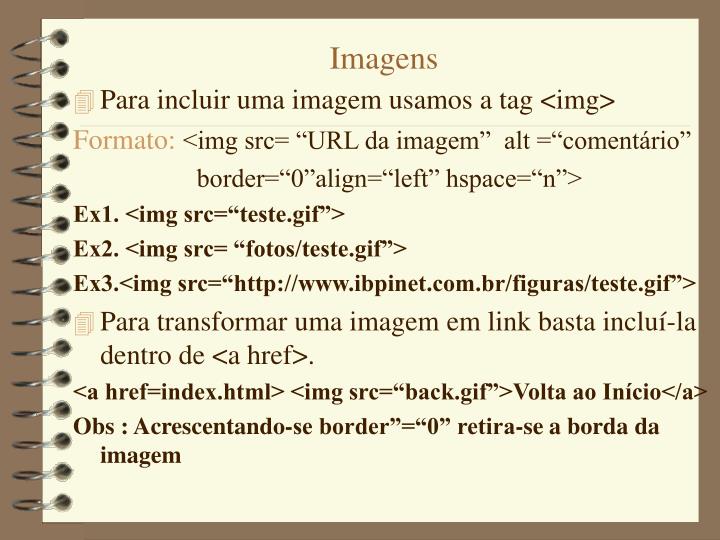
Imagens • Para incluir uma imagem usamos a tag <img> Formato:<img src= “URL da imagem” alt =“comentário” border=“0”align=“left” hspace=“n”> Ex1. <img src=“teste.gif”> Ex2. <img src= “fotos/teste.gif”> Ex3.<img src=“http://www.ibpinet.com.br/figuras/teste.gif”> • Para transformar uma imagem em link basta incluí-la dentro de <a href>. <a href=index.html> <img src=“back.gif”>Volta ao Início</a> Obs : Acrescentando-se border”=“0” retira-se a borda da imagem
Usando imagem como marcadores <dl> <dd> <img src=“item1.gif”> <a href=“fig1.html”>Introdução</a> <dd> <img src=“item2.gif”> <a href=“fig1.html”>Conceitos</a> <dd> <img src=“item3.gif”> <a href=“fig1.html”>Dicas</a> </dl> Obs : <dl> inicia uma lista de definição <dd> define um item de dado de uma lista de definição </dl> finaliza uma lista de definição
Tabelas Para criar uma tabela usamos as tags: • <table> e </table> para iniciar e finalizar a tabela. • <tr> e </tr> para definir o início e o fim de linha • <td> e </td> para definir células numa linha • <th> para definir células de cabeçalho Exemplo1: <table border> <tr> <td>café</td> <td>chá</td> <td> leite </td> </tr> <tr> <td>suco</td> <td>água</td> <td>creme</td> </tr> </table>
Exercício • Criar dentro de sua página pessoal (usando tabela e imagens) os seguintes links : IBPINET http://www.ibpinet.com.br UNIRIO http://www.uniriotec.br ASIT http://ibpinetsp.com.br/asit/ IADP http://ibpinetsp.com.br/iadp/
Imagem Mapeadas 582,117 678,204
Imagens Mapeadas <div align=“center”> <img src=“figura.gif”usemap=“#nome do mapa” alt=“imagem mapeada”> Para incluir um mapeamento <map name=“nome do mapa”> <area shape=“poly”coords=“x1,y1,x2,y2...xn,yn” href=“pag1.html”> <area shape=“circ”coords=“x,y,r” href=“pag2.html”> <area shape=“rect”coords=“x1,y1,x2,y2” href=“pag3.html”> </map>
Imagem Mapeada Obs : Pode-se utilizar um programa para gerar o mapa de imagem. Ex.: MapEdit http://www.boutell.com/mapedit
Quadros (Frames) frame Principal Corpo.html frame Lateral Barra.html
Quadros (Frames) • A utilização de frames permite a apresentação simultânea de mais de uma página HTML. <html> <head> <title>Home</title> </head> <frameset frameborder=“0” cols=“150,*”> <frame src=“barra.html” name=“lateral”> <frame src=“corpo.html” name=“principal”> </frameset> </html> Obs1: O atributo cols=“150,*” do elemento <frameset> cria uma estrutura de 2 colunas, a primeira com 150 pixels e a segunda de tamanho variável cobrindo o restante da área. Obs2 : O elemento <frame src=“nome_arquivo.html” name=“nome atribuído ao frame” > informa o conteúdo de cada frame.
Barra.html <html> <head> <title>barra</title> <base target="principal"> </head> <body bgcolor="#808080"> <div align=center> <a href="http://www.jb.com.br"><img src="jb.gif"></a> <a href="revista.html"><img src="revista1.gif"></a> <a href="adesivos.html"><img src="unilog.gif"></a> </body> <html> Obs : O comando <base target=“nome do frame” indica que os links serão executados dentro da frame principal.