Download
1 / 35
350 likes | 462 Views
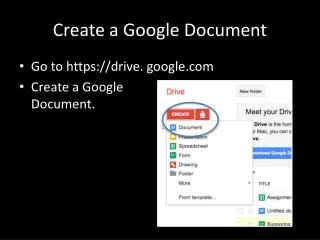
This step by step tutorial demonstrates drawing a keyboard illustration using rectangles, grids, move and transform effects. 1. Create a New Document Create a new document named “keyboard” with a custom size of 500 px width and 120 px height. Press OK.

E N D
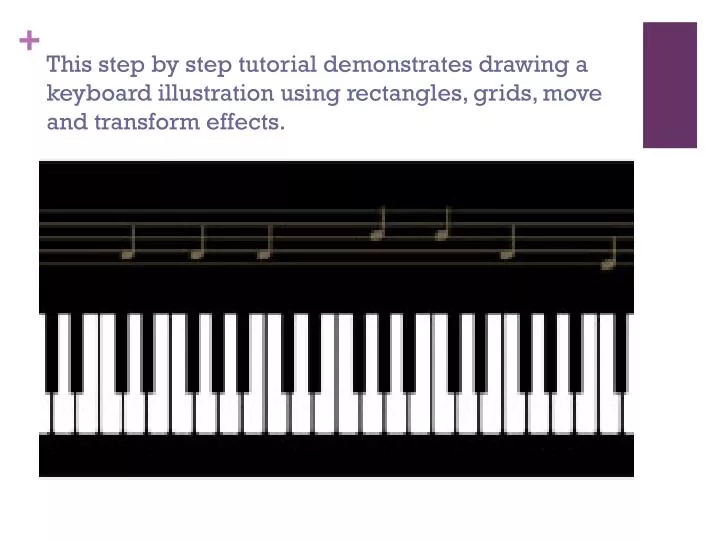
This step by step tutorial demonstrates drawing a keyboard illustration using rectangles, grids, move and transform effects.
1. Create a New Document • Create a new document named “keyboard” with a custom size of 500 px width and 120 px height. Press OK.
2. Draw a black rectangle for the keyboard background • Begin with drawing the main background of the keyboard. Select the Rectangle Tool and set the fill to black and stroke to none as shown in the Toolbox below. Click once on the artboard and define a rectangle 500 px wide by 120 px height. Press OK.
With the black rectangle selected, go to the Transform Panel and position the lower left corner at X: 0 px and Y: 0 px, as shown below.
With the black rectangle selected, round the corners by selecting from the menu Effect, Convert to Shape, Rounded Rectangle. Using the same width and height dimensions of the original rectangle for the Absolute values, set the rectangle to Width: 500 px and Height: 120 px, with a corner radius of 9 px. Press OK.
3. Draw 52 white keys • Create a new layer for the white keys by selecting the Create New Layer icon on the Layers panel as shown with the red circle below. Rename the layer “white keys”.
Draw the leftmost key. Select the Rectangle Tool and set the fill to white and stroke to black (1 px) as shown in the Toolbox below. Click once on the artboard and define a rectangle 9 px wide by 50 px height. Press OK.
With the white rectangle selected, go to the Transform Panel and position the lower left corner to X: 16 px and Y: 16 px, as shown below.
Round the edges of the key slightly by selecting from the menu Effect, Convert to Shape, Rounded Rectangle. Using the same width and height dimensions of the original rectangle for the Absolute values, set the rectangle to Width: 9 px and Height: 50 px, with a corner radius of 2 px. Press OK.
With the white key selected, make duplicates of the key using the menu option Effect, Distort & Transform, Transform. In the Move section, set the Horizontal to 9 px, make sure the Vertical is set to 0 px, set number of copies to 51, and check the Preview box to confirm that the keys appear as below. Press OK.
Create a rectangle to cover the rounded edges of the top of the keys. With no objects selected, select the Rectangle Tool and set the fill to black and stroke to none as shown in the Toolbox below. Click once on the artboard and define a rectangle 470 px wide by 5 px height. Press OK.
Position the strip above the keys to cover the rounded edges at the top. Using the Transform Panel, set the bottom center position to X: 250 px and Y: 62 px. • Lock this layer and a new layer will be created to draw the black keys in the next step.
4. Draw the black keys • Create a new layer named “black keys” as shown below.
Draw the first black key. • With no objects selected, Select the Rectangle Tool and set the fill to black and stroke to none as shown in the Toolbox below. Click once on the artboard and define a rectangle 5 px wide by 30 px height. Press OK.
Position the black key. • With the black key selected, use the Transform Panel to position it. Set the top center position to X: 25.5 px and Y: 62 px. The next few steps will set up a group of keys that can be duplicated across.
Please note • You don’t have to use the transform panel to move the shapes. You can just copy the shapes, and move them to the correct position. Just select the shape, hit enter, and then copy the shape. Now you can move it to the proper position.
Duplicate the first black key to create the second black key. • With the black key selected, access the Move options by double clicking the Selection Tool in the Toolbox (circled in red below). Check the Preview box to see where the resulting key will be. Set the Horizontal position to 17 px and make sure the Vertical is 0 px. Click copy, and two keys will be positioned as shown below.
Duplicate the second black key to create the third black key. • With the second black key selected, access the Move options again by double clicking the Selection Tool in the Toolbox (circled in red below). Check the Preview box to see where the resulting key will be. Set the Horizontal position to 10 px and make sure the Vertical is 0 px. Click copy, and three keys will be positioned as shown below.
Duplicate the third black key to create the fourth black key. • With the third black key selected, access the Move options again by double clicking the Selection Tool in the Toolbox (circled in red below). Check the Preview box to see where the resulting key will be. Set the Horizontal position to 17 px and make sure the Vertical is 0 px. Click copy, and four keys will be positioned as shown below.
Duplicate the fourth black key to create the fifth black key. • With the fourth black key selected, access the Move options again by double clicking the Selection Tool in the Toolbox (circled in red below). Check the Preview box to see where the resulting key will be. Set the Horizontal position to 9.5 px and make sure the Vertical is 0 px. Click copy, and five keys will be positioned as shown below.
Duplicate the fifth black key to create the sixth black key. • With the fifth black key selected, repeat the Move from the last step by pressing Cmd+D (Mac) or Ctrl+D (PC). The sixth key is now positioned as shown below. (If you need to access the Move options again to copy the fourth key, the Horizontal is 9.5 px.) • Result:
Now the keys can be selected and duplicated across. Only keys two through six will repeat. Select these five black keys (shown in green below) using the Selection Tool to marquee around them. Because the other layers are locked, you will only select the black keys. From the menu, choose Effect, Transform Effect, Transform. In the Move section, set the Horizontal to 63 px, make sure the Vertical is set to 0 px, set number of copies to 6, and check the Preview box to confirm that the keys appear as below. Press OK.
5. Draw staff • Create a new layer named “staff” as shown below.
Select the Rectangle Tool, set the fill to none and choose a neutral color of choice for the stroke with the stroke size set to 0.5 px. The color used here is from the Neutrals 3 swatch library that came with CS3. A metallic color might be nice depending on your project. Click once on the artboard and define a rectangle 470 px wide by 20 px height. Press OK.
With the rectangle selected, select from the menu Object, Path, Split into Grid. Set the Number of Rows to 4, with a Gutter of 0 px. You may have to set the Number of Rows to 2 and change the gutter to 0 before you are able to set the Number of Rows to 4. Leave the Number of Columns set to 1. Press OK.
Position the staff with the Transform Panel, setting the center position to X: 250 px and Y: 91 px. (again, you can just move it to the proper position)
6. Add music • Now the illustration is ready for the final touches of adding notes and musical elements. • Using the Ellipse and Line tools, draw music notes on your artboard. It’s best to draw them outside the artboard and then hold shift, click all the shapes, and move it to the proper spot on your keyboard. After that, you can select all the shapes again, hit enter, and then copy the shape. • You must have at least 3 kinds of music notes (see my example) • Your music notes must fill up the space.
Upload to Google Docs-> Activities • Put your name in the bottom right hand corner, and save as pdf.