Download
1 / 34
340 likes | 471 Views
Year Round Beekeeping & Managing Colonies Presented by Ray Civitts Mountain Sweet Honey Company Toccoa, GA. Seasonal Hive Management. North Georgia - 3 temperate zones - Up to 3 weeks difference - Southern most to the mountain area

E N D
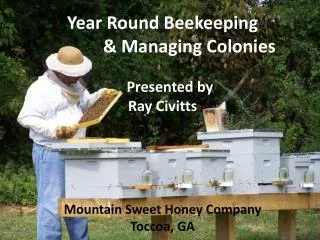
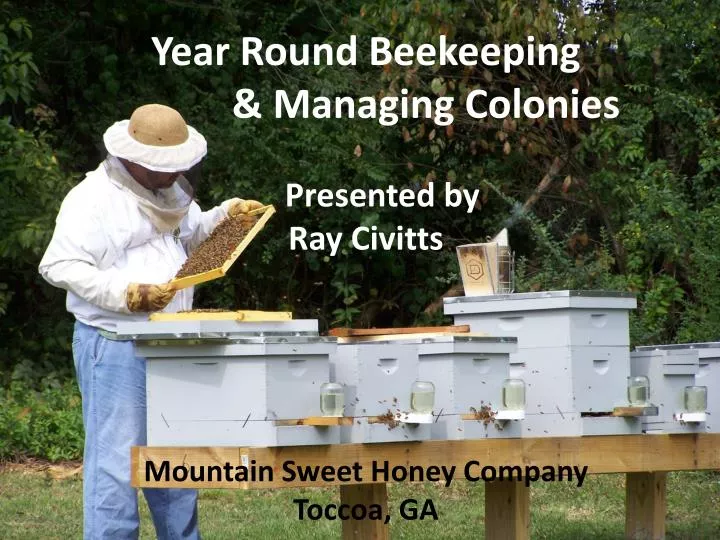
Year Round Beekeeping & Managing Colonies Presented by Ray Civitts Mountain Sweet Honey CompanyToccoa, GA
Seasonal Hive Management North Georgia - 3temperate zones - Up to 3 weeks difference - Southern most to the mountain area Today we will look at a month-to-month tasks
Placement of your hive - Wind break - Sun light on your hives - Document what you are seeing and follow-up - Good documentation will help you learn! - Drainage (elevate the back of your hive by 1 degree) o Water inside the hive o Reduce moisture - Water sources - Ventilation - Reduces mold - Honey
Late February– Action Items • Flora begin to bloom (Maple Tree blooms) • More bees flying in and out of the hive! • Warm days of 55 degrees or higher • - Quick hive inspection • - Don’t want to chill the hive on cold days • Keep feeding sugar water • - When do you stop feeding? • - Nectar flow • - Slow usage • - Winter super is full
March – Action Items • Hive management is very important • - Identify weak hives for re-queening • - Why is this so hard to do? • - Pollen is coming in the hive • - May have to add a super due to bee space • - Helps reduce swarming • - Start building frames for supers • - Identify which hives do not need sugar water • - Winter honey super • Small hive beetles should be very minimal • - Keep on top of it!
April in your hive Brood production should be going strong! - Pollen is what keeps the queen laying. - Queen is well mated - Eggs - Larva - Capped brood - Low brood production could mean your queen is failing you must consider re-queening - Possibly not properly mated
April – July management of your hive Brood production Bee space – Keep your bee space adequate - Too tight and you will promote swarming - Too much space will allow competing insects into the hive. Rule of thumb - 80% of frames are utilized (brood or honey) - Full super of bees - Signs - Inner cover has many bees between inner cover and top cover.
May – Action Items • Continue weekly hive inspections • Most important - watch “bee space” in hive • - Add supers as needed. • - Look for queen cells to eliminate swarming • - Swarming will cost you in the following ways: • I. Loss of honey production • II. Loss of beepopulation • - Watch for failing queens • - Last chance to add hives
June – July hive management Successful Wintering begins in July? - A good defense is a good offense! - Strong hive population Get into your hives weekly! (March to late August) -Check brood production of the queen - Queen Cells - Small hive beetles *** - Wax moths - Standing water - Bee population - Hive condition - Water source - Weed control
July - August – Action Items Bees cool the hive by using water - You will hear the bees use their wings to cool the hive - Congregating on the outside of the hive – check bee-space - Bees will go back into the hive an hour after sunset Nectar flow decreases Check for mites (mite treatment plan after nectar flow) Screen bottom boards (Clean)
Sept. – October in your hive • Hive begins to transition over to winter bees. • Summer Bees will begin to be replaced • - Winter Bees begin to emerge • - Winter Bees are slightly bigger • Sugar water feeding • Repair hives
November – Action Items • Hives are now slowing down (Population, low exterior activity) • Smaller bee population (may have to take off a super) • Winter bees are now more common • Brood production is decreasing • Hive beetles are on the offensive • Golden Rod is the last pollen source • Sugar water feeding
December – Action Items • Reduce hive opening down to 1 inch opening • Allows the hive to keep more heat • Begin monthly inspections on days above 55 degrees • Hive population • Hive condition • Brood condition • Softball size brood pattern • Weekly – Walk your bee yard • Hive activity • Sugar water usage
December– Action Items • Determine a game plan for your hobby for the spring • - Cut comb honey • New bee yard for better honey production • - Sourwood, Tupelo, etc.. • What will you offer this year (Wax candles, honey jar sizes, etc) • Feed your bees! • Order your bees in • December for best • Ship and pickup dates.
January in your hive Make sure your bees can have honey during the winter! - Leaving a medium super for your bees to consume - Pull empty super - Heat efficiency of the hive - First year hives? - Option is to feed sugar water for the winter at a 2 to 1 ratio - Limited honey for your first year to store up. - If you take all the honey - Be prepared to feed sugar water for the next 8 months. ** Quick calculation is approx. 37 lbs. per hive for a first year hive.
January – February Starvation • Large winter colony • - Large colonies eat through their winter honey stores • - Must monitor honey stores of the hive. • - Pickup the rear of the hive to feel the weight • - #1 reason for bee loss during the winter. • Late Winter Starvation • - Feed sugar water • - Pollen patties • - Take honey frames • from other hives.
Question & Answer Session • What questions do you have? • Visit our website at: MountainSweetHoney.com • Beekeeper News: Weekly Blog – Beginning Beekeeper to • Sideliners - Slides will be posted under this page. • “Like” us on Facebook: Mountain Sweet Honey Co.
Harvesting Honey Presented by Ray Civitts Mountain Sweet Honey CompanyToccoa, GA
When does honey season begin? • Traditionally “honey season” begins in April • - There must be a nectar flow • - The bees will be extremely active • * Different flora has daily release of nectar • * Bees get extremely active (not swarming) • - Bees will store the honey in the honey super • - Capped & Uncapped looks like this
Uncapped Honey? Uncapped honey consists - Higher moisture - The hive warmth will reduce the moisture down to 20% Caution! Don’t harvest uncapped honey - Due to moisture and natural sugars your honey will ferment and you will have to make meade or throw out the honey.
When is it time to harvest? Normal Wildflower honey season ends by the second week of July - The bees sense a nectar is very limited - Want to protect their food stores Why is it important to get the honey in a timely way? - Bees will start to eat into the capped honey Inspect your supers - Look for fully capped frames of honey - It may take an extra week for the honey to be fully capped What tools will you need? - Wheelbarrow to carry your supers - 8 frame super = 65 lbs - 10 frame super = 80 lbs+
What next? Extra frames to replace the frames you just took to harvest - Extra super – frames If Sourwood is present you will have more nectar = more honey - mid July to mid August (dependent on elevation) Club Extractor available - See Virginia Webb Now it is time to brush the bees off the frames - Gentle motion - Cover super with a towel to keep the bees off the frames Take the frames to a garage or kitchen to process
Processing Honey Several methods of processing 1. Crush the comb 2. Use a cold knife 3. Use a hot knife Crushing the comb - Cut the comb out of the frame and simply crush the comb - Honey will flow out from the wax comb. - A good reference would be Linda Tillman’s website to see this in action. - Need a grate from a grill works good.
Cold or Hot Knifes A cold knife is exactly what it is called. - A serrated knife that is non-heated - Many have warm water to dip the blade into - This keeps the blade warm A hot knife can be a fixed temperature or variable heat - Melts the wax comb to release the honey Once uncapped, the honey will begin to flow - Normally want room temperature above 85 degrees - Honey naturally flows better in warmer temps. - Cooler temps are harder to extract
Bottling Most beekeepers their first year will only need to borrow the association extractor. Most honey is sold in Pints and Quarts in this area. - Honey Bears - Honey Angels - Muth jars Make sure your containers are clean Honey is pure and lasts forever Honey that has higher sugars will crystalize at some point - Simply place the jar in some warm water to eliminate the crystals in the jar.