Download
1 / 17
170 likes | 356 Views
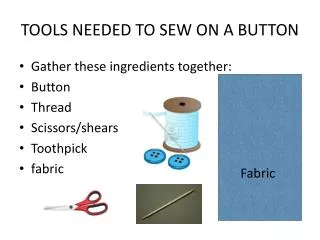
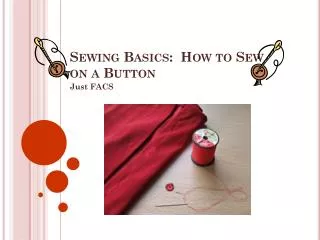
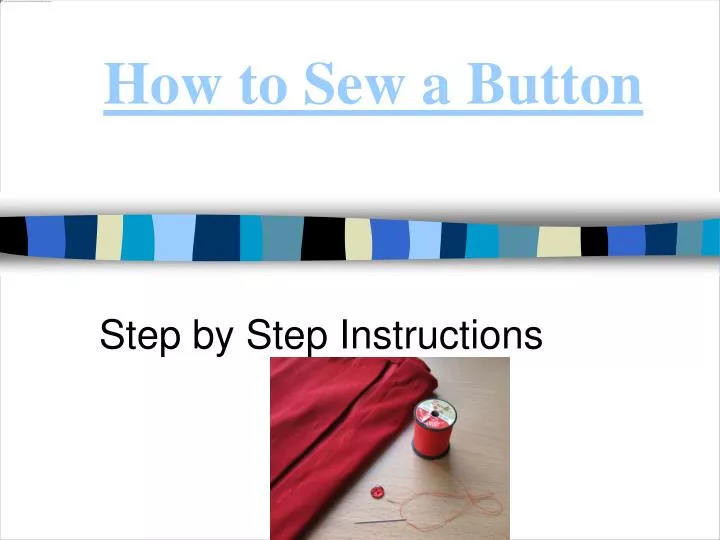
How to Sew a Button. Step by Step Instructions. Thread the Needle. For buttons, you should double the thread to make the job quicker. Pull it through the needle so that there is an equal length of thread extending from both sides. Why might a double thread be better than a single thread?.

E N D
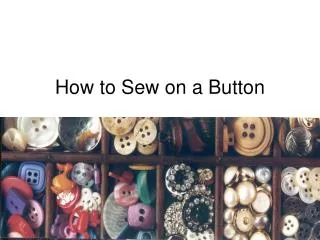
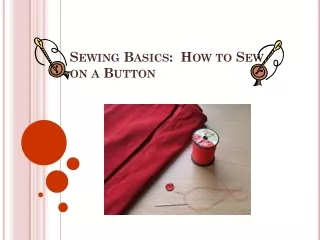
How to Sew a Button Step by Step Instructions
Thread the Needle For buttons, you should double the thread to make the job quicker. Pull it through the needle so that there is an equal length of thread extending from both sides. Why might a double thread be better than a single thread?
Tie a knot at the end of the thread. One way to tie a knot is to wrap the thread around your finger as shown and pull the end through the loop. Leave a tail of thread. Why do we need a knot?
Position the button. Line the button up with the other buttons on the garment if you’re replacing a button, or with your marking if it is a new garment. What are some ways you might know where to put the button?
Push the needle through Push the threaded needle up through the fabric and through one hole in the button. Pull the thread all the way through on each stitch. What might happen if you don’t pull the thread all the waythrough each time?
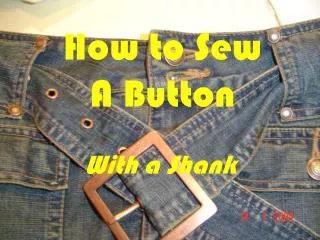
Place a pin under the center of the button Place and hold a pin under the center of the button. When the pin is taken out, it will create a "shank" so that there will be space between behind the button for the material that will need to go there when the garment is buttoned. Why do you think it is important tohave a “shank” on the button?
Button with stitching in an X. On a 4-hole button choose the one diagonal to the first hole if you want the threads to cross in an "X" formation. Why would someone choose to sew their buttonon in an “x”?
Button with parallel thread pattern • If you want two parallel lines of thread showing, choose the next hole that is opposite the first Why might someone choose this way to sew on a button?
Push the needle through the next hole Still holding the pin in place, pull the thread all the way through. Once that is done, the pin will be kept in place by the thread. Hold the button in place so it does not move. Why are you using the pin during this process?
Repeat the sewing process Repeat the sewing process 4-6 times to make sure the button is securely in place. On 4-hole buttons, make sure that the stitches have been made evenly, so that all four holes are equally used. Why would you sew through the button more than once?
Come up between the fabric and the button. On the last stitch, push the needle through the material, but not through a hole in the button. How do you know when it’s the last stitch?
Wrap the thread around the "shank". Wrap the thread 4 times around the thread between the button and the material to reinforce the shank you have created. How does this help the button stay on better?
Go between the button and material Pull the thread out into the area between button and material, remove the pin and pull up the button a little. What is this area (between the button & fabric) called?
Back down through the material Push the needle back down through the material. Why would we want to knot it on the insiderather than the outside?
Back stitch to tie off the thread • Make 2-3 knots to secure the thread • Pull the needle under the stiches already made • Pull the thread through the loop you made and pull tight • Repeat Why are we knotting more than once?
Cut off the excess Trim the excess thread Why do we trim the thread? Why do we trim it last? Why shouldn’t you trim with teeth?
References • http://www.wikihow.com/Sew-a-Button • Video Clips • http://www.youtube.com/watch?v=Gg0pfdIRBgw • http://www.youtube.com/watch?v=hrSs_DiJ-ZA • [[Image:Sew_button_1.jpg|thumb|description]]