Download

1 / 13
140 likes | 289 Views
External Plastering. Plain F loat F inishes. Backgrounds. Concrete blocks Brick E.m.l . Cement boards. Suction Control. Damp wall with brush and water Reduces risk of cracking Allows plasterer more time work with material Prevents material from drying out too quickly (curing).

E N D
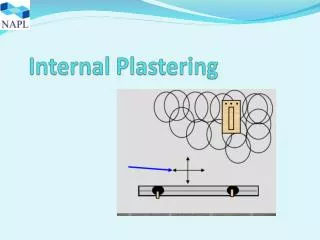
External Plastering Plain Float Finishes
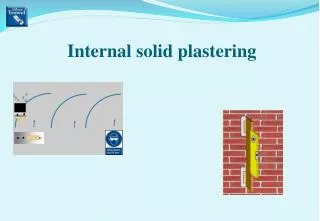
Backgrounds • Concrete blocks • Brick • E.m.l. • Cement boards
Suction Control • Damp wall with brush and water • Reduces risk of cracking • Allows plasterer more time work with material • Prevents material from drying out too quickly (curing)
Materials • Sand • Cement • Plasticiser • Lime • Prepared laths • Clean water
Scudding • Mix sand and cement at ratio 2.5 to 1 • Mix to a wet consistency • Apply with a dashing spoon • Scud evenly no bare patches • Scud coat assists in prevention of blocks showing through • Provides grip for scratch coat
Scratch coat • Mix at 3 to 1 with water proofer • Apply 10 mm thick approx. • Straighten with edge • Scratch immediately with wire scratcher (comb key) • Leave for a period of 72 hours before render coat • Waterproofer regulates suction for finish coat
Plain coat finish • Should be mixed at 3 sand 1 cement .25 lime or 12:4:1 • Applied approx. 10mm • Straighten with straight edge • Fill out any “wants” or hallows • Float when steady in a circular motion • Float 1m square at a time
Reveals • Patent, Plain, Band. • Clean prepared laths • Release oil
Nap finish • Prepare background as with plain float • Coat material 10mm approx. • Float material while sprinkling water to bring material to a “fatty” consistency • Nap gently with a napping sponge
Plinths • Recessednail a 2*1 lath with top of lath along damp coarse. Form a bell cast. • Stepped nail a 2*1 lath with bottom of lath along damp coarse. • Stop beads can also be used.
Dry dash • Mix material 6 parts sand 2 cement 1 lime • Dashing coat should be “fatty” • White cement may be used for decorative effect • Colouring agents can also be used • Walls must be well dampened • Best carried out by 2 plasterers one applying dashing coat and the other casting the pebbles from a dashing spoon • Pebbles size range from 6 to25mm
Dry dash • Pebbles are cast when dashing coat is still wet • Pebbles should be spread evenly on dashing spoon no bare patches should be left • If dashing a tall buildings joints should be cut in saw tooth fashion to make less obvious • Joints can be hidden in short areas such as doors or windows • A net should be left on the ground so that falling pebbles can be collected washed and reused • A dry dash receiver can also be used
Wet dash • 2 Scratch coats one 1 comb scratched 2nd scratched with yard brush • Mixed at ratio of 4 chips 3 sand 1 lime 1cement • Chips sand and lime can be mixed a day in advance and cement added just before use this is called “souring” and will stop material from splashing • Pebbles are included in mix