Download
1 / 8
140 likes | 505 Views
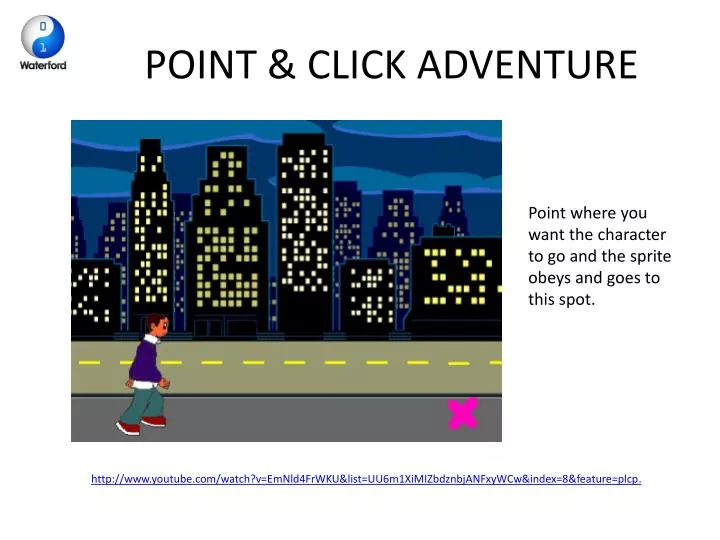
POINT & CLICK ADVENTURE. http ://www.youtube.com/watch?v=EmNld4FrWKU&list=UU6m1XiMIZbdznbjANFxyWCw&index=8&feature=plcp . Point where you want the character to go and the sprite obeys and goes to this spot. Step 1. Create W alking Boy. Import 5 boy walking costumes .

E N D
POINT & CLICK ADVENTURE http://www.youtube.com/watch?v=EmNld4FrWKU&list=UU6m1XiMIZbdznbjANFxyWCw&index=8&feature=plcp. Point where you want the character to go and the sprite obeys and goes to this spot.
Step 1. Create Walking Boy • Import 5 boy walking costumes. • Only want sprite to go right – left. • Add script across. • Test without waitscript, what happens?
Step 2. Prepare our Stage • Go to backgrounds tab and import 5 scenes. • Delete white background.
Step 3. Point & Click Marker • What are we trying to achieve with the marker? • If we click anywhere on the stage, we want our sprite to go to where we clicked. • Create our maker. • Add script across. • Test.
Step 4. Boy Responding to Marker • Select our boy sprite. • In scripts tab, make edits: • distance to maker> 6 • point towards maker • Test. What problem do we see? Our sprite can walk into the sky, which is not very realistic.
Step 5. Setup Marker Script We need: • 2 x >operators. • 2 x < operators. • 2 x mouse x (sensing). • 2 x mouse y (sensing). • 4 x and operators.
Step 6. Arrange Marker Operators 1. & 2. • Arrange our mouse x and mouse ywith > and < operators. • Set our mouse xand mouse ycoordinates. • Arrange inside and operators. 3.a 3.b
Step 7. Set Marker to Run and Hide 1. Notice how it won’t allow me to create a marker outside specified area 2. • Arrange as above. • Add set ghost effect to hide maker. • Test.