Download
1 / 25
250 likes | 542 Views
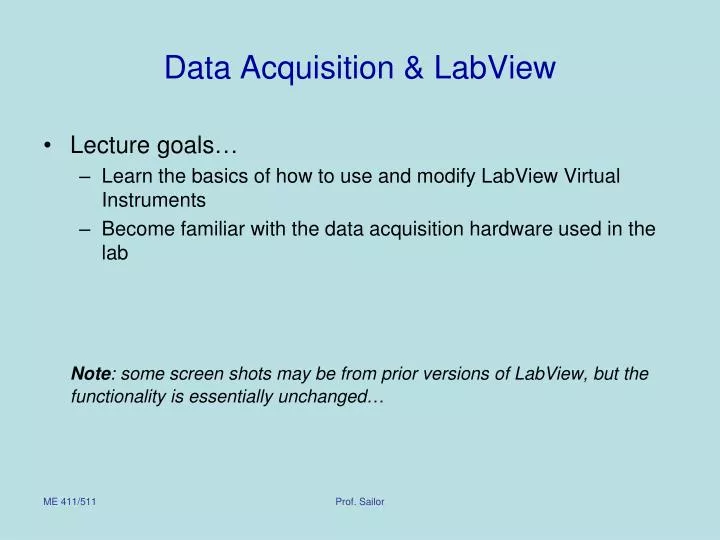
Data Acquisition & LabView. Lecture goals… Learn the basics of how to use and modify LabView Virtual Instruments Become familiar with the data acquisition hardware used in the lab Note : some screen shots may be from prior versions of LabView, but the functionality is essentially unchanged….

E N D
Data Acquisition & LabView • Lecture goals… • Learn the basics of how to use and modify LabView Virtual Instruments • Become familiar with the data acquisition hardware used in the lab Note: some screen shots may be from prior versions of LabView, but the functionality is essentially unchanged… Prof. Sailor
Getting Started Start Programs National Instruments LabView Prof. Sailor
More than 100 pages… some very useful info…. Prof. Sailor
This front panel area is essentially the “front panel” of the virtual instrument that you will create. The user of your VI sees this. Prof. Sailor
This block diagram (aka wiring diagram) is the “guts” of your virtual instrument. The user does not see this, but this is essentially what controls the functionality of your Instrument. It is comparable to the inside of an actual Instrument. You can see both the block diagram and front panel together by clicking “Window Tile Left and Right” or “… Tile Up andDown” Prof. Sailor
Block diagram and front panel menus • File • Edit • View • Project • Operate • Tools • Window • Help Prof. Sailor
Front Panel Buttons • Run • Run continuously • Stop • Pause Prof. Sailor
Block Diagram Buttons • Highlight execution Prof. Sailor
Useful Toolbars – Controls and Functions • Right click in Front Panel to get Controls • Right click in Block/wiring Diagram (back panel) to get Functions Prof. Sailor
Functions Prof. Sailor
Functions Prof. Sailor
Functions Prof. Sailor
Functions Prof. Sailor
Functions Select a vi Prof. Sailor
Sample vi • Open LabView and select New vi • In wiring diagram add 2 numeric constants and a multiplication operator • In Instrument window add a numeric indicator or meter Prof. Sailor
Cursor turns into a wiring spool. • Click on appropriate terminals to connect inputs and output of multiplication operation • Click Run button in Front panel to obtain result. Prof. Sailor
LabView tips and shortcuts • Undo last <ctrl> z • Remove all broken wires <ctrl> B • Right click on a function or control to learn more about it • Properties • Description and Tip • Help (gets wiring diagram) • Wires/connections are color-coded for variable type Prof. Sailor
Data Acquisition in ME 411/511 • Hardware: • USB 12-bit Data acquisition cards • USB 24-bit 4-channel Thermocouple cards • Software: • Labview (8.x) • Virtual Instruments Prof. Sailor