Download
1 / 24
240 likes | 245 Views
This module provides a comprehensive overview of blood glucose monitoring (BGM) for students with diabetes at school. Participants will learn about the role of BGM in managing diabetes, different monitoring technologies, and how to effectively perform blood glucose checks.

E N D
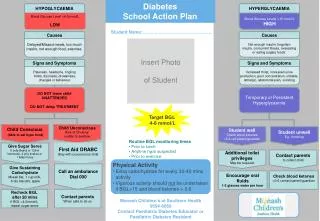
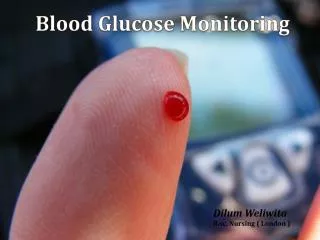
Diabetes Care Tasks at School: What Key Personnel Need To Know Blood Glucose Monitoring
Goal: Optimal Student Health and Learning Blood glucose monitoring (BGM) is a vital piece of a comprehensive management plan.
Participants will be able to understand: Learning Objectives
Role of the School In accordance with DMMP:
Any Time, Any Place Monitoring For students who can self-check: • Improved blood glucose control • Safer for student • Student gains independence • Less stigma • Less time out of class • Assists decision making in response to result
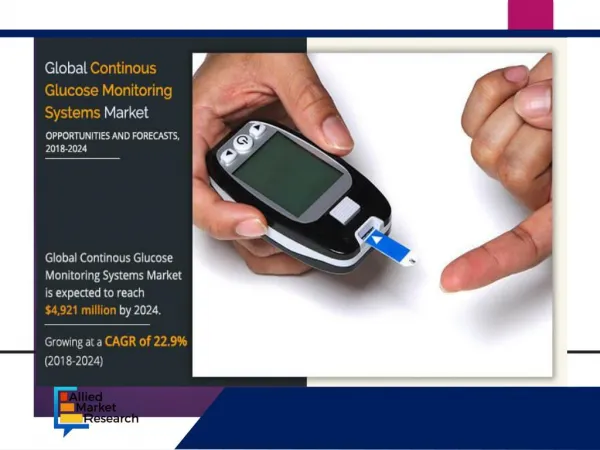
Blood Glucose Monitoring Technology • Simply, easy to use • Small meters • Reliable results (with smaller samples) • Options for alternate (to finger poke) site testing • Enhanced electronic functions to record, share, and analyze data Limitation – unknown blood glucose between checks
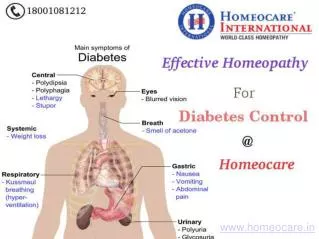
What is CGM? How it works: • A tiny glucose-sensing device called a "sensor" is inserted just under the skin and remains for 6-10 days • The sensor measures glucose in the tissue and sends the information to a receiver • Receiver = manufacturer-issued display device, smart device or insulin pump • The system automatically records a glucose value every 1-5 minutes • Some CGM provide alarms to signal when glucose is out of target range
Use Blood Glucose or CGM? • Some CGMs are indicated for treatment decisions – but not all • Blood glucose levels should be monitored with a blood glucose meter in accordance with the student’s DMMP
Basic Steps • Know the target range per DMMP • Check at times specified in DMMP • Immediate Action – Treatment to get back within target range
When to Check? DMMP specifies for an individual student Regularly scheduled checks: • Routine monitoring before meals and snacks • Before, during and/or after physical activity
When Else to Check? Per DMMP, extra checks may be necessary:
Lancing Devices FastClix Lancets Pen-type Lancing Devices
Knowing the Meter • Features vary: • Sample size • Wait time • Alternate-site testing capacity • Communication with other devices – pumps, continuous glucose monitors • Become familiar with operation of meter 1-800 number on back of meter
Preparation • Gather blood glucose monitoring supplies: - Lancet - Test strips - Meter 2. Student washes and dries hands thoroughly 3. If assisting or performing for student, put on disposable gloves
Readying the Meter 4. Turn the meter on 5. Check code # (if required) 6. Insert a strip into the meter
Lancing the Finger • Hold the lancet device to the side of the finger and press the button to stick the finger. • Alterative site (per DMMP) the school nurse and/or parent/guardian will give further instructions which sites are appropriate • Note: In the case of suspected hypoglycemia, only the finger should be used for blood glucose sampling
Applying Blood to Strip 8. Follow instructions included with the meter when applying blood to strip Drop, not smear Cover ALL of test strip window Some strips wick blood onto the strip
250 53 Results 9. Wait until blood glucose results displayed 10. Dispose of lancet and strip 11. Record blood glucose results, take action per DMMP
What Does the Display Mean? • Check manual • Contact manufacturer (1-800; Website)
What Does the Number Mean? • Reference student’s target range • Individualized for student • May vary throughout day • Take action per DMMP • Communicate sensitively • Recognize value may vary according to time since eating, insulin, or physical activity
This tool may be freely duplicated and distributed for training purposes Module 4 Pre – and Post – Tests: BLOOD GLUCOSE MONITORING
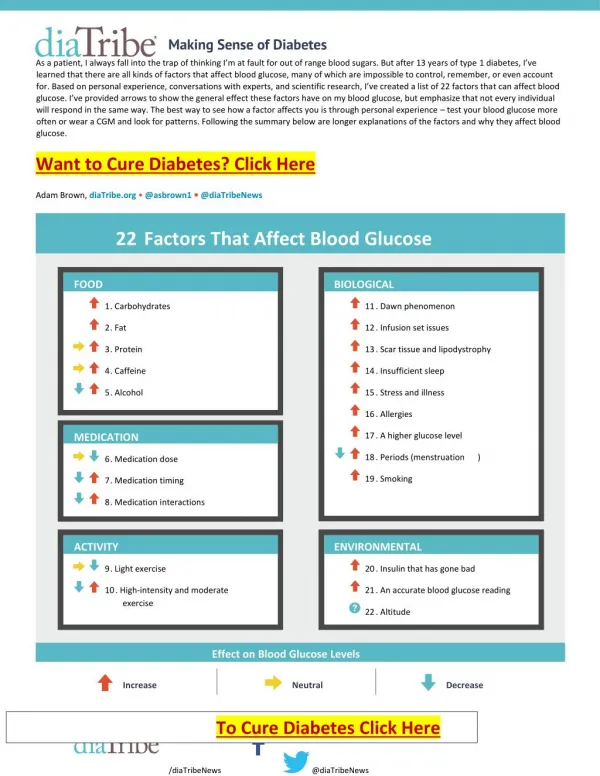
Which of the following can affect blood glucose levels? • Insulin • Food • Physical Activity • Stress/illness • All of the above • Blood glucose ranges are individualized for each student. • True • False • Students who are able to self-manage should be able to check their blood glucose in the classroom. • True • False • When should blood glucose levels be routinely checked? • Every hour • Before meals and snacks • Every time student comes to the clinic • According to the schedule in the student’s DMMP • Never at school • Blood glucose levels are monitored using: • Urine test strip • Continuous glucose monitor • Meter • a and c • b and c
Where to Get More Information American Diabetes Association 1-800- DIABETES www.diabetes.org/safeatschool