Download
1 / 12
130 likes | 245 Views
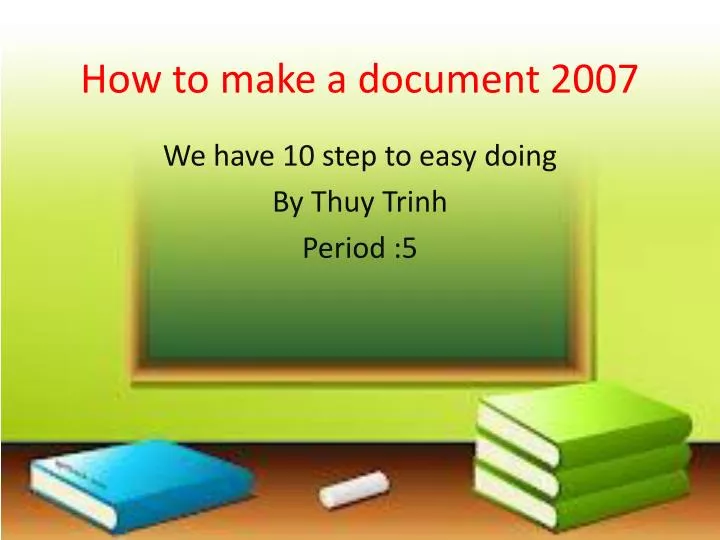
How to make a document 2007. We have 10 step to easy doing By Thuy Trinh Period :5. Step 1 . Open PowerPoint and create a new presentation . Make the title page . Think of a title, and click in the box to type.

E N D
How to make a document 2007 We have 10 step to easy doing By Thuy Trinh Period :5
Step 1 .Open PowerPoint and create a new presentation.Make the title page. Think of a title, and click in the box to type.
Step 3:Make the title page. Think of a title, and click in the box to type.
Step 3:Add slides that will accommodate images. Go to either Home or Insert and select New Slide. (You can also right-click any slide displayed in the slide panel to the left select New Slide.) Select a layout that will accommodate your image, such as a slide with a title box and an image box, a slide with just an image box, or even a blank slide.
Step 4:Double-click inside the image box (or go to Insert > Picture > From File), then browse to the desired image.
Step 5:Click Okay or Insert to add the image. If you don’t like the way it looks, select the image and click on Picture to change it out for a different one. You can also simply select it, hit Delete, and insert a new one from scratch.
step 6: Continue adding slides and images as many times as necessary.Rearrange the photo order if necessary. Using the slide sorter helps will make it easier for you to determine the best order for the slides. Locate the Slide Sorter button near the bottom of the image pane.
Step 7:Click and drag the slides to the desired destinations.
step 7: Add transitions to your slide shows. Good transitions are critical to high impact slideshows. They help tie the show together and make it flow smoothly from one idea to the next. Plus, transitions signal important ideas so your audience pays extra attention.
Step 9: Add a background. If you don’t like the white space on the edges of your images, right-click on any slide, select Format Background, then manipulate the background fill. You can use a solid fill, a gradient fill, etc. and modify color, direction, and transparency. To give your slides a uniform look, click Apply to All.
Step 10 :Add background music to your slide shows. Do you have any wonderful music on your computer? Why not add perhaps a 10-15 second music clip in the middle of the slide show? The music clip can help break up the montage and is a great way to keep your audience's interest. Make sure to choose music that can go with the slide show well.


![[ Module 6] How to make a CSP a living document?](https://cdn2.slideserve.com/4168237/slide1-dt.jpg)