Download

1 / 6
60 likes | 63 Views
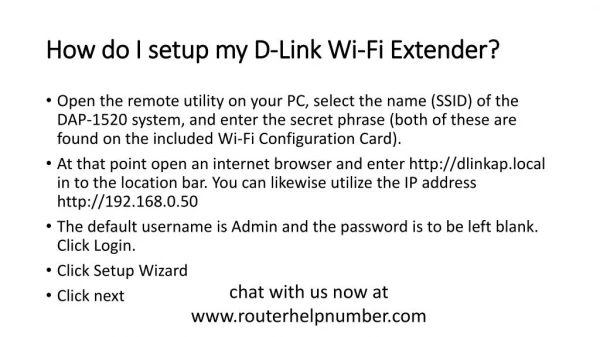
To get an internet connection, we need a router and modem. To get the entire coverage of your home with wifi, you need an extender. Dlink introduces DAP Dlink Extender N300 extender to extend the wireless range of the existing router.

E N D
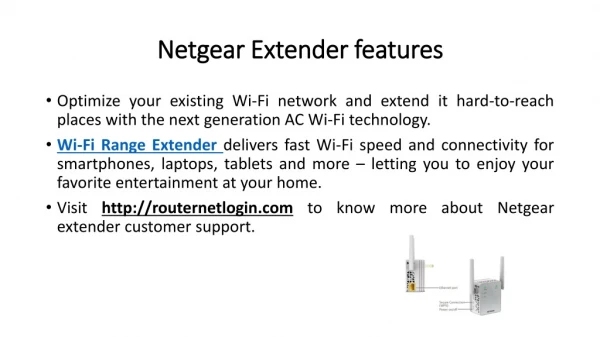
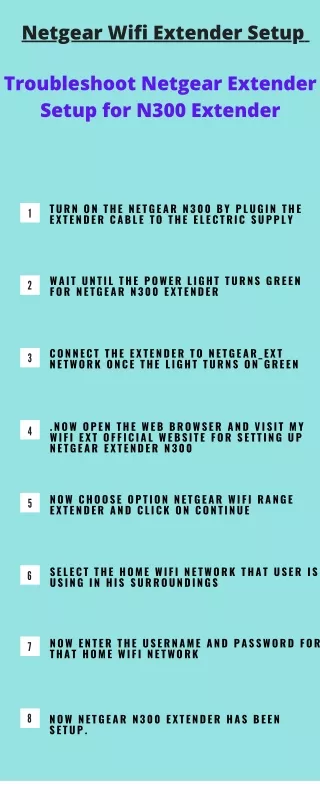
To get an internet connection, we need a router and modem. To get the entire coverage of your home with wifi, you need an extender. Dlink introduces DAP Dlink Extender N300 extender to extend the wireless range of the existing router. It is compatible with almost all the routers and you can place it anywhere at your home. A built-in setup wizard is there in this extender, so you can set it up in just few seconds. Download the application on your mobile device and enter the username and password. You will get the same at the product label of your extender. Enter the details and follow the instructions till the setup process finish.
Connect your computer to the DAP-Dlink Extender: take an Ethernet cable. Connect its one end to the extender Ethernet port and another into your computer. Plug your extender into an electrical outlet. Configure the IP address: we are here describing the configuration for Windows 7. At the taskbar, click on start and then go to control panel. Go to network and internet and then network connections. Change the adapter settings. You will see the LAN connection. Press right mouse button and select properties. Go to networking tab and click on TCP/IPv4. Enable the radio button representing use the following IP address. Enter the IP address (subnet mask) for your extender and save the settings by clicking on ok button.
Connect an adapter to the computer: connect an adapter to your computer and it’s another end into the power outlet. Turn on the adapter. Configure the IP address for your adapter: in the same way as you have configured the IP address for your PC, you can configure the IP address for your adapter. In the taskbar, you will see an icon representing the network. Click on it and you will see a list of available networks. Select the wifi network of your Dlink DAP and enter the security key for the same. If you are setting up the extender then you will find the default password on the product label. Find the password and enter in the respective field while connecting to the extender.
Connect to the user interface of the dlink dap Dlink Extender: launch an internet browser such as Internet Explorer and in the address bar of this browser; enter the default IP address of the extender. If the device is properly set up then you will see a login page otherwise, you will get the setup wizard instructions. At the login page, enter the username and password. In this case, the default values are printed on the guidelines manual. Enter the details in the respective fields and click on login button. Summary of all the details displayed on the basic home page. You can select language either Russian or English.
Contact Information www.Dlinkap-local.in