Download
1 / 9
90 likes | 205 Views
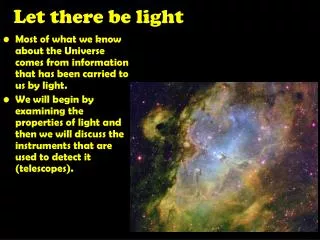
Let There Be Light. Constructed by: Justin Carpenter, Nate Best, Scott Gordon, Justin Shelton. Our windmill is basic, yet lights the bulb with more than enough power We started with a wood cover for the magnets and wrapped the 3 layers of magnet wire around that

E N D
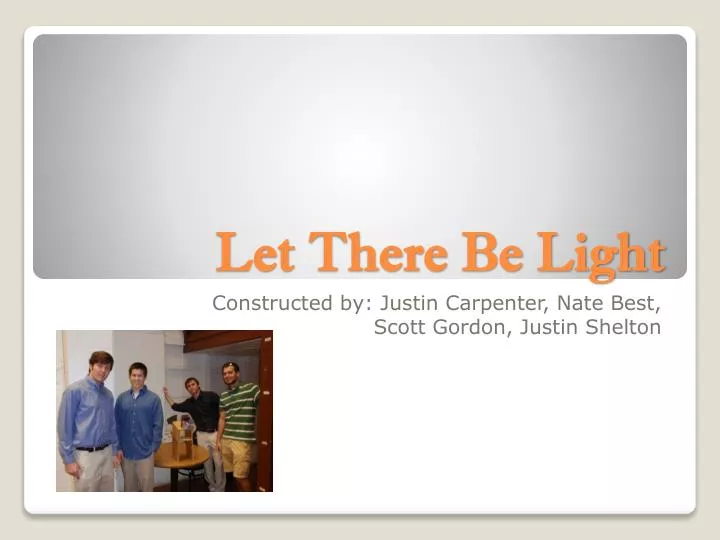
Let There Be Light Constructed by: Justin Carpenter, Nate Best, Scott Gordon, Justin Shelton
Our windmill is basic, yetlights the bulb with more than enough power • We started with a wood cover for the magnets and wrapped the 3 layers of magnet wire around that • The fan blade we used came from a small household fan that had been taken completely apart • The axel being used is simply a pen shaft, rotating about holes that we drilled in the sides Design 1
We used 3 different sizes of magnet wire (due to the availability) • The generator has been glued to the top of the stand at a specific angle • The stand is built from a couple pieces of wood glued together • We aimed to have the height and angle adjusted to catch the maximum wind power Design 2
We used a pen shaft (plastic) rotating through a wood hole to decrease the friction of the turning motion as much as possible • Although there were many options for the blade that catches the wind, we used a fan blade during our first trial and it worked successfully Mechanical Aspects
The current and voltage created in the wire is due to the high velocity of the spinning magnets • The only way to create a decent amount of power was to have the group of magnets spinning perpendicular to the direction of the coil • The end of the last magnet wire was sanded down and attached to the bulb wire by wrapping = + Electrical Aspects
Power = (1/2)•ρ•A•V•Cp • ρ- rho; air density (≈1.225 kg/m3 at sea level) • A- area of rotor exposed to wind (m2) • V- wind speed velocity (m/s) • Cp- coefficient of performance (http://www.awea.org/faq/windpower.html stated ≈0.35 for an average/ good design. We will use 0.3 because our homemade generator is significantly smaller than an average windmill power generator P=(0.5)(1.225)(.00774)(8.0467)(0.3) P= 0.01144 Watts Calculations (power)
N= (power input) (power output) N- efficiency N= (0.01144) (0.063A)(1.8V) N= 7.26 % Calculations (efficiency)
Essentially every idea we had worked on the first try except the size of the magnet wire. We originally used magnet wire that was too large, thus not creating enough voltage. • Luckily our ideas flowed and we all agreed on ideas as the project went along • Due to the fluidity of our work, we almost never had to stop and rethink any aspects of the project Design/ Construction Issues
The most efficient way to construct a homemade wind-powered generator is to have a large fan blade, minimal friction between the axel and the hole of rotation, and plenty of thin magnet wire to wrap around the device. • More magnets used = more voltage and current • The lighter the axel + magnets =quicker rotation Conclusions