Download
1 / 117
1.17k likes | 1.36k Views
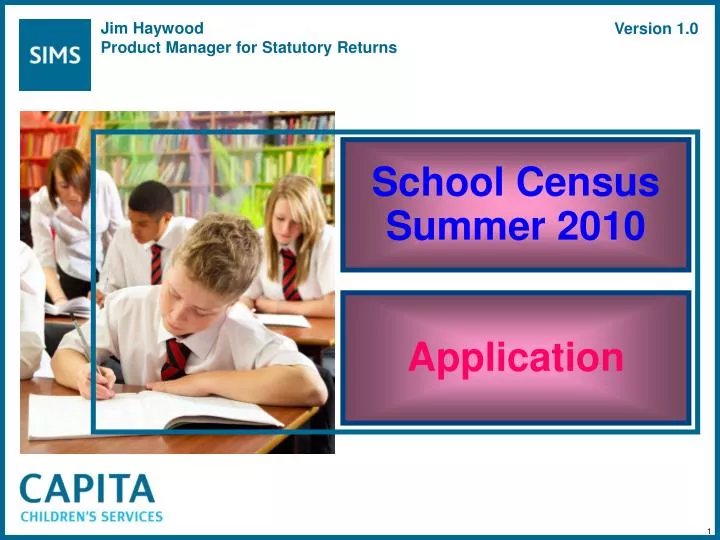
Jim Haywood Product Manager for Statutory Returns. Version 1.0. School Census Summer 2010. Application. 1. School Census Summer 2010. Select a Folder. 2. Click to open the latest School Census application. 3. New Feature Loading Files

E N D
Jim HaywoodProduct Manager for Statutory Returns Version 1.0 School Census Summer 2010 Application 1
School Census Summer 2010 Select a Folder 2
New Feature Loading Files On first use of the Fileset a message is displayed to indicate that the files are being loaded
If the files take a long time to load this could indicate a problem with your Document Management Server
Click to select a folder to hold the Census Return and Report files. 6
It is very important to select a folder that is available to all users who will be involved with the Return, … but that folder must besecureas it will hold children’s details. 7
IMPORTANT NOTE: Due to the sensitive nature of some of the data stored in SIMS .net, careful consideration should be given when specifying the location of any folder into which you save sensitive data, e.g. census returns, imported and exported CTFs, etc. You should be mindful of your school's responsibilities with respect to information security. Consider which users have access to the chosen folder, especially if the folder is shared on a Server. If you are in any doubt, you should consult with your IT Security Officer or the EIS Helpdesk before proceeding. 8
If you are sure you have selected a suitable folder you click Yes 9
School Census Summer 2010 Add a Return 10
This is a dry run so you can change the description to indicate this 12
It a good idea to save the file with this revised description. 13
The Census Date can be adjusted if you want to use the functionality for non-Census purposes, but it is important that it is set to the official date for producing the authorised return. 3.14
The date span for the collection of attendance information is shown and cannot be edited. The date .. 15
The date span for the collection of exclusion information is shown, but cannot be edited 16
The date span for the collection of Learning Aims is shown, but cannot be edited 17
New Feature Missing Marks Now checks for missing marks when calculating all details 21
Calculate All Details will add the necessary information to the subsequent panel. You should only have to calculate all details once as panels can then be calculated on an individual basis. The calculation of the Attendance panel is a little more complicated as it checks to see if manual entry is required and if there are any missing marks. 22
There is a lot of Attendance information to interrogate so only proceed if you have sufficient time. 23
If this was a Primary School or a Secondary School with 2, 3 or 4 year old pupils, a panel with read only information on Hours at Setting would appear. 24
New Feature Recalculate A Recalculate button has been added to the Hours at Setting panel, so schools will no longer have to recalculate all panels to recalculate the information for the Hours at Setting 25
If this was a Primary School, a panel with read only information on Class Type would appear. 26
In fact this is a Secondary School without 2, 3 or 4 year olds so Pupil Attendance is the next panel displayed. 27
New Feature Missing Marks Can now press a button in the Attendance panel to check for missing marks 28
The school uses the Attendance module and the codes are DCSF compliant, but missing marks have been found and they will distort the attendance information 29
You can deal with missing marks without closing the School Census application, but it is a good idea to save the School Census information first. 30
Once you have worked on the missing marks you can click this button to make sure that all missing marks have now been dealt with. 31
In fact there are still missing marks to be dealt with. We don’t have to deal with them at this point, but they must be dealt with before the Return is authorised. 32
If we have some mistakes to correct for Learning Aims in School Census Autumn 2009 we click on Open to read in the Learning Aims information and mark records as mistakes as necessary If no mistakes were made this panel should be left empty 34
New Feature Spring XML Return File It no longer matters if you can’t find a copy of the actual XML file as the application will use the copy it previously stored in the database 35
Select the correct authorised Return if you authorised more than one. 36
All Learning Aim records for the Autumn Return are listed and you must tick the ones you want to indicate as errors 37
School Census Summer 2010 Create & Validate 39
Click to create the XML Return file and to run DCSF validation across the file. The legality of attendance codes and missing marks will be checked again at this point. 40
New Feature Create & Validate The display now keeps you fully informed regarding the stages it has reached 41
This indicates that creation and validation of the Return has begun 42
Messages tell you what is being processed. It starts by collecting data, 44
Clicking on a row provides a jump to the place in SIMS where the issue can be viewed and corrected as necessary. Obviously, this functionality is only helpful for users with a high level of access to the various parts of SIMS. Where such access is not available, printing the report can be used for getting other colleagues to deal with the issues. 47
New Feature Validation Display More filter options available, no longer necessary to press the search button after changing the filter and labels have been improved 48
Click here to get a list of the errors/warnings that have been generated and to select a particular error/warning to use as a filter. 49
The filter options have been expanded so the user can view all errors or all queries as well as the previous options of all errors and specific errors/queries. 50