Download
1 / 13
130 likes | 254 Views
U.S. Department of the Interior Bureau of Land Management. May 2006. Proper Site Selection Part 2. VRM BMP Principles

E N D
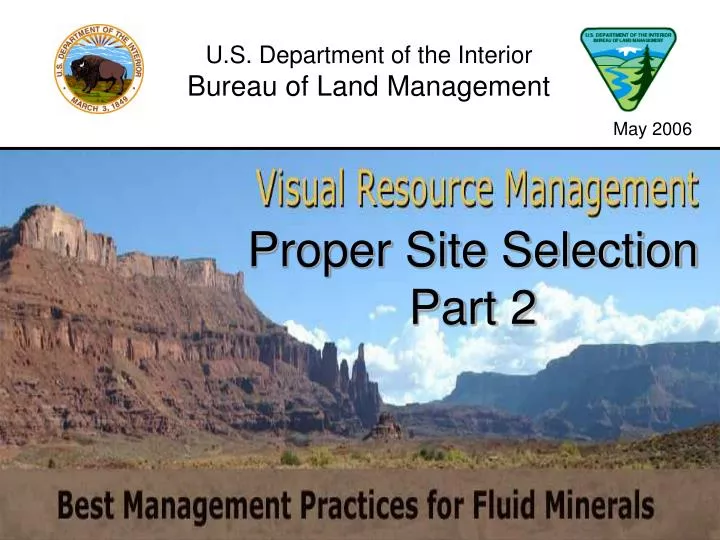
U.S. Department of the Interior Bureau of Land Management May 2006 Proper Site Selection Part 2
VRM BMP Principles • The VRM system provides us with manybasic principles and techniquesto help reduce contrast. As they relate to Fluid Minerals and similar development, the 4 most critical are: • Proper Site Selection (This Slideshow) • Reduce Unnecessary Disturbance (Part 3) • Choice of Color (Part 4) • Final Reclamation (Part 5)
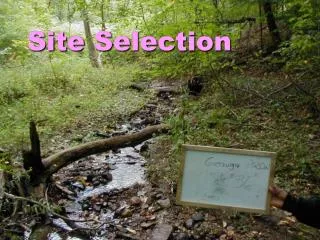
PROPER SITE SELECTION • Location! Location! Location! • Proper site selection can be the most important tool for reducing visual contrast. • Work with the operator to choose the best site access and facility location to mitigate for visual impacts. • Where practical, avoid construction in highly scenic areas. Would you want to see a pumping unit and tall tanks at this ridgetop location, or could they, or at least the tanks, be moved off the ridgeline where they would be less visible?
Avoid placing facilities on ridgetops Ridgetop facilities are highly visible from great distances because they are skylined. Roads, on the other hand, may be less visible if located along ridgetops, but if they are located on the ridge face they can be highly visible because of increased cut, fill and sidecast material. The color of this tank and its ridgeline position make it visible from great distances.
Distance Move facilities further from key observation points to reduce their apparent size. This may necessitate moving facilities from the shoulder of roads and trails, and placing them in the background of the view. Try locating the “Juniper Green” Pump-jack in this photograph.
Avoid locating facilities near “prominent” features. A prominent feature may be something with a specific name or that serves as a landmark. Can you think of any prominent features or landmarks in your area that should be avoided? Turtle Rock
Screening & Hiding Use natural or artificial features such as topography, vegetation, or an artificial berm to help screen facilities. Locate facilities in a swale, around the bend, behind a ridge, or create a natural looking, vegetated berm. Photo of a dark green pumping unit partially screened by junipers
Consider Cumulative Effects One or two properly mitigated wells along a scenic byway may not be incompatible with a Land Use Plan VRM Classification, such as VRM Class II. But what if there were 5, 10 or 15 wells? Effective visual mitigation becomes more critical with additive impacts. The addition of new wells to a highly developed area may not have a noticeable cumulative effect, but could have an effect in a less developed, more natural area.
Plan the Road System Work with the operator to plan the road system for a new or expanding field. Planned road systems result in less surface disturbance and save in construction and maintenance costs. Consider a Plan of Development. Photo Simulation Unnecessary shortcut roads. Roads developed one at a time without a grand design waste space and resources, destroy vegetation, contribute to soil erosion, and fragment habitat.
Follow the Contour • Locate and constructroads and other linear facilities to follow the contour of the landform or mimic lines in the vegetation. • Avoid a straight road that will draw the viewer’s eye and attention straight toward the production facilities at the end of the road. This road winds along the natural contour of the land minimizing the need for cut and fill and not drawing your attention to the well facilities at the end of the road.
Roads: Avoid Straight Lines In Visually Sensitive Areas • Follow the contours • Put a bend in the road where it joins a main road so as you drive by, your eye does not catch sight of a long, straight road.
Where Practical, Use Existing Roads. When a Suitable Existing Road is Not Available… Construct a Suitable Road, but Eliminate the Redundant or Obsolete Roads Consider…..Is the Existing Road in the best location? Do not reuse existing roads just because they are preexisting and you are hesitant to disturb new areas. Choose the best location for the road and its anticipated uses. Consider safety, anticipated traffic load, and maintenance requirements as well as visual and habitat needs. This new road was constructed in a better location, but without reclaiming the former, obsolete road. To mitigate the construction of the new road, the obsolete road should be recontoured to the original contour and revegetated. Obsolete Roads New Road
BOTTOM LINE: To minimize adverse impacts, work with affected parties to ensure proper siting prior to the submission and approval of the permitapplication. This can create a win-win-win for the operator, the public, and BLM. Well drilled in a swale. Production facilities will be partially out of view from key observation points. (However, first ensure that the swale is not important wildlife habitat.) Continue on with VRM Part 3