Download
1 / 19
190 likes | 191 Views
Learn how to install the SRH Front Desk printer in Windows 7 (64-bit) with this step-by-step walkthrough. Download the PCL 6 Driver for your operating system and follow the instructions to install the printer.

E N D
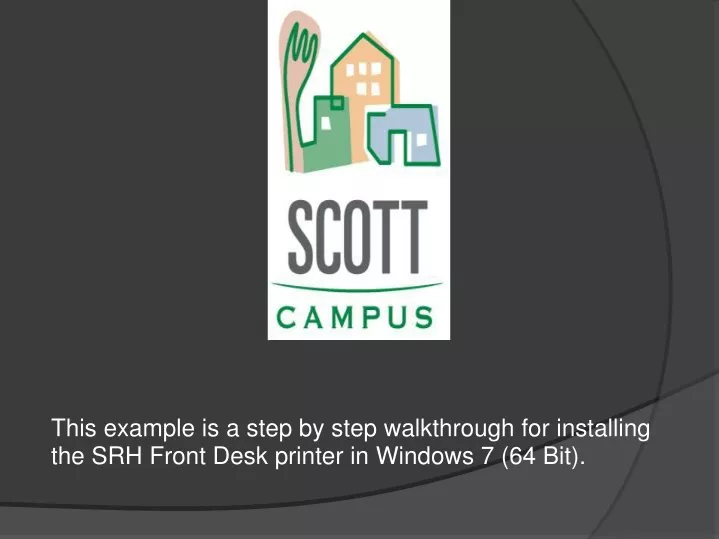
This example is a step by step walkthrough for installing the SRH Front Desk printer in Windows 7 (64 Bit).
Windows 7 64-Bit Windows 7 32-Bit Windows Vista 32-Bit Windows Vista 64-Bit Click the link on this page to download the PCL 6 Driver for your Operating System.
When the “File Download” box appears, click “Run”. This example was done using Internet Explorer 9, your “File Download” box may appear differently.
After the file downloads, you may be prompted with a security warning. Click “Run” to continue installation.
Choose the folder where you want to install the drivers. Windows will find the drivers automatically, but it is a good idea to place them somewhere you can remember.
Now we will install the printer. Open the Devices and Printers menu found in the Start Menu. In Vista, open the Control Panel and select Printers.
Click on the “Add a Printer” button found at the top of the window.
Now you will create a new port. Select “Standard TCP/IP Port” and click “Next.”
Now put in the IP address of the printer : 192.168.1.7 and click “Next.”
Windows will find the drivers that you downloaded and install them for the printer.
Windows will now finish installing the printer on your computer
If you have several computers and would rather share this printer instead of installing it on all of them, this is where you would do it. We recommend not sharing the printer to prevent accidental printing.
If you don’t have a local printer, you can select this as your default printer. Again, we recommend against this to prevent accidental printing. Also, if you wish to print a test page you can do so from here.
Congratulations! The printer is now installed. You can verify this by going back to your Devices and Printers screen.