Download
1 / 18
190 likes | 408 Views
How to Use Google Docs and Google Drive. After you Login to your School Email *(If you know how to login to your school email account, you need to Jump to Slide #6 ). Lesson 9 – March 2014 – Michelle Lowe. Open a Google Chrome Browser. From your desktop, open Google Chrome Browser.

E N D
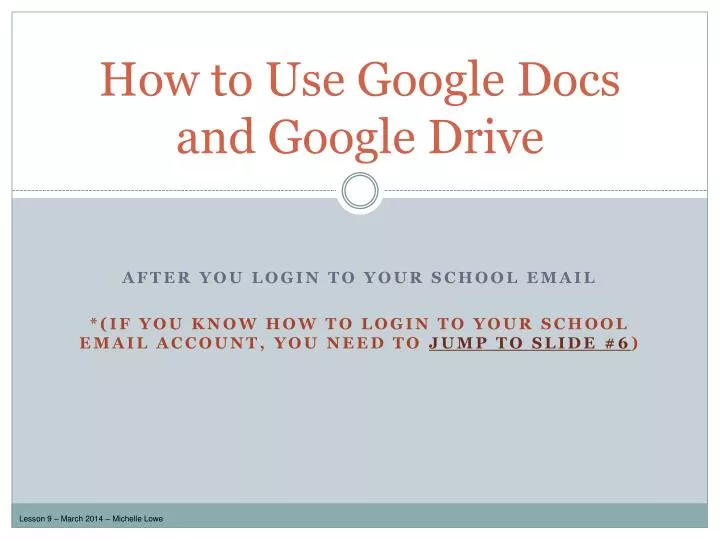
How to Use Google Docsand Google Drive After you Login to your School Email *(If you know how to login to your school email account, you need to Jump to Slide #6) Lesson 9 – March 2014 – Michelle Lowe
Open a Google Chrome Browser • From your desktop, open Google Chrome Browser. • In the address bar, type www.gmail.com and press enter. Sample Email Address: mas9581@instruction.smcps.org
Click Sign In and Enter Your Info. • Click “Sign In” at the top of the page. • Enter your username (same as your laptop sign-in username) with “@instruction.smcps.org” • Enter your password (same as your laptop password) • Click Sign in. • Do not check the “Stay signed in” box for security purposes.
Review the Terms of Service • The first time you access your school email account, you will see the Terms of service and some other information. At the bottom of this window, you will be required to type in the twisted letters into the box below and click the blue “accept” box.
Begin Using your Email • You are now logged into your email account and can begin to send and receive emails. • Remember, this email account can only be used to exchange emails with your teachers. It will not work with any accounts other than smcps.org accounts.
Accessing Your Google Drive • Click on the block of 9 small boxes next to your name on the top right corner. Doing this will open up a list of apps. • Click on the app named “Drive”.
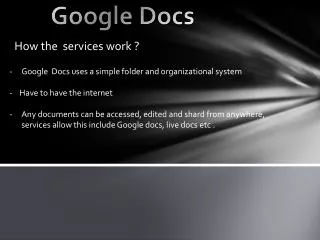
Your Google Drive • As you can see, the Google Drive is open. • In this example, there are many folders and files, yours may not have any or very few. To learn how to create a document, click here! To learn how to open a document, click here!
Opening Saved Files from Your Google Drive • Opening a saved file is done in the same way it is done from “My Documents” on your computer. • You locate the folder that contains the file, select the file and click to open it.
Previewing, Opening and Downloading the File • After clicking on the file name, a preview of the document appears on the screen. At this point, you can either close it, open it, or download it to your computer.
Creating a Document with Google Docs • Here is the view of the Google Drive again. • On the left, toward the top, there is an orange box that says “Create”.
Creating a Document with Google Docs (Continued) • There are several types of documents that you can create: • For Word Processingchoose – • For a Slide Show Presentation, choose – • For a Mathematical Spreadsheet, choose – • To Create a form that you can fill in, choose –
Sample Document and Saving • The view below is a sample word processing document. The document can be saved by clicking the “Share” button.
Saving to Your Google Drive • Your document can be saved to your Google Drive by clicking the “Share” button, typing in the name of the document and then clicking save.
Saving and/or Sharing the Document • A Google Document can be saved for your use only or it can be saved and viewed by others you invite. In addition, depending on the permissions you set, the invitees can comment and edit the document, too. • Clicking done on this screen as it is will save it and grant access only to you. • To invite someone to access your document, you type their email address in the “Invite People” box.
Setting Permissions when Sharing the Document • Out from where the email address is entered, you will see the “Can edit” option with an arrow to the right. That is where you set the permissions for the person you are inviting to access your document. • “Can edit” means the other person can make changes to the document. • “Can comment” means that the other person can view the document, comment on the document, but not change anything. • “Can view” means that the only thing the other person can do is view the document. • Once you select the correct one, you may add a message if you want and click “Send”.
Completed Invitation • This image shows a completed invitation for someone to work with you on your document. An email address has been entered, the permissions have been set and a message has been included. I have also chosen to send a copy of the invitation to myself just to have on file and see exactly what the person invited saw.
This is an overview of the settings for the document. It shows that Mrs. Lowe is the “Owner” and that Mrs. Bean can view and edit the document. • From this screen, I can invite more people if I want to.
The Document With and Without a Guest • The documents on the right show how the document looks when you are working alone and how the document looks when you are working with someone.