Download
1 / 10
100 likes | 213 Views
How to Sew A Button. With a Shank. There are three types of Buttons. Buttons with two holes Buttons with four holes Buttons with a hard shank For Buttons without a shank we will create a thread shank. Purpose of the Thread Shank. Thread Shank Allows for:

E N D
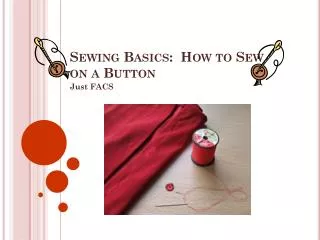
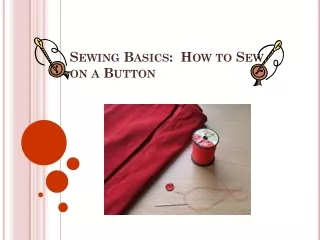
How to Sew A Button With a Shank
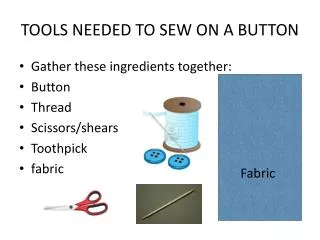
There are three types of Buttons • Buttons with two holes • Buttons with four holes • Buttons with a hard shank • For Buttons without a shank we will create a thread shank
Purpose of the Thread Shank Thread Shank Allows for: Thickness of Fabric under the button Ease of movement
There are two Basic buttonholes Horizontal & Vertical
Placing your Buttonfor a Horizontal Buttonhole Place your buttonhole over the area where you are going to put your button Make sure it is exactly in place Make sure the mark is on the outer edge of the buttonhole Make a mark through the buttonhole on the lower layer
Placing a Button for Vertical Buttonholes Place the top over the bottom exactly in place A Vertical Buttonhole is only slightly different from a horizontal one This mark will be in the center of the buttonhole Make a mark through the buttonhole onto the lower layer
Horizontal Buttonhole on a Patch Pocket Buttonhole must be sewn on pocket before pocket is attached Always sew buttonhole before sewing button This mark will be in the center of the buttonhole Make a mark through the buttonhole onto the lower layer
Before you begin Stitching the Button On Apply Beeswax to your Thread. This will: make thread stronger make it more wire like (so it doesn’t tangle easily)