Download
1 / 16
160 likes | 293 Views
Choose a theme, add more content. As a color scheme for your presentation, basic black will do the job. But how about when you’re in the mood for more color and a vibrant design?.

E N D
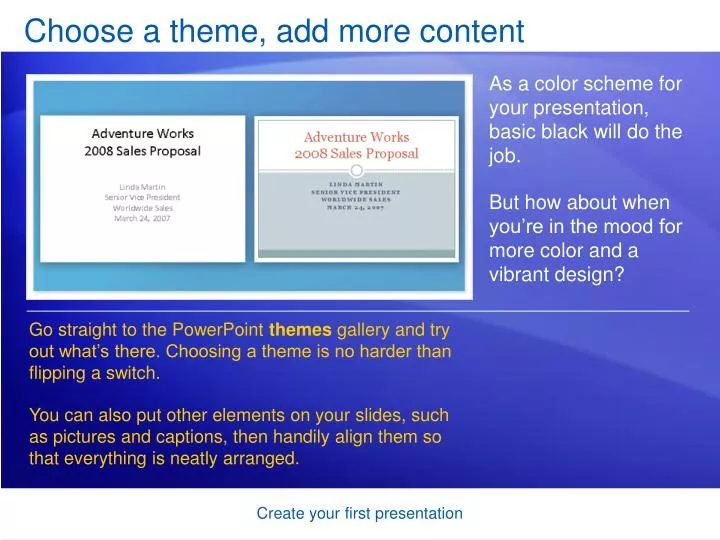
Choose a theme, add more content As a color scheme for your presentation, basic black will do the job. But how about when you’re in the mood for more color and a vibrant design? Go straight to the PowerPoint themes gallery and try out what’s there. Choosing a theme is no harder than flipping a switch. You can also put other elements on your slides, such as pictures and captions, then handily align them so that everything is neatly arranged. Create your first presentation
The beauty of themes Every presentation has a theme. Some are just more colorful than others. The theme determines the look and colors of your slides and gives your presentation a consistent appearance. Here, you see three title slides that have the same content but that use different themes. Create your first presentation
The beauty of themes Every presentation has a theme. Some are just more colorful than others. A theme includes these elements, offered as a package: • Background design • Color scheme • Font types and sizes • Placeholder positions Create your first presentation
The beauty of themes The color scheme affects background colors, font colors, fill colors for shapes, border colors, hyperlinks, and slide elements like tables and charts. And if you have placeholders, the theme honors the layout you’ve chosen; it just moves things around a little. Create your first presentation
Choose a theme Every new presentation starts out with the default theme, called Office Theme. To find and apply another one, start by clicking the Design tab on the Ribbon. Theme samples, in the form of the small thumbnails you see here, will show in the Themes group. To see additional themes, click the More button on the right of the group. Create your first presentation
Choose a theme Every new presentation starts out with the default theme, called Office Theme. To find and apply another one, start by clicking the Design tab on the Ribbon. When you point to any theme thumbnail, a preview of it is shown on the slide. Click a thumbnail to apply that theme to all your slides. You can also apply the theme only to the slides you have selected. Create your first presentation
Insert pictures and things, part 1 Now you’ll learn two methods for inserting pictures and other non-text items into slides. The first method is to click an icon in a placeholder, which you got a glimpse of in the first lesson. Create your first presentation
Insert pictures and things, part 1 Now you’ll learn two methods for inserting pictures and other non-text items into slides. The picture illustrates how to insert a piece of clip art: Click the Clip Art icon in the placeholder. The Clip Art task pane opens. There, type a keyword in the Search for box that suggests the sort of clip you want. Then click Go. Create your first presentation
Insert pictures and things, part 1 Now you’ll learn two methods for inserting pictures and other non-text items into slides. The picture illustrates how to insert a piece of clip art: Clips appear that fit the keyword. Click one of them to insert it into the slide. The picture is automatically sized and positioned within the placeholder. Create your first presentation
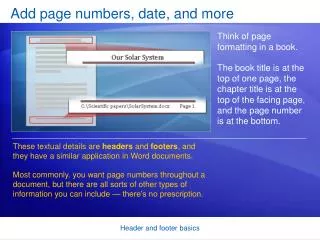
Insert pictures and things, part 2 Another way to insert slide items is to use the Insert tab on the Ribbon. All of the things you could insert from the slide pane are also available on the Insert tab, plus more—including shapes, hyperlinks, text boxes, headers and footers, and media clips such as sounds. Create your first presentation
Insert pictures and things, part 2 The picture shows the array of things available on the Insert tab. A typical thing to insert is a text box, as shown. Text boxes are handy when you want to add text somewhere and need another placeholder for it, such as for a picture caption. On the Insert tab, click Text Box. Draw the box on the slide and type in it. Create your first presentation
Insert pictures and things, part 2 What’s the better method? Since you have two choices for how to insert some things, which one is recommended? It mostly comes down to what you find handiest. One thing to consider is how you want the inserted item to be positioned on the slide. Create your first presentation
Edit slide elements After inserting a picture, you may want to make adjustments such as resizing, cropping, or changing the brightness. Use Picture Tools for this. Picture Tools are available when the picture is selected. So, select the picture. Picture Tools appear above the Ribbon. Use options on the Format tab to work with the picture. Create your first presentation
Edit slide elements There are tools for the range of things you can insert, from tables, charts, and SmartArt™ graphics to text boxes and shapes, sounds, and videos. Just select the inserted item to see the relevant tab on the Ribbon. Create your first presentation
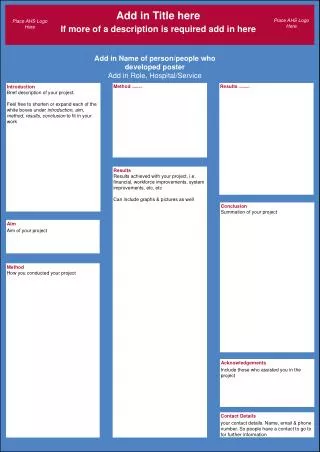
Arrange slide elements Once you’ve put all the things that you want on the slide, you need to align them so they look just right. For example, in this picture, the text box with the caption will look best once it’s aligned evenly with the picture—either flush left, or correctly centered. Create your first presentation
Arrange slide elements You use the Arrange commands to align slide elements. To align the caption so it’s flush left with the picture, first select both placeholders. In Picture Tools, find the Arrange group on the Format tab. Click the Align button, and then click Align Left. Create your first presentation