Download
1 / 10
100 likes | 112 Views
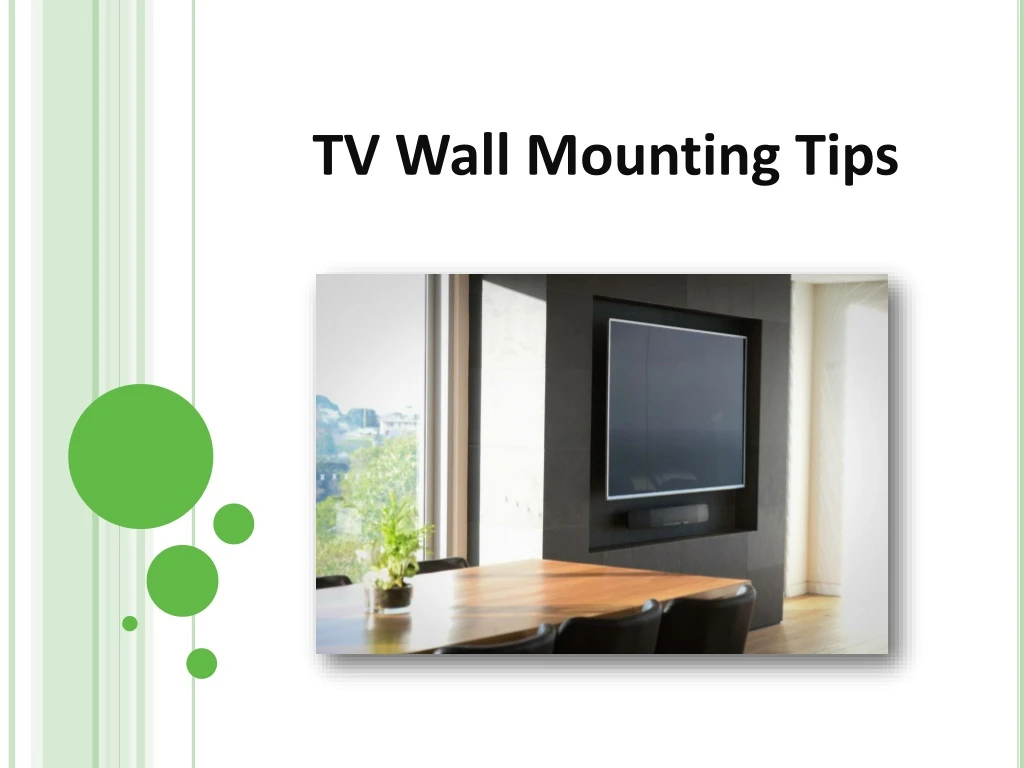
Find out how to wall mount a TV and what materials and tools you will need to use.<br>

E N D
Bought your brand new TV and want to install it right away! Well, you can either do it yourself (DIY) or hire a professional TV wall mounting service to install it. Here are the easy step-by-step instructions to wall mount your brand new TV.
TV Wall Mounting Materials & Tools • TV Wall Mount Kit • Power drill and bits • Screwdriver • Socket Wrench • Stud Finder • Level, Tape Measure & Pencil • Safety Glasses
What Type of TV Wall Mount Do You Need? Well, it depends on the size and shape of your TV, the positioning of VESA holes and what features you require for space. Some TV wall mounts have special features like swivelling or tilting while the ordinary ones are fixed in place.
Step-By-Step Instructions to Wall Mount Your New TV Step #1: Locate the studs and electrical wires. Normally, a stud finder is the preferred tool to perform this job. Get the pencil and mark these, so you know where you can drill your holes. Depending on the wall type, you will have to ensure you drill into the studs as you’ll require supporting the weight of your TV and bracket. Step #2: Get the position right for your wall mount. Preferably, position your wall mount above the power point and TV wall point to hide all the cords. Now, using the level tool, hold the bracket level and match the cut-outs inside of the bracket using the studs that you marked out with a pencil.
Step #3: On each of the pencil mark, make a hole using a drill. Step #4: It’s time to install the bracket. Get help from a family member or friend to hold the bracket. Holding the bracket in its place, screw the bolts with washers into each of the hole using a wrench. Until all of the bolts are in its place, keep them loose; tighten at the end, so if you need to redo anything that’s not right, it would be easy.
Step #5: Fix the mounting plate to your TV. Your TV wall mounting kit will come with varied types of bolts to fit different TVs, so select the right-size of the bolt that fits your TV perfectly (not very long or it can harm your TV). To help hold the bolt in place, insert a star washer before you put inside your regular washer. Use each of the four bolts, attach the mounting plate to your TV, at the same time, you need to check: • See if you’re pleased with the height. • See if all the hooks are fitted appropriately, so your TV hangs properly in its place. • The bracket stays below the top, but above your TV’s bottom, so it remains hidden when you hang the TV. • Initially, the two screws at the bottom of the mounting plate aren’t tightened; however, they are tightened later in the process.
Step #6: Hook up your cords; you’ll need to plug in all the cords, as once it’s hanging on the wall, it’ll be very tricky; however, this will depend on the type of TV bracket you choose. Step #7: After positioning the angle, you should move the brackets to the desired angle, and then fasten the nut on the side.
Step #8: It’s time to mount your TV. Get a family member or friend to help you in lifting the TV and placing it onto the wall and then hook up the part of the bracket that’s screwed into the wall with the wall mounting plate that’s screwed onto your TV’s back. From beneath, tighten the screws to lock it into position. Step #9: Complete the job with cleaning the TV and get rid of any fingerprints, and vacuum up the dust from your drill. In case, you have installed your TV slightly away from the power point and TV wall point, you’ll require concealing the cables with a cord cover as well. Now that you have completed your smart TV installation, it’s time to sit back, relax and enjoy better TV viewing than ever before!
Name: Connected Audio Visual Address: 11/2 Brown Street, Kiama NSW 2533Phone Number: 0402 355 788Website URL : https://www.connectedaudiovisual.com.au/