Download
1 / 19
190 likes | 305 Views
Captivate 6 offers a great feature called Advance Actions. Know the steps of customizing GUI using Actions in Captivate 6 to create engaging eLearning courses.

E N D
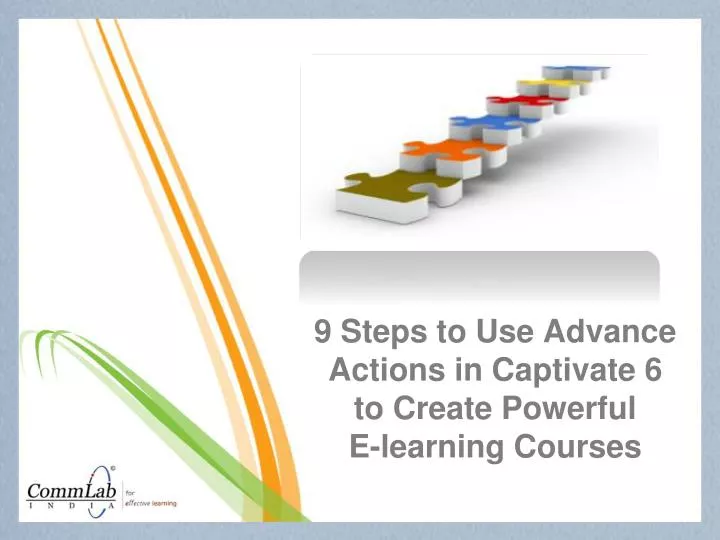
9 Steps to Use Advance Actions in Captivate 6 to Create Powerful E-learning Courses
Sustaining learning attention throughout an eLearning course is not easy.
Is there a way to increase and sustain learners’ attention as they go through online courses?
How to ensure learners are engaged throughout the course? • Develop an attractive GUI
Developing Course Customizations in Captivate 6 • Use Advance Actions
Developing Course Customizations in Captivate 6 • Advanced actions can provide endless possibilities and turn a course from ordinary to interactive.
How to customize a course GUI using Captivate 6? • Step 1 • Design the course GUI • Save all the design elements
How to customize a course GUI using Captivate 6? • Step 2 • Import design elements as Smart Shapes or Buttons • Align the design elements
How to customize a course GUI using Captivate 6? • Step 3 • Give actions to course buttons
How to customize a course GUI using Captivate 6? • Step 4 • Specify the properties
How to customize a course GUI using Captivate 6? • Step 5 • Create the variable with a unique name
How to customize a course GUI using Captivate 6? • Step 6 • Name the action with a specific name
How to customize a course GUI using Captivate 6? • Step 7 • Update
How to customize a course GUI using Captivate 6? • Step 8 • Delete the action from IF condition
How to customize a course GUI using Captivate 6? • Step 9 • Assign the actions
Conclusion • Captivate 6 can be used: • To create advanced actions. • Develop interactive eLearning course using our GUI.
To read articles on similar topics, please visit blog.commlabindia.com