Download
1 / 7
70 likes | 134 Views
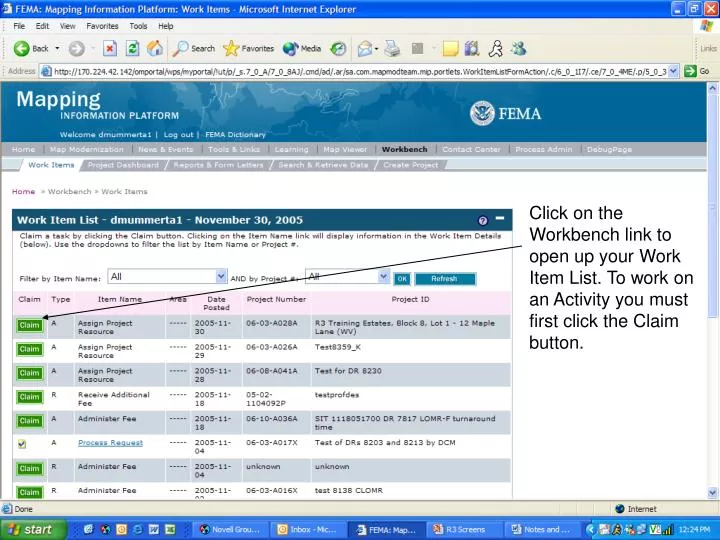
Assign Resource. Click on the Workbench link to open up your Work Item List. To work on an Activity you must first click the Claim button.

E N D
Assign Resource Click on the Workbench link to open up your Work Item List. To work on an Activity you must first click the Claim button.
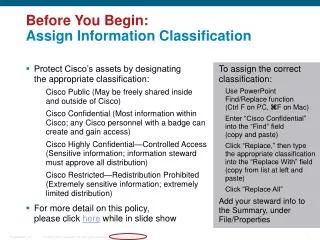
After you click the Claim button for the Activity you want to work on the page will refresh. The Activity Name is now a hyperlink. Before you click the hyperlink make sure you note the state abbreviation in the Project ID. This will help you determine the workgroup and resource you will assign this project to. Click on the hyperlink to begin working on the Activity.
Choose the appropriate Workgroup. Note that the workgroup that processes the project may not be the same Region that the project was created in. In this example the project was created in West Virginia, which is in Region 3, but the Workgroup that processes West Virginia projects is MT 1 Region 1.
Select the person you want to process the project from the Resource Name dropdown. Then click the Continue button.
On this screen you can click the Expand All link to see all of the case specific data but it is not required. Click the Continue button.
To finish this Activity click the Complete Task button. Once you click the Complete Task button the Project will move to the next Activity in the Workflow and you will not be able to edit any of the information you entered.
After clicking the Complete Task button you’ll need to click the Maximize button to see your Work Item List.