Download
1 / 66
670 likes | 862 Views
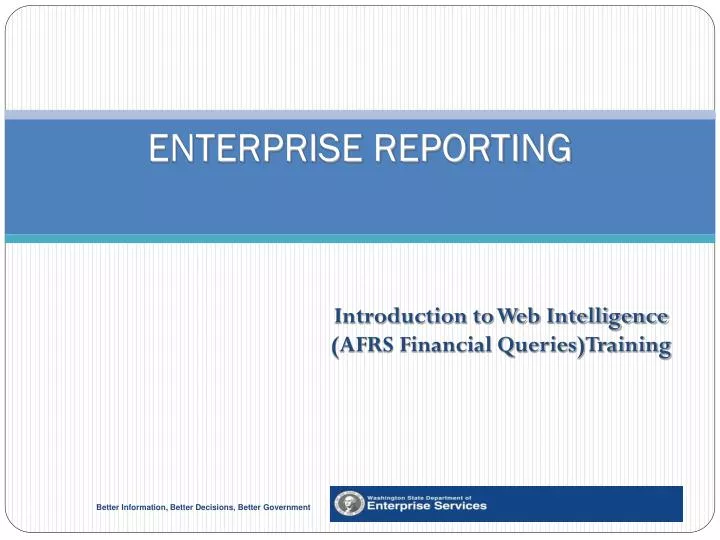
ENTERPRISE REPORTING. Introduction to Web Intelligence (AFRS Financial Queries)Training. Class Objectives . At the conclusion of class participants should have an understanding of the tool’s basic features: System overview Logon Create queries Save queries Run Queries Modify queries

E N D
ENTERPRISE REPORTING Introduction to Web Intelligence (AFRS Financial Queries)Training
Class Objectives • At the conclusion of class participants should have an understanding of the tool’s basic features: • System overview • Logon • Create queries • Save queries • Run Queries • Modify queries • Create simple calculations • Export data/print reports • Logoff
Introduction • Your name? • Your agency? • Any experience with AFRS? • Any experience with Enterprise Reporting (ER) Financial Reports? • How do you expect to use ER Web Intelligence?
Inventory of Training Materials • General Ledger Crosswalk • ER Web Intelligence – Values for Dimensions in Time Class • ER Intro to Web Intelligence (AFRS Financial Queries) training exercises • Course evaluation: please use this to note any issues or suggestions; this provides helpful feedback for improving future classes. • Online Resources • Web Intelligence Training Manual • ER Ad Hoc Tool Quick Reference Guide
ER WebI Overview • ER System - Financial Reports • Pre-defined reports on financial data (AFRS) • Report scheduling and viewing application • Accessible through state Intranet or Internet (for those outside of firewall) • ER System – Web Intelligence • Self service reporting • For querying, organizing, and analyzing data • Accessible through state Intranet or Internet (for those outside of firewall)
ER WebI Overview (cont..) • ER Hours of Operation • 24/7 for viewing reports • Daily system update from 8pm – Midnight - New reports cannot be generated • Patches – Between 3:00am and 7:30am on the Last Wednesday of every month • Getting Support • 8:00 a.m. to 5:00 p.m. Monday through Friday • 360-407-8182 (AFRS helpdesk) • AFRShelpdesk@ofm.wa.gov
ER WebI Web access (via OFM website) • Enter web address: http://ofm.wa.gov • Click on [INFORMATION SERVICES] tab
ER WebI Web access (via OFM website) • Click “Access from within the State Intranet” or “ Access from outside the State Intranet” • Select “Web Intelligence”
ER WebI Web access (via Standard Reports website) • Click “Click here to access the Web Intelligence Tool”
Forgot Password/User Name? • Use this feature if • You’ve forgotten your password, • Forgotten your User name, or • Your account has been disabled….. • The system will e-mail you the requested information
Logon to ER WebI - User name • Step 1 – Type User name User Name is not case sensitive
Logon to ER WebI - Password • Step 2 – Type Password Password is case sensitive
Logon to ER WebI – Log On button • Step 3 – Click Log On
Creating new query • Click “Document List”
Creating new query • Click [New] • Click “Web Intelligence Document”
Start with a Universe.. • What is a Universe? a collection of data • AFRS #### - a collection of AFRS biennial data (our state of Washington reporting period). • Other universes? You may have access to other universes. • For this exercise, select “AFRS 2011”
Potential security warning message • You may receive security warning message • Click “No” on the security warning • “Yes” will suppress data – give you funky colors. • This is only recommended for Web Intelligence. • Download Java Applet – remember – no Java, no Web Intelligence.
Query Builder Template • The Java Report Panel is your development screen • Data (on the left side) • Result Objects (output) – what you want to see displayed on your report • Query Filters – What you will input to obtain your piece of the pie.(note: minimum filter is agency)
When Creating new query, What are your options in selecting data? You can drag and drop – Objects will line up in order you drop You can double click on the data (available for the Result Objects only)
Establishing Data Results (Display)– Step 1 Result Objects = data displayed on report Place into [Result Objects] Select from [Data] Fiscal Month GL Account GL Account Title Account Program Amount
Establishing Query Input (filter) – Step 2 Query Filters = Data Limitation Place into [Query Filters] Select from [Data] Agency Fiscal Month GL Account
Query Input Filter– “Equal To” • From the Agency dimension object, click on drop down box of Agency object • Select “Equal To” operator
Query Input Filter – Agency dimension • Enter your 3 digit agency number
Query Input Filter – “In List” • From the Fiscal Month object, click on the creating queries drop down box • Click “Value(s) from list”
Query Input Filter – “List of Values” In the Fiscal Month • Highlight a value in the Fiscal Month box • Type “1” • The system will navigate to the first instance of “1” in the list.
Query Input Filter (Cont…) • Use the arrow down to locate “12” • Select Fiscal Month “12” • Click the arrow right • Click OK
Query Input Filter – “Matches Pattern” • From the GL Account dimension object, click on drop down box of GL Account object • Select “Matches Pattern”
Query Input Filter– “Matches Pattern” and % sign • We use percent sign as the special characters to matches pattern like 65% • Enter “65%”
Run Query – Step 3 • Click [Run Query]
Data Results • System will return data results in [Edit Report]
Saving query – Step 1 • Click [Save As]
Saving query – Step 2 • Save dialogue will display • Enter your query title in the Name field • Click on [Advanced] to Enter Description (Optional) • Click on the plus sign of your [My Favorites] folder • Note: The Save window may open behind the active window.
Saving query – Step 3 • Click [OK]
Exercise 1– Creating basic queries • Do exercise 1 • Take break ………..
Modifying query – • Click on “My Favorites” title
Modifying query – • Locate your query in your [My Favorites] folder • Right click
Modifying query – • Select “Modify”
Potential security warning message • You may receive security warning message • Click “No” on the security warning • “Yes” will suppress data – give you funky colors. • This is only recommended for Web Intelligence. • Download Java Applet – remember – no Java, no Web Intelligence.
Modifying query – • Select [Edit Query]
Query Input Filter – Fiscal Month • To add another Fiscal Month object, • Click on Fiscal Month object from the Data panel • Drag • Drop in [Query Filters] right below the other Fiscal Month object
Query Input Filter –– • Two Fiscal Month objects should now be displayed
Query Input Filter – “Between” • To change “In list” to “Between” for the second Fiscal Month object • Click on “In list” drop down • Select “Between”
Query Input Filter – Combining Filters • Create a data range using “And” with “Between”. • Enter “01” next to Between • Enter “12” next to And
Query Input Filter –– • Enter “99” in the first Fiscal Month object
Query Input Filter –– Align filters • Align first Fiscal Month with second Fiscal Month filter
Query Input Filter ––“And” versus “Or” • Double click on the “And” for the first Fiscal Month and second Fiscal Month objects • Note: “And” results in displaying transactions that exist in fiscal month 01 through 12 and 99.
Query Input Filter – • An “Or” for the Fiscal Month “99” filter and “01” through “12” filter should be displayed • Note: “Or” results in displaying transactions that exist only in a month within fiscal months 01 through 12 or 99.
Run Query • Click [Run Query]