1 / 65

Combat Camera Slide Show

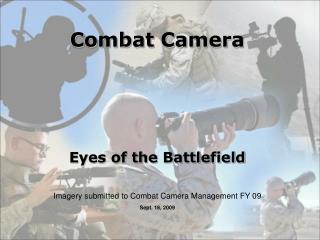
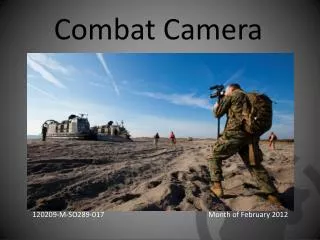
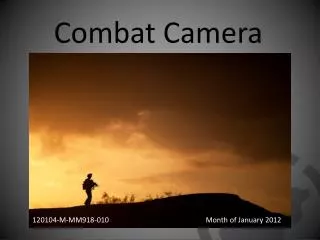
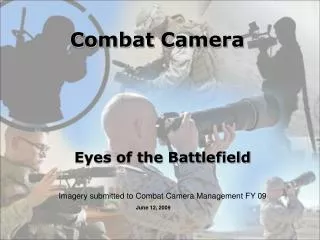
Combat Camera Slide Show. Photograph by: Matt Howard. Photograph by: Matt Howard. Photograph by: Matt Howard. Photograph by: Matt Howard. Photograph by: Matt Howard. Photograph by: Sgt Guadalupe Deanda. Photograph by: CWO3 William Crow. Photograph by: CWO3 William Crow.

china
Download Presentation

Combat Camera Slide Show

An Image/Link below is provided (as is) to download presentation Download Policy: Content on the Website is provided to you AS IS for your information and personal use and may not be sold / licensed / shared on other websites without getting consent from its author. Content is provided to you AS IS for your information and personal use only. Download presentation by click this link. While downloading, if for some reason you are not able to download a presentation, the publisher may have deleted the file from their server. During download, if you can't get a presentation, the file might be deleted by the publisher.

E N D

Presentation Transcript


  1. Combat Camera Slide Show

  2. Photograph by: Matt Howard

  3. Photograph by: Matt Howard

  4. Photograph by: Matt Howard

  5. Photograph by: Matt Howard

  6. Photograph by: Matt Howard

  7. Photograph by: Sgt Guadalupe Deanda

  8. Photograph by: CWO3 William Crow

  9. Photograph by: CWO3 William Crow

  10. Photograph by: CWO3 William Crow

  11. Photograph by: CWO3 William Crow

  12. Photograph by: CWO3 William Crow

  13. Photograph by: CWO3 William Crow

  14. Photograph by: CWO3 William Crow

  15. Photograph by: CWO3 William Crow

  16. Photograph by: CWO3 William Crow

  17. Photograph by: CWO3 William Crow

  18. Photograph by: CWO3 William Crow

  19. Photograph by: CWO3 William Crow

  20. Photograph by: CWO3 William Crow

  21. Photograph by: CWO3 William Crow

  22. Photograph by: CWO3 William Crow

  23. Photograph by: CWO3 William Crow

  24. Photograph by: CWO3 William Crow

  25. Photograph by: CWO3 William Crow

  26. Photograph by: CWO3 William Crow

  27. Photograph by: CWO3 William Crow

  28. Photograph by: CWO3 William Crow

  29. Photograph by: CWO3 William Crow

  30. Photograph by: CWO3 William Crow

  31. Photograph by: CWO3 William Crow

  32. Photograph by: CWO3 William Crow

  33. Photograph by: CWO3 William Crow

  34. Photograph by: LCpl Brandon Owen

  35. Photograph by: LCpl Brandon Owen

  36. Photograph by: LCpl Brandon Owen

  37. Photograph by: LCpl Brandon Owen

  38. Photograph by: LCpl Brandon Owen

  39. Photograph by: LCpl Brandon Owen

  40. Photograph by: LCpl Brandon Owen

  41. Photograph by: LCpl Brandon Owen

  42. Photograph by: LCpl Brandon Owen

  43. Photograph by: LCpl Kelley Chase

  44. Photograph by: LCpl Kelley Chase

  45. Photograph by: LCpl Kelley Chase

  46. Photograph by: LCpl Kelley Chase

  47. Photograph by: LCpl Kelley Chase

  48. Photograph by: LCpl Kelley Chase

  49. Photograph by: LCpl Kelley Chase

  50. Photograph by: LCpl Kelley Chase

More Related