Download
1 / 10
100 likes | 263 Views
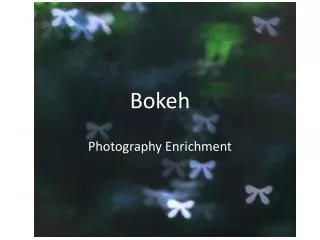
BOKEH EFFECT IN PHOTOSHOP. (PRIME ROSE DIAZ) (RACHEL B. TECSON). Creating the Brush Step 1: Open Photoshop and create new file For creating the Bokeh effect, first we have to create a Bokeh Brush. So start with this. Open Photoshop and create new file (File>New) with following details.

E N D
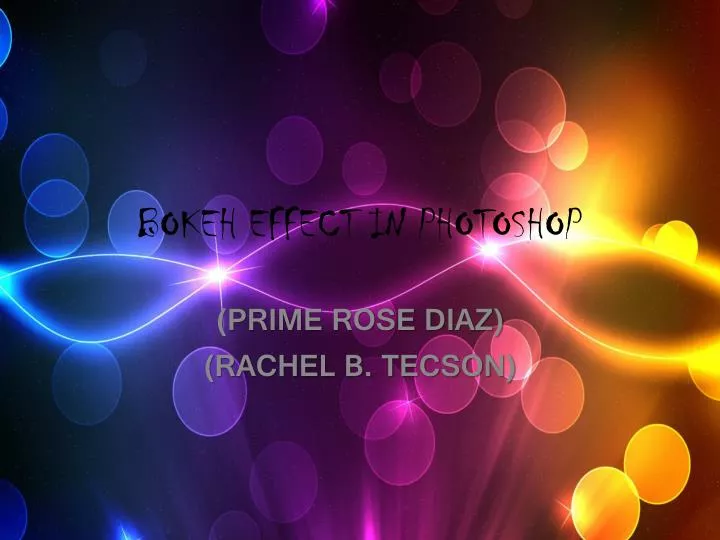
BOKEH EFFECT IN PHOTOSHOP (PRIME ROSE DIAZ) (RACHEL B. TECSON)
Creating the Brush Step 1: Open Photoshop and create new file For creating the Bokeh effect, first we have to create a Bokeh Brush. So start with this.Open Photoshop and create new file (File>New) with following details.
Step 2: Setting up the Brush Now select the Elliptical Marque Tool (M) and draw a circle (Press Shift and Draw) to fit in the canvas. Go to Edit>Stroke and add the centered stroke of black with 5px. It will look like this.
Create a new layer (Shift + Ctrl + N) and (if you have deselected) (Ctrl + Click) the small thumbnail in the layers panel of the previous layer. Fill this new layer with black and change its opacity to 30%. Press (Ctrl + E) to merge the layers
Step 3: Saving your new brush Okay, we have created the brush. Now go to Edit>Define Brush Preset and give a name to your brush like Bokeh Effect and save it. You can now see the newly created brush in your Brush Panel (Windows>Brushes or F5).
Creating the Bokeh Effect Step 4: Create a New File and Start editing Create a new file (New>File) with the following details and create a new layer (Shift + Ctrl + N).
Select your brush from the Brushes panel (F5), change the foreground color to #0054a6 with a brush size of 40px. Now change the brush setting as follows.
Step 5: Creating the Bokeh Draw some Bokeh circles with the above setting and change the opacity of the layer to 30%.
Step 6: Adding Blur Effect and more Bokeh circles. Select the layer and go to Filter>Blur>Gaussian Blur. Add the blur with radius 5px.Create a new layer (Shift + Ctrl + N). Select your brush and change the size to 91px. Draw some Bokeh circles on the new layer.
Add Gaussian Blur to this layer with 3px radius. Step 7: Last step Select the previous layer and add Gradient Map (Image>Adjustments>Gradient Map) or (Windows>Adjustments>Gradient Map) as shown below.