Download
1 / 7
90 likes | 251 Views
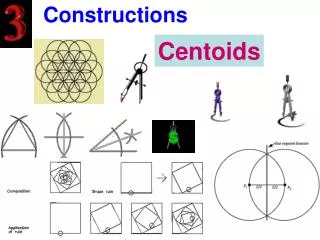
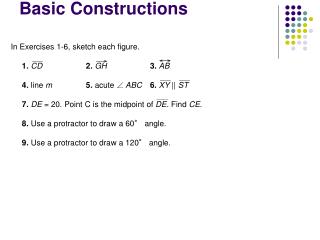
1.6 Basic Constructions. Construction – Congruent Segments. Draw a segment AB Draw a ray with endpoint C Open the compass to the length of AB. With the same compass setting, put the compass point on C. Draw an arc that intersects the ray. Label the point of intersection D.

E N D
Construction – Congruent Segments • Draw a segment AB • Draw a ray with endpoint C • Open the compass to the length of AB. • With the same compass setting, put the compass point on C. Draw an arc that intersects the ray. Label the point of intersection D.
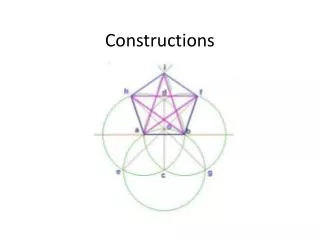
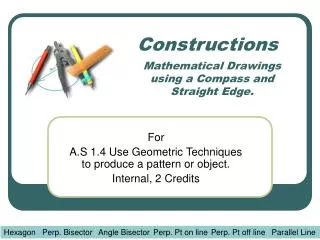
Construction – Copy an Angle • Draw an angle on your paper. Label the angle P. Use a ruler to draw a ray on your paper. Label its endpoint T. • Place the tip of the compass at point P and draw a large arc that intersects both sides of P. Label the points of the intersection Q and R. • Using the same compass setting, put the compass at T and draw a large arc that intersects the ray. Label the point of intersection S. • Place the point of your compass on R and adjust so that the pencil tip is on Q. • Using the setting, place the compass at S and draw an arc to intersect the larger arc you drew in Step 3. Label the point of intersection U. • Use a ruler to draw ray TU
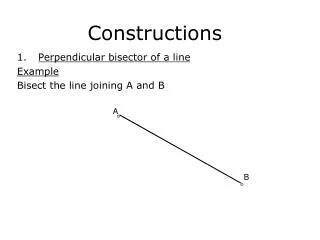
Vocabulary: Perpendicular Lines – Two lines that intersect to form right angles. The symbol means “is perpendicular to.” Perpendicular Bisector – line, segment, or ray that is perpendicular to the segment at its midpoint.
Constructing a Perpendicular Bisector • Draw segment AB • Put the compass on point A and draw a long arc. Be sure is greater than ½ AB • With the same compass setting, put the compass on point B and draw another long arc. Label the points where the two points intersect as X and Y. • Draw XY. Label the intersection of XY and AB as M.
Construction – Bisect an Angle • Draw an angle on your paper. Label the vertex as A. Put your compass at a point A and draw a large arc that intersects both sides of A. Label the points of intersection B and C. • With the compass at point B, draw an arc in the interior of the angle. • Using the same setting, place the compass at point C and draw an arc that intersects the arc drawn in step 2. • Label the point of intersection D. Draw AD.
Homework • Pg 46 # 7 – 15 odd, 17 – 35, 36 – 38