Download
1 / 31
310 likes | 318 Views
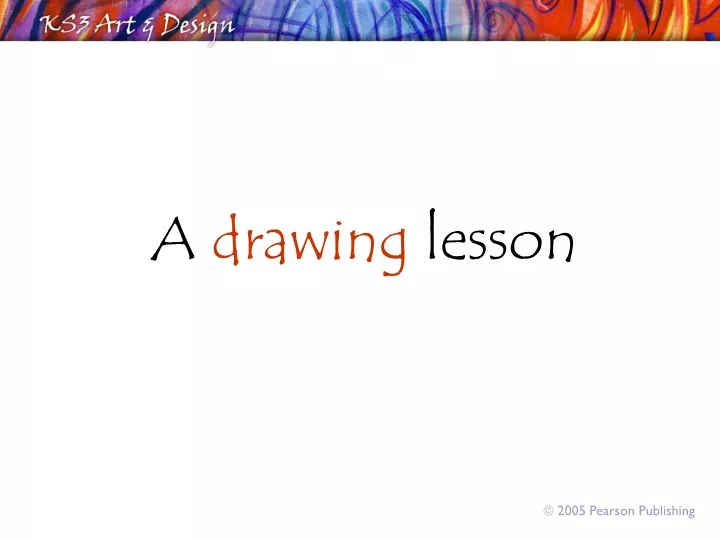
A drawing lesson. ã 2005 Pearson Publishing. What’s in that unlocked shed?. Hello everyone! Welcome to my shed studio. I’m going to give you a drawing lesson which I hope you’ll find interesting and useful. This is what I will need:. Knife for sharpening.

E N D
A drawing lesson ã 2005 Pearson Publishing
Hello everyone! Welcome to my shed studio. I’m going to give you a drawing lesson which I hope you’ll find interesting and useful.
This is what I will need: Knife for sharpening Putty rubber – good for making light patches come back 2 pencils: a 4B (very soft) and a B (quite soft) – both really good for drawing Drawing paper
This is what I’m going to draw: Please don’t worry if you don’t like my pots; my lesson is about away to draw.You could use it foranythingif you follow the same basic steps. Simple guidelines are produced for you at the end.
Useful idea 1: Always start with something you find interesting. A lot of important work is done before you start drawing– the choice of your subject, your view, your figures, your portrait, your objects, won’t be right by accident. Make sure you choose well.
My first step is to mark out the size of the basic shapes, and to put them roughly where I want them. Notice I use a centre line for each pot.
Useful idea 2: Think carefully about the basic shapes right at the beginning as this will prevent you wasting time later – if the basics are dodgy, the whole drawing will look strange! Next, I’ve added some ellipses as the pots are like cylinders that I’m looking down on. I’m imagining I can see through the objects to get a feel for their 3D quality and how they fill up the space.
I’ve added a few scratchy measuring marks to show a little more information. Useful idea 3: I’m only pressing very lightly – I’m not using the rubber. I know the shapes are very rough, but each mark I make is an adjustment to move the drawing forward.
Useful idea 4: I’m shading already! Although I’ve only just started, the tone helps build up the picture dramatically, even at this early stage. Useful idea 5: I’m looking at the pots just as much as I’m looking at my drawing – roughly 50/50. All the time as I draw, my eyes are flicking down to the drawing and back to the pots – I’m really looking.
Now I can really start to move forward! I’ve made the coffee pot look ‘blocky’, and the other pots look more rounded – simply by carefully recording what I can see, and by not trying to be perfect at the beginning!
Useful idea 6: Use the rubber to draw with. Rubber marks I’ve used the rubber for the first time now. I needed to lighten up some parts that were getting too dark and cluttered. Note that I’ve not rubbed out mistakes. Instead, I’ve drawn light bitswith the rubber – always drawing, always looking.
So far, I’ve only been using the soft 4B pencil; this has made the drawing look quite grainy as it has picked up the paper texture. Now I’m spending time on the detail of the coffee pot and the right-hand pot. I’m becoming confident that things are settling into the right places, and, although I’m still working quite lightly, I’ve put in some of the very darkest tones on the handle of the coffee pot.
Now I’m using the harder B-grade pencil to get some smoother tones. I’ve also rubbed some parts with my finger to get rid of the grainy effect. Darkest tone = Hardest shading Lightest tone = White paper Variety of middle tones Useful idea 7: When building up the tone work, look very carefullyand decide where the darkest, lightest and middle tones are – transfer this information to your drawing.
Nearly done! I’ve really worked hard on the detail, and I’ve put in more background to make more of a complete picture – but I’m not happy with the pot on the right.
So I’ve rubbed some of it out! I’ve also made the highlights on the coffee pot into more of a Z shape – this has made the drawing more interesting. It’s an effect that is sort of there in real life but I’ve decided to exaggerate it.
Finished! Actual size: A4 paper Time taken: 3 hours’ drawing
Let’s see that again without the captions. Just watch how the drawing develops.
Useful guidelines • Start with something you find interesting to draw. • Whatever you choose to draw, think carefully about the basic shapes right at the beginning – this will prevent you wasting time later. • Press very lightly with your pencil as you start drawing. • Use shading and tone to help build the picture right from the start. • Look at the subject just as much as you look at your drawing. As you draw, your eyes should flick down to the drawing and back again – really look carefully. • Use the rubber to draw with, not to rub out mistakes. • When building up the tone work, look very carefully and decide where the darkest, lightest and middle tones are – transfer this information to your drawing. • Work carefully and gradually – don’t try to be perfect!
Thank you for following this lesson. Now it’s time for you to try out some of these ideas!