Download
1 / 14
140 likes | 198 Views
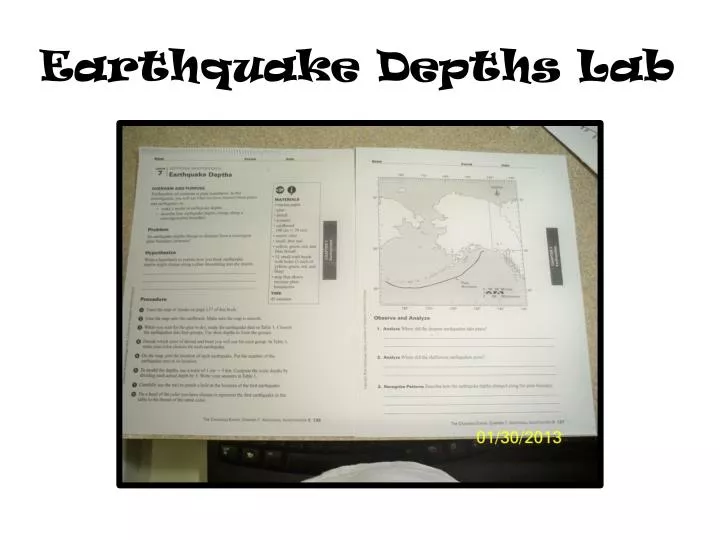
Earthquake Depths Lab. STEP 1 – trace the map (I photocopied mine and cut that out instead). STEP 2 – glue it on cardboard. I chose to use a chunk from a case of Coke. It might work well with regular cardboard, though. I also used a glue stick, which works great!.

E N D
STEP 1 – trace the map (I photocopied mine and cut that out instead)
STEP 2 – glue it on cardboard. I chose to use a chunk from a case of Coke. It might work well with regular cardboard, though. I also used a glue stick, which works great!
STEP 3 -This step asks you to create 4 groups out of 12 data points, based on depth. I think you can handle that math!
STEP 4– Choose your 4 yarn/thread colors. You will need 4 long pieces of yarn, one for each group of 3 earthquakes. Add uphow much of each color you need, then add 15 cm to that total length (you will figure the lengths out in step 6). Example: The first 3 pieces are 2.2cm, 4.0cm, and 6.6cm, which totals up to 12.8cm of yarn. If you add 15 cm to the 12.8cm, you will have enough extra yarn to tie on the beads and tape the yarn to the cardboard. The total length of the 1st piece of yarn would then be 27.8cm. Just go get about 30cm and you will be all set. All beads are white. Mr. C will give you 12 beads, and you must return them when we are done!
STEP 5 – Plot locations – with earthquake numbers from list. I used green for my example shown below, since I’m using green yarn for quakes 1-3 from the list.(yes, I know I used red ink!)
STEP 6 – calculate your “scale” depths by dividing each depth by 5. In my example, you can see that 11/5 = 2.2cm
STEP 7 – Punch a hole at the location of quake #1. Be smart and punch through from the top, then flip it over and clean up the hole by pushing the nail through the other way. (Helps with pushing the yarn through in steps 9-10) Poke hole from top Fix hole from bottom
STEP 9-10 – Use the nail to help in pushing the yarn through the hole, from the bottom of the cardboard. If you cleaned up the hole in step 7, this will go a lot easier.
STEP 11 – Cut the string to the right length (2.2 cm for earthquake #1 is shown here) and tape the yarn to the map, but don’t leave much yarn showing. The people who are just sitting there can get the beads hooked on to the other 3 pieces of yarn. Pull Yarn Through Measure Proper Length Cut Yarn and Tape to Map
STEP 12 – Repeat until all quakes have been charted. • Some people can be measuring and cutting the longer pieces and putting on the beads • Other people should be punching holes, pulling the yarn through, measuring and taping the yarn. • All of you should be discussing and answering the questions as time permits.
Homework • Don’t forget to take the lab home to finish the questions, as needed. • You also need the lab in order to complete the graph that is due on Monday.
BONUS INFO If you watched this whole thing, here’s a helpful hint or two – • have one person do step 2 while others do steps 3, 4, and 6! • Persons 4 and 6 should work together, with person 4 getting the thread one piece at a time, based on the length calculations (the short piece will be about 13cm long, plus the 15 cm you need as excess for tying it onto the bead and taping it to the map = 28 cm) • The people who didn’t watch this just wont know what to do, at least at first.