Download
1 / 13
130 likes | 229 Views
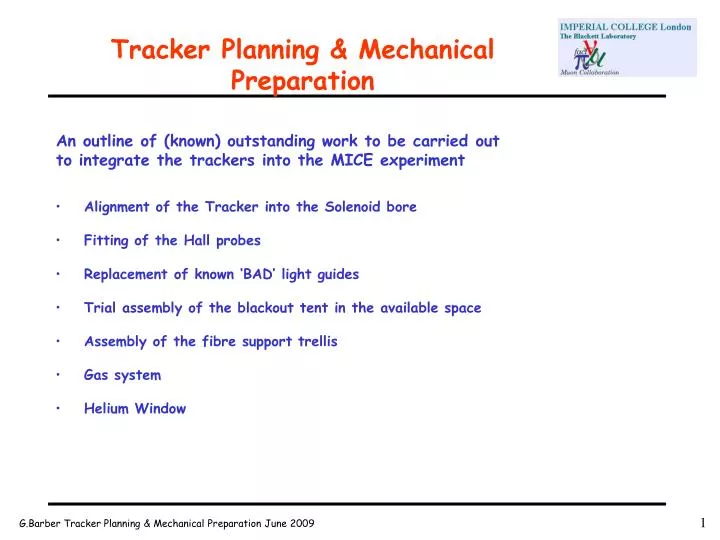
Tracker Planning & Mechanical Preparation. An outline of (known) outstanding work to be carried out to integrate the trackers into the MICE experiment. Alignment of the Tracker into the Solenoid bore Fitting of the Hall probes Replacement of known ‘BAD’ light guides

E N D
Tracker Planning & Mechanical Preparation An outline of (known) outstanding work to be carried out to integrate the trackers into the MICE experiment • Alignment of the Tracker into the Solenoid bore • Fitting of the Hall probes • Replacement of known ‘BAD’ light guides • Trial assembly of the blackout tent in the available space • Assembly of the fibre support trellis • Gas system • Helium Window
Tracker Alignment into Mice An outline into the procedure for aligning the fibre trackers into the Spectrometer Solenoids in the Mice experiment
Carbon Fibre Stations The carbon fibre stations are key to the alignment, they have all been machined on a CNC. The planes were added using this machined accuracy therefore we know the mean axis of the tracker with relation to points on these stations
Tracker Support Feet The tracker is supported at 4 points in the bore of the solenoid, these 4 points are adjustable using eccentric cams to give the required position. Adjustable Cam Mounts Support Points
X & Y Alignment Tool Ø2mm Hole (Center of Station) Knowing that the stations are accurately machined means we can use this to set the position of the tracker inside the bore of the solenoid. To do this we make a replica of the bottom half of the station, this includes the mounting positions. It has a Ø2mm hole at the known centre of the stations which can be surveyed. The alignment tool has similar adjustable cams to allow the Ø2mm hole (centre of station) to be positioned on the beam line axis. This is done at both support positions along the solenoid bore as the bore concentricity is not guaranteed. Once this is done and because the tool is an exact copy of the station profile a measurement can be taken of the distance between the cam edge that the tool sits on and the profile. This measurement is duplicated on the actual station and when pushed into the solenoid to the correct position the tracker will be on axis. Cams sit on Bore Wall 3rd Steady Measurement to Replicate Adjustment
Phi and Z Alignment The phi and Z alignment relies on a hemispherical bracket on the tracker being pulled into a Vee block that is mounted and fixed from the patch panel. This block needs to be aligned then doweled, Z is just a straight measurement but phi will need to be surveyed. To do this a bar with Ø2mm hole is held in the Vee block as the diagram shows. Ø2mm Hole The alignment bar is pulled into the Vee This end of the bracket is fixed and doweled to the patch panel after alignment Hemisphere Bracket pulled into Vee to locate tracker
Fitting of the Hall Probes There are a series of hall probes installed into the bore of the solenoid. The positions are yet to be defined but at least two are on the bore, fitted to collars and the remainder are fitted to brackets attached to the tracker space frame. Hall Probe support plate (G10) Collar to attach the Hall Probes into the bore of the solenoid. These are removable to allow the tracker to be withdrawn The connections to the outside world are via a connector block that fits into the 26th position in the patch panel. W Section to strengthen bond to space frame
Replacement of the ‘BAD’ Waveguides Perhaps ‘BAD’ is to strong a word but during the assembly for the cosmic ray testing it was noticed that 2 of the internal waveguides were damaged. Both were on the same assembly and as we have a spare waveguide it should be a simple matter to replace it. The bad channels are Station 15-connector C28-Fibres 21 & 22
Trial Assembly of the Blackout Tent As the layout in the hall has evolved it is apparent that the existing tent (6M x 3M with a 1.5M x 1.5M entrance porch) will not be a comfortable fit. What I am proposing is to erect the tent in situ during a suitable time slot. This will enable us to make any modifications needed. We may need to include and seal cut-outs for trunking, racks etc and emergency routes will need to be considered. 2.5M
Assembly of the Fibre Support Trellis Due to the unpredictable ‘lay’ of the external waveguides and changes to the height of the cassettes, the trellis that supports the waveguides is likely to need modifying to suit. As it is constructed from Minitec section (big boys Meccano) this is easy to do. The protection covers will be fabricated from mesh so this again can be manufactured in situ.
Helium Gas System There is a need to lower the Xo in the tracker volume and so the air will be replaced with helium. As the volume will not be gas tight due to the nature of the connectors it will be necessary to bubble the helium at a low rate. At this rate it would take a while to purge the air from the system so we use a two setting system. Using standard air valve that are linked mechanically we can purge at a much higher flow rate and then switch to the run flow rate. The mechanical link ensures that both input and output switch at the same time.
Helium Gas Window The helium window is not yet fully designed, and will need to be FEA ’d as it is a pressure window. It is to be fitted to a set of holes that are the same as the holes that seal the patch panel at the opposite end. It appears that these holes have not been drilled at Wang and will need to be drilled in situ by hand. This can be done using a template that is clamped in place.
There are still a number of things to do, many of them can be done only after the cosmic ray tests are completed or when the solenoid arrives. It is therefore important to prepare as much as possible, for example mods that may be required to the blackout tent. This may be carried out during a period when the area is less busy. Conclusions