Download
1 / 9
90 likes | 171 Views
Copy Project information to a Web page. Does your organization or team already have a Web site that’s used to share information about team projects? .

E N D
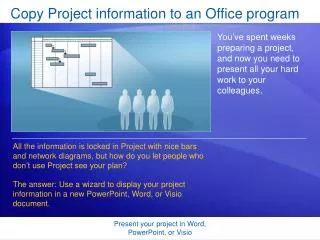
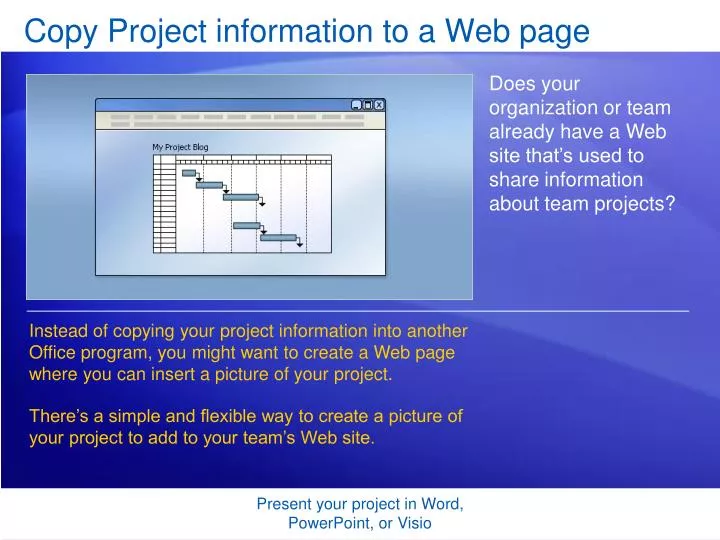
Copy Project information to a Web page Does your organization or team already have a Web site that’s used to share information about team projects? Instead of copying your project information into another Office program, you might want to create a Web page where you can insert a picture of your project. There’s a simple and flexible way to create a picture of your project to add to your team’s Web site. Present your project in Word, PowerPoint, or Visio
Again, let’s get a clear view of things first As you learned in the first lesson, you’ll want to keep the columns of information few in number, to avoid a messy presentation that bewilders your audience or readers. So may need to remove columns. After all, you don’t want your presentation to contain distracting or irrelevant information — such as the duration of individual tasks or resource salaries. Present your project in Word, PowerPoint, or Visio
Chose image options Once you’ve set up your project the way you want it to appear, you’ll need to create an image to place on your Web page. You’ll start by using the Copy Picture dialog box (Report menu) to create an image, which you can then add to a Web page using an HTML editor. Present your project in Word, PowerPoint, or Visio
Chose image options First, specify how you want the image rendered. Web option: Typically, for a Web page you will want to create a Graphics Interchange Format (GIF) image. To copy the image as a GIF, click To GIF image file, and then click Browse to specify the location you want to save the image to. Present your project in Word, PowerPoint, or Visio
Chose image options First, specify how you want the image rendered. Other options: • To create an image that is enhanced for display on a computer monitor screen with colors and formatting intact, click For screen. Present your project in Word, PowerPoint, or Visio
Chose image options First, specify how you want the image rendered. Other options: • To create an image that is enhanced for printing with formatting intact and Gantt bars, for example, clearly displayed with distinct colors, shapes, and patterns, click For printer. Present your project in Word, PowerPoint, or Visio
Choose image options, continued You have a few presentation options, too. To copy information for a range of dates other than those currently displayed in the timescale, under Timescale, type or select a start and end date in the From and To boxes. You can also specify if you want to copy the rows as they appear on the screen or only selected rows. Present your project in Word, PowerPoint, or Visio
The image is ready. Now what? Now you just need to decide what to do with your image. First, there’s the Web option. If you selected a GIF image file and your picture exceeds 100 inches by 100 inches, you’ll be prompted with options to reduce the size. Then all you have to do is open up your favorite HTML editor and insert the image file from your computer’s hard disk or network location. Present your project in Word, PowerPoint, or Visio
The image is ready. Now what? There are other options, too. As mentioned earlier, if you clicked For screen or For printer, you’ll have to first switch to the program where you want to paste the Project information. Then you’ll paste the picture by pressing CTRL+V or using the program’s Paste command. Present your project in Word, PowerPoint, or Visio