Download
1 / 31
310 likes | 432 Views
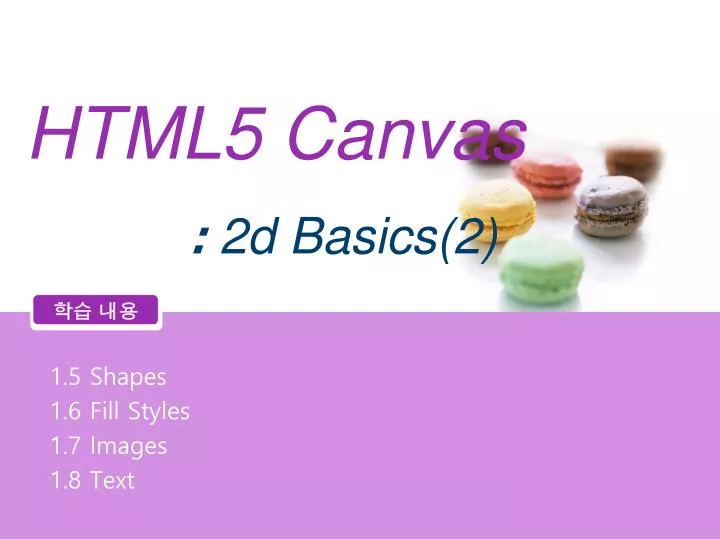
1.5 Shapes 1.6 Fill Styles 1.7 Images 1.8 Text. <1.5.1> Custom shape. closePath() method 를 사용하여 path 를 닫음 lineTo(), arcTo(), quadraticCurveTo(), or bezierCurveTo() methods 사용 Fill() 메소드를 호출하면 모든 열린 도형은 자동으로 닫히며 closePath() 메소드를 사용할 필요가 없음. context.closePath();. <1.5.2> Color Fill.

E N D
1.5 Shapes 1.6 Fill Styles 1.7 Images 1.8 Text
<1.5.1> Custom shape • closePath() method 를사용하여 path를닫음 • lineTo(), arcTo(), quadraticCurveTo(), or bezierCurveTo() methods 사용 • Fill() 메소드를 호출하면 모든 열린 도형은 자동으로 닫히며 closePath() 메소드를 사용할 필요가 없음 context.closePath();
<1.5.2> Color Fill • fillStyle property : 색상 설정 • Default fill style는 black • fill() method : 도형 채움 • fill과 stroke 모두 설정 할 때 stroke()전에 fill()사용할 것 context.fillStyle=[value]; context.fill();
채우기 스타일 지정하기 • 색으로 채워져 있는 도형을 그릴 때는 fill() 메서드를 사용하고 채우기 색을 지정할 때는 fillStyle 속성을 사용 • 도형의 색을 지정할 때는 채우기 색 지정 외에 투명도도 지정할 수 있음 • 색의 투명도는 globalAlpha 속성을 사용하며 0~1 사이의 값을 지정할 수 있음
<1.5.3> Rectangle • rect() method 사용 • strokeRect(startX, startY, width, height) 사각형의 윤곽을 그림 • fillRect(startX, startY, width, height) 색을 채운 사각형을 그림 • clearRect(startX, startY, width, height)지정된 사각형 영역을 지움 context.rect(topLeftCornerX,topLeftCornerY,width,height);
사각형 그리기 • 사각형을 그리기 위해서는 시작점인 x, y 좌표, 너비, 높이를 나타내는 4가지 값이 필요
01: <!DOCTYPE html> 02: <html> 03: <head> 04: <meta charset="utf-8" /> 05: <title> 사각형 그리기 </title> 06: <script type="text/javascript"> 07: function rect() 08: { 09: var canvas = document.getElementById('canvas'); 10: context = canvas.getContext('2d'); 11: 12: context.strokeRect(10,10,200,200); 13: context.fillRect(220,10,200,200); 14: 15: context.fillRect(430,10,200,200); 16: context.clearRect(500,50,100,100); 17: } 18: </script> 19: </head> 20: 21: <body onload="rect();"> 22: <canvas id="canvas" width="700" height="400" 23: style="border:solid 1px #000000"> 24: canvas 사용하기 25: </canvas> 26: </body> 27: </html>
<1.5.4> Circle • arc() method 사용 • X와 y는원의중심 좌표 • radius는 반지름 • startAngle과 endAngle은 호의 시작과 끝 • 동일한 원에서 반지름과 원호의 길이가 같을 때 중심각은 1라디안 • anticlockwise는 방향(true면 시계 방향, false면 반시계 방향) context.arc(centerX,centerY,radius,startAngle, endAngle, anticlockwise);
<1.5.5> Semicircle • endAngle은 startingAngle + PI로 정의됨 context.arc(centerX,centerY,radius,startAngle,startingAngle + Math.PI, anticlockwise);
<1.5.6> Clipping Region • clip() method 사용하여 mask 효과 낼 수 있음 context.clip();
<1.6.1> Linear Gradient • Linear gradients는 gradient의 방향을 정의하는 가상의 선에 의해 정의됨 • addColorStop()의 첫번째 파라미터인 offset은 0~1까지 값을 주면 설정한 x0, y0와 x1, y1사이의 0%~100% 위치에 색이 설정 vargrd=context.createLinearGradient(startX, startY, endX, endY); grd.addColorStop(offset, color)
그라데이션 효과 지정하기 • createLinearGradient() 메서드를 사용하여 선형 그라데이션효과를 줄 수 있으며 createRadialGradient() 메서드를 사용하여 원형 그라데이션 효과를 줄 수 있음
26: context.beginPath(); 27: context.lineWidth = 10; 28: context.strokeStyle = 'green'; 29: context.strokeRect(450,50,200,300); 30: context.fillStyle = 'yellow'; 31: context.fillRect(450,50,200,300); 32: } 33: </script> 34: </head> 35: 36: <body onload="rect();"> 37: <canvas id="canvas" width="700" height="400" 38: style="border:solid 1px #000000"> 39: canvas 사용하기 40: </canvas> 41: </body> 42: </html> 01: <!DOCTYPE html> 02: <html> 03: <head> 04: <meta charset="utf-8" /> 05: <title> 도형 스타일 지정하기 </title> 06: <script type="text/javascript"> 07: function rect() 08: { 09: varcanvas = document.getElementById('canvas'); 10: context = canvas.getContext('2d'); 11: 12: context.beginPath(); 13: context.fillStyle= 'blue'; 14: context.globalAlpha= 0.5; 15: context.fillRect(50,50,200,300); 16: 17: context.beginPath(); 18: varrectstyle = context.createLinearGradient(250,50,200,300); 19: rectstyle.addColorStop(0,"yellow"); 20: rectstyle.addColorStop(0.5,"red"); 21: rectstyle.addColorStop(1,"blue"); 22: context.fillStyle= rectstyle; 23: context.globalAlpha= 1; 24: context.fillRect(250,50,200,300); 25:
<1.6.2> Radial Gradient • 두 개의 가상의 원을 정의: 시작원과 끝원 • Radial gradient는 시작원에서 끝원까지 방사상으로 이동 vargrd=context.createRadialGradient(startX, startY, startRadius ,endX, endY, endRadius); grd.addColorStop(offset, color);
<1.6.3> Pattern • The createPattern() method는 image object와 repeat option을 필요로 함 • Repeat option은 repeat, repeat-x, repeat-y, 또는 no-repeat. • repeat option 의 default 값은 repeat. var pattern = context.createPattern(imageObj, repeatOption); context.fillStyle = pattern; context.fill();
이미지 패턴 삽입하기 • 도형에 이미지를 삽입하는 패턴을 만들기 위해서는 createPattern() 메서드를 사용 • createPattern() 패턴의 인수로는 생성한 이미지의 객체와 반복 형식을 지정하여 사용
<1.7.1> Draw Image • drawImage() method 는 image object 와 destination point을 필요로 함 • destination point는이미지의 top-left corner와 관련 있음 context.drawImage(imageObj,destX,destY);
이미지 삽입하기 • 이미지를 삽입하기 위해서는 drawImage() 메서드를 사용 • drawImage() 메서드의 인수로는 이미지의 경로, 삽입 위치, 크기 등을 지정할 수 있으며, 3가지 스타일로 drawImage() 메서드를 사용할 수 있음
01: <!DOCTYPE html> 02: <html> 03: <head> 04: <meta charset="utf-8" /> 05: <title> 이미지 삽입하기 </title> 06: <script type="text/javascript"> 07: function androidimage() 08: { 09: var canvas = document.getElementById('canvas'); 10: context = canvas.getContext('2d'); 11: 12: var android = new Image(); 13: android.src = 'android.jpg'; 14: 15: context.drawImage(android,10,10); 16: context.drawImage(android,200,10,300,300); 17: context.drawImage(android,10,10,100,100,550,10,100,300); 18: } 19: </script> 20: </head> 21: 22: <body onload="androidimage();"> 23: <canvas id="canvas" width="700" height="400" style="border:solid 1px #000000"> 24: canvas 사용하기 25: </canvas> 26: </body> 27: </html>
<1.7.2> Image Size • drawImage() method에 destWidth와 destHeight의 두 가지 인수를 추가할 수 있음 context.drawImage(imageObj,destX,destY,destWidth,destHeight);
<1.7.3> Image Crop • drawImage() method에 drawImage() method, sourceX, sourceY, sourceWidth, sourceHeight, destWidth, destHeight의 여섯 가지 인수를 추가할 수 있음 context.drawImage(imageObj, sourceX, sourceY, sourceWidth, sourceHeight, destX, destY, destWidth, destHeight);
<1.8> Text context.font=[value]; context.fillStyle=[value]; context.strokeStyle=[value]; context.strokeText("Hello World!", x, y); context.textAlign=[value]; context.textBaseline=[value] • textBaseline 다음값의 하나를 선택하여 설정할 수 있음: top, hanging, middle, alphabetic, ideographic, and bottom • Default 값은 alphabetic.
텍스트 삽입하기 • 텍스트를 삽입하는 메서드는 fillText() 메서드와 strokeText() 메서드가 있음 • fillText() 메서드와 strokeText() 메서드의 인수 중에는 생략이 가능한 maxWidth 값이 있음. maxWidth 값은 지정한 문자열의 최대 가로폭을 지정한다는 의미를 가지고 있음
텍스트 삽입하기 textAlign textBaseline
01: <!DOCTYPE html> 02: <html> 03: <head> 04: <meta charset="utf-8" /> 05: <title> 텍스트 삽입하기 </title> 06: <script type="text/javascript"> 07: function text() 08: { 09: varcanvas = document.getElementById('canvas'); 10: context = canvas.getContext('2d'); 11: 12: context.beginPath(); 13: varrectstyle = context.createLinearGradient(100,50,600,300); 14: rectstyle.addColorStop(0,"blue"); 15: rectstyle.addColorStop(1,"red"); 16: context.fillStyle= rectstyle; 17: 18: context.shadowOffsetX= 10; 19: context.shadowOffsetY= 10; 20: context.shadowColor= 'gray'; 21: context.shadowBlur= 10; 22: 23: context.font= "bold 50pt 고딕"; 24: context.textAlign= 'left'; 25: context.textBaseline= 'top'; 26: context.fillText("텍스트 삽입하기",100,100); 27: } 28: </script> 29: </head> 31: <body onload="text();"> 32: <canvas id="canvas" width="700" height="400" 33: style="border:solid 1px #000000"> 34: canvas 사용하기 35: </canvas> 36: </body> 37: </html>