Download
1 / 37
370 likes | 472 Views
Watertight Gasket Installation Guide. Presented By:. INSTALLING RUBBER GASKETS FOR WATERTIGHT JOINTS. SINGLE OFFSET. O-RING PROFILES. THINK SAFETY 1st. Practice ALL safety precautions. Follow all OSHA & Manufacturers’ safety recommendations. Wear protective gear. O-Ring

E N D
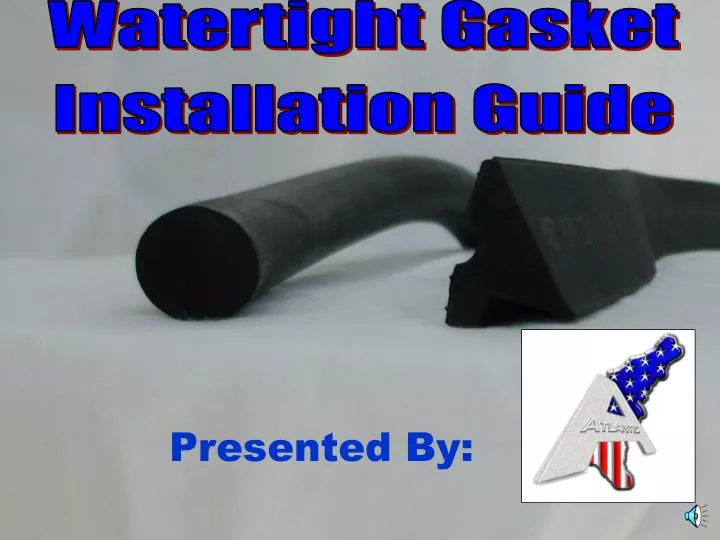
Watertight Gasket Installation Guide Presented By:
INSTALLINGRUBBER GASKETS FOR WATERTIGHT JOINTS SINGLE OFFSET O-RING PROFILES
THINK SAFETY 1st • Practice ALL safety precautions. • Follow all OSHA & Manufacturers’ safety recommendations. • Wear protective gear
O-Ring Circular Profile Single Off-Set Triangular Profile Gasket Types
O-Ring Circular Profile Single Off-Set Triangular Profile Gasket Types Assembly method of these 2 gaskets is NOT the same
Lube gasket and lube spigot BEFORE installing gasket onto spigot ONLY Assembly Difference O-RING Lube spigot AFTERputting on the gasket SINGLE OFFSET
Step One Clean & Inspect Joints
Step 1 – Clean & Inspect Clean the bell AND spigot Remove all dirt and debris
Step 1 – Clean & Inspect Inspect the Bell and Spigot
Step 1 – Clean & Inspect Look for cracks & chips.
Step 1 – Clean & Inspect REPORT findings to supervisor for disposition. Good
Step Two Install Gasket-Equalize
Step 2 – Placing the Gasket LIFT the precast following proper handling & safety procedures Lift Bar Lift Pins
Step 2 – Placing the Gasket LIFT the precast following proper handling & safety procedures
Step 2 – Placing the Gasket Step 2 – Placing the Gasket Place Ridges AGAINST Spigot Ridges Spigot
Step 2 – Placing the Gasket Make sure the gasket is fully seated in the shoulder or groove of the joint SHOULDER GAP
Step 2 – Placing the Gasket Push gasket against shoulder or groove Remove Gap. SHOULDER
Step 2 – Placing the Gasket It is important to equalize the gasket to remove bunching and overstretching
Step 2 – Placing the Gasket Insert screwdriver or other blunt, rounded instrument
Step 2 – Placing the GasketEqualize gasket to remove bunching and overstretching Go completely around the structure to insure the gasket is stretched evenly around the joint.
Step 2 – Placing the Gasket Visually recheck the gasket to make sure it is seated snugly against the groove
Step Three Lubricate
Step 3 – LubricationProper Lube Use clean lube
Step 3 – LubricationGenerously Lube the Bell LUBE INSIDE THE BELL
Step 3 – LubricationGenerously Lube For SINGLE OFFSET, place lube on top of gasket AFTER ASSEMBLY onto spigot For O-RING, lube spigot and lube gasket, THEN ASSEMBLE onto spigot.
Step 3 – LubricationGenerously Lube the Gasket REMEMBER! For Single Off-Set Gaskets…. Lube goes ON TOP of Gasket Do NOT Place Lube on a Bare Spigot
Step Four Set Sections
Step 4 – Set the Precast Section KEEP THE STRUCTURE LEVEL AND PLUMB
Step 4 – Set the Precast Section KEEP THE STRUCTURE LEVEL AND PLUMB
Step 4 – Set the Precast Section COMPLETE THE SECTIONS
Step Five Visually Check
Step 5 – Visual Inspections Walk around the structure to verify the section is seated evenly
Step 5 – Visual InspectionsLook inside and outside structure Make sure the joints are seated evenly all around
SUMMARY • SAFETY 1st • CLEAN, INSPECT JOINTS • PLACE GASKET - EQUALIZE • LUBRICATE • SET PRECAST – ENSURE LEVEL • RE-INSPECT Gasket Installation
REMEMBER Lube gasket and lube spigot BEFORE installing gasket onto spigot O-RING Lube spigot AFTERinstalling gasket SINGLE OFFSET
Questions? Watertight Gasket Installation Guide
Thank You! Watertight Gasket Installation Guide


![EVM System Surveillance Presented By: [NAMES] Presented to: [GROUP]](https://cdn0.slideserve.com/294105/slide1-dt.jpg)