Download
1 / 5
50 likes | 60 Views
Looking for a company to make your WordPress website responsive for all devices? Call: 1-800-556-3577 or visit: https://www.wpcustomerservice.com/.

E N D
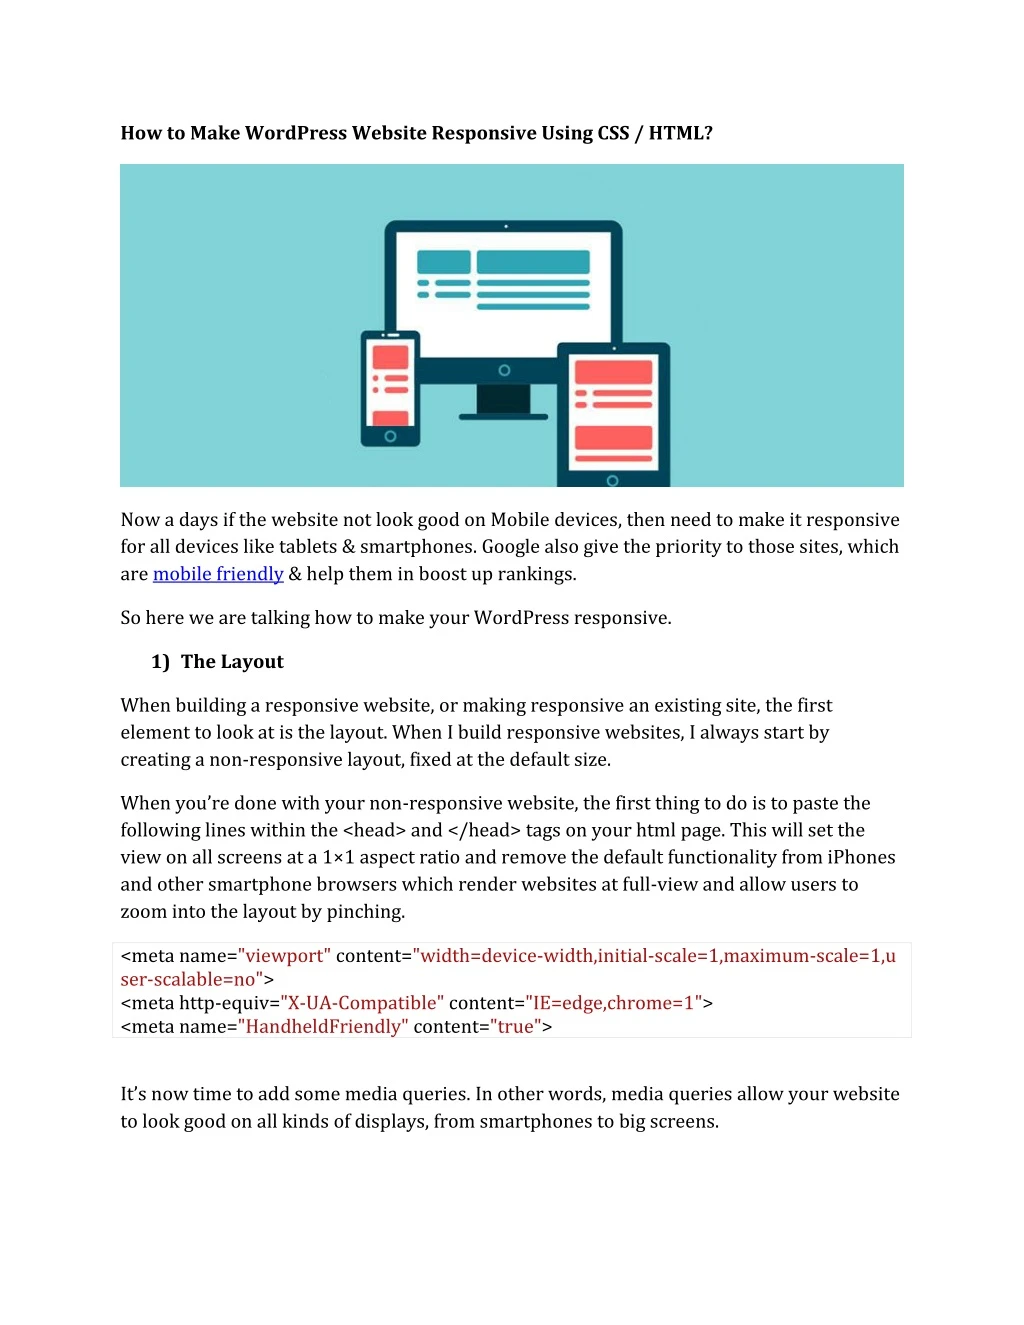
How to Make WordPress Website Responsive Using CSS / HTML? Now a days if the website not look good on Mobile devices, then need to make it responsive for all devices like tablets & smartphones. Google also give the priority to those sites, which are mobile friendly & help them in boost up rankings. So here we are talking how to make your WordPress responsive. 1)The Layout When building a responsive website, or making responsive an existing site, the first element to look at is the layout. When I build responsive websites, I always start by creating a non-responsive layout, fixed at the default size. When you’re done with your non-responsive website, the first thing to do is to paste the following lines within the <head> and </head> tags on your html page. This will set the view on all screens at a 1×1 aspect ratio and remove the default functionality from iPhones and other smartphone browsers which render websites at full-view and allow users to zoom into the layout by pinching. <meta name="viewport" content="width=device-width,initial-scale=1,maximum-scale=1,u ser-scalable=no"> <meta http-equiv="X-UA-Compatible" content="IE=edge,chrome=1"> <meta name="HandheldFriendly" content="true"> It’s now time to add some media queries. In other words, media queries allow your website to look good on all kinds of displays, from smartphones to big screens.
Media queries depends of your website layout, so it’s kinda difficult for you to provide a ready to use code snippet. However, the code below is a good starting point for most websites. In this example, #primary is the main content area, and #secondary the sidebar. By having a look at the code, you can see that defined two sizes: The first have a maximum width of 1060px and is optimized for tablet landscape display. #primary occupies 67% of its parent container, and #secondary 30%, plus a 3% left margin. The second size is designed for tablet portrait and smaller sizes. Due to the small sizes of smartphones screens, we decided to give #primary a 100% width. #secondary also have a 100% width, and will be displayed below #primary. As we already said, you’ll probably have to adapt this code a bit to fit the specific needs of your website. Paste it on your site .css file. /* Tablet Landscape */ @media screen and (max-width: 1060px) { #primary { width:67%; } #secondary { width:30%; margin-left:3%;} } /* Tabled Portrait */ @media screen and (max-width: 768px) { #primary { width:100%; } #secondary { width:100%; margin:0; border:none; } } Once done, let’s see how responsive your layout is. 2 – Medias A responsive layout is the first step to a fully responsive website. Now, let’s focus on a very important aspect of a modern website: medias, such as videos or images. The CSS code below will ensure that your images will never be bigger than their parent container. It’s super simple and it works for most websites. Please note that the max-width directive is not recognized by older browsers such as IE6. In order to work, this code snippet have to be inserted into your CSS stylesheet. img { max-width: 100%; } Although the technique above is efficient, sometimes you may need to have more control over images and display a different image according to the client display size.
Here is a technique, let’s start with the html: <img src="image.jpg" data-src-600px="image-600px.jpg" data-src-800px="image-800px.jpg" alt=""> As you can see, we used the data-* attribute to store replacement images urls. Now, let’s use the full power of CSS3 to replace the default image by one of the specified replacement images if the min-device-width condition is matched: @media (min-device-width:600px) { img[data-src-600px] { content: attr(data-src-600px, url); } } @media (min-device-width:800px) { img[data-src-800px] { content: attr(data-src-800px, url); } } As most websites are using videos from third parties sites such as YouTube or Vimeo, We decided to focus on the elastic video technique by Nick La. This technique allows you to make embedded videos responsive. The html: <div class="video-container"> <iframe src="http://player.vimeo.com/video/6284199?title=0&byline=0&portrait=0" wid th="800" height="450" frameborder="0"></iframe> </div> And now, the CSS: .video-container { position: relative; padding-bottom: 56.25%; padding-top: 30px; height: 0; overflow: hidden;
} .video-container iframe, .video-container object, .video-container embed { position: absolute; top: 0; left: 0; width: 100%; height: 100%; } Once you applied this code to your website, embedded videos are now responsive. 3 – Typography The last step of this tutorial is definitely important, but it is often neglected by developers when it comes to responsive websites: Typography. Until now, most developers used pixels to define font sizes. While pixels are ok when your website has a fixed width, a responsive website should have a responsive font. Indeed, a responsive font size should be related to its parent container width, so it can adapt to the screen of the client. The CSS3 specification included a new unit named rems. They work almost identically to the em unit, but are relative to the html element, which make them a lot easier to use than ems. As rems are relative to the html element, don’t forget to reset html font size: html { font-size:100%; } Once done, you can define responsive font sizes as shown below: @media (min-width: 640px) { body {font-size:1rem;} } @media (min-width:960px) { body {font-size:1.2rem;} } @media (min-width:1100px) { body {font-size:1.5rem;} } Please note that the rem unit is not recognized by older browers, so don’t forget to implement a fallback. If you are facing any kind of problem while making website responsive. Feel free to call toll free: +1-800-556-3577 (US & Canada) or visit: https://www.wpcustomerservice.com/