Download
1 / 7
70 likes | 81 Views
A step by step guide to transfer your WordPress website to a new web host, having problem to transfer call toll free: 1 888-581-0004 (USA) for solutions. For more info visit here: https://bit.ly/2FJ3Gni

E N D
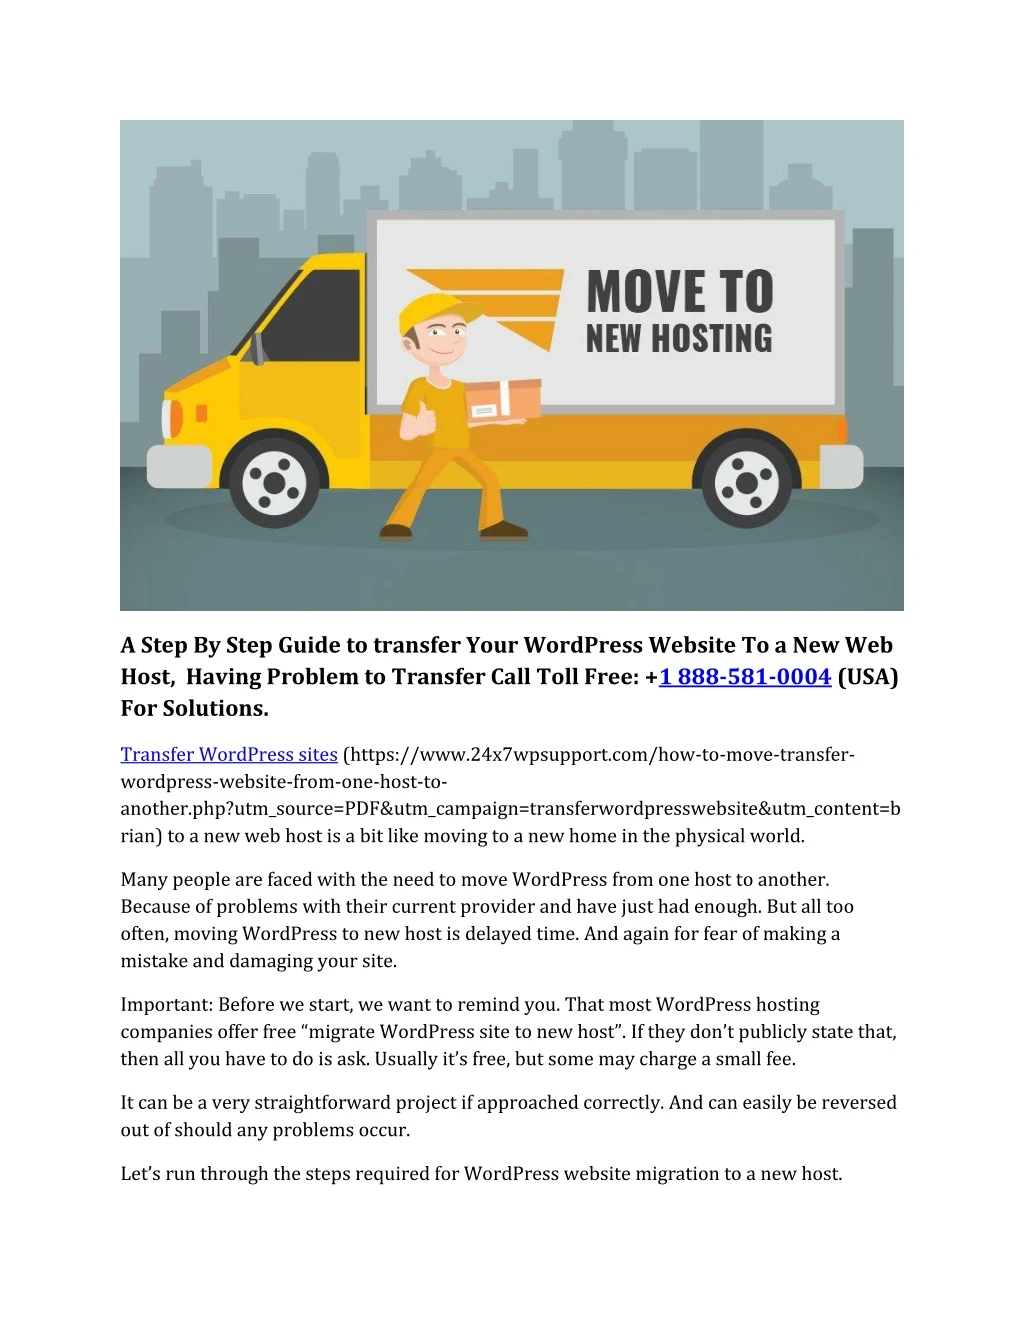
A Step By Step Guide to transfer Your WordPress Website To a New Web Host, Having Problem to Transfer Call Toll Free: +1 888-581-0004 (USA) For Solutions. Transfer WordPress sites (https://www.24x7wpsupport.com/how-to-move-transfer- wordpress-website-from-one-host-to- another.php?utm_source=PDF&utm_campaign=transferwordpresswebsite&utm_content=b rian) to a new web host is a bit like moving to a new home in the physical world. Many people are faced with the need to move WordPress from one host to another. Because of problems with their current provider and have just had enough. But all too often, moving WordPress to new host is delayed time. And again for fear of making a mistake and damaging your site. Important: Before we start, we want to remind you. That most WordPress hosting companies offer free “migrate WordPress site to new host”. If they don’t publicly state that, then all you have to do is ask. Usually it’s free, but some may charge a small fee. It can be a very straightforward project if approached correctly. And can easily be reversed out of should any problems occur. Let’s run through the steps required for WordPress website migration to a new host.
Step 1: BackUp Your Website’s Files The very first step of any project such as this is to back up your site. This step is good practice before any major change. But it is also a requirement to migrate WordPress site to new server. Static files comprise any type of file that does not frequently change, automatically or via a content editor . Such as in-place graphics or copy. To back up a static website, simply copy the old file structures over to the new web host. For a dynamic site that runs on database install the web apps to the new web host as they are currently held in the existing site; then move the database file to the new web host. In case your web application provides easy transfer functionality, transfer all of your data files directly to the new web host. If your application does not offer any such functionality, you will need to tweak your MySQL and PHP configuration files accordingly. Step 2: Export The WordPress Database
Exporting your database is a simple process that only requires a few steps to complete. Login to the cPanel account of your web server and open the phpMyAdmin application. Select the database that contains your WordPress installation from the list on the left hand sidebar and once selected click on the Export tab on the navigation menu. The default settings of a Quick export and the SQL format for the export are sufficient for what we need. Click the Go button and the database export process will begin and a file will be downloaded to your local computer. Once the database export and the FTP transfer of your files have both completed, you are ready to move WordPress to new server. Step 3: Purchase A New Web Host And Create The WordPress Database On Your New Server There are a variety of hosting solutions and providers out there, each with its own configuration. You will need to evaluate which is right for you based on a number of factors, such as cost, required space, and server configuration, to name a few. When purchasing, consider registering your domain to a third party provider so that in case you do ever need to switch hosts again, your domain can come with you more easily and without any potential complications.
To migrate WordPress from one server to another, we need to create an environment for a WordPress installation. To do this you must create a database that you can import your SQL data into. Login to your WordPress site to another host with the user credentials they have supplied you and connect to the cPanel software. For our guide we will be using the MySQL Databases application. If your web host doesn’t have that application running then you will contact their support team to discover their method of creating new databases. The steps to create a database are quite simple: Open MySQL Database and create a new database with an appropriate name for your website. Create a new MySQL user (with a secure password). Add this user account to the new database and grant it All Privileges. Write down the database name, the new MySQL username and its password. You will need them soon. Step 4: Final Check Before Making the Move Double check that everything is working properly on your website once you have loaded your files onto the new hosting configuration. Of note, you can preview your newly hosted website using a temporary URL in IP numbers. Some hosting companies will even provide a development staging platform so that you can easily and fluidly preview your site before taking it live in the new environment, allowing you to remedy any problems behind the scenes. Step 5: Import Your Database
Now that you have a new database to work with we can begin the import process. Launch phpMyAdmin from the cPanel software on your new server and select your new database from the list on the left hands sidebar. Once it opens select the Import tab from the navigation menu. In the File to Import section click the Choose File button and select the SQL file you exported previously. Un-tick the Partial Import check box, make sure the format is set to SQL and then click the Go button. The database import will now begin. The time this import takes varies depending on the size of your database. You should receive a message informing you of the success of the import when it has finished. Step 6: Upload The WordPress Files To Your New Host Now that you have the new database prepared and you’ve reconfigured the wp-config.php file, it is time to begin uploading your website’s files. Connect to your new web host using your FTP program and browse to the folder that your website is going to be held. If this is the primary or only site being installed on this web server then uploading the files to the public_html folder is the usual directory.
With the remote directory selected you can upload your website files that should now include the updated version of wp-config.php. As with the earlier download, this process can take some time. Don’t delete these files from your local computer once the upload finishes. They are still needed until the final steps have been completed. Step 7: Linking to New URL & Defining New Domain One issue people always seem to have when moving their site is that they’ve added links to other posts on their site or inserted images directly by pointing to a URL on the server, causing these to break when moved over to a new domain. If you want to quickly and easily search for any instances of your old domain name and replace with the new name I (AJ Clarke) suggest you take a look at the Search Replace DB script on github. This will allow you to do this with great ease. Just make sure you DELETE it when your are done (for security reasons). Make sure you are running the search and replace on the new domain you are transferring the site to not the old one. Changing Site URL: By doing a search and replace for the old domain and replacing with the new domain you’ll also be altering the site_url and home url values in the database which will ensure that when you try to log into your site on the new domain it doesn’t try and redirect you over to the old domain. Step 8: The Final Touches This step actually includes two separate things with several days between them and also applicable for WordPress blog migration Before you can use the site on your new host you will need to re configure your domain’s DNS settings. They will be set to point to your old host and you will need to point the correct records to the new server IP address. This process will depend on where you have your domain registered. The details of completing this process are too varied to discuss in this post, but your domain registrar should have all of the details you need to make this change. DNS changes can take up to 48 hours to fully propagate. It’s best to do this at a period when you expect lower levels of traffic. During this 48 hour window you should avoid making any changes to your website. As you may be changing the old version of the site. After the 48-hour period has expired you should now be accessing the new web host when you go to your website. It’s at this point you can connect to your old web host to delete the
files and database. You should still have a local backup copy of these files. And the database export, along with the original wp-config.php file. In case you need to roll back the migration. It can be a good idea to hold onto these files for an extended period just to be on the safe side. Still having issue after going through the article, need help contact: +1 888-581-0004 (USA). How to transfer wordpress site new host move wordpress site how to move a wordpress site to a new domain move wordpress site to new domain wordpress move to another domain move wordpress site to new host move wordpress to new domain on same server wordpress migration service migrate wordpress site to new host moving wordpress from localhost to server