Download
1 / 11
110 likes | 228 Views
My Scratch Demonstration. Rita Coulon. Story Telling. This lesson could be used to: Practice writing skills or to s ummarize learning objectives and many other ideas too. . My Project is Designed to:. Demonstrate Scratch: Basics Programming tidbits Possible Projects

E N D
My Scratch Demonstration Rita Coulon
Story Telling This lesson could be used to:Practice writing skills or to summarize learning objectives and many other ideas too.
My Project is Designed to: • Demonstrate Scratch: • Basics • Programming tidbits • Possible Projects I Intend to share what I have learned with Content Area Teachers at my school.
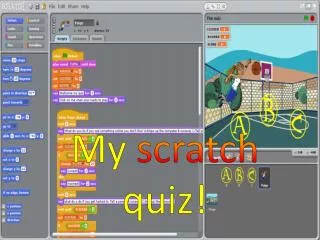
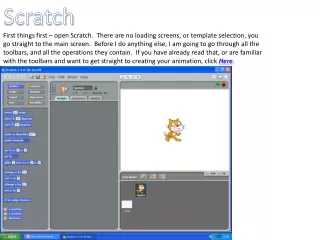
Session I • Introduce Scratch Vocabulary • Navigate Scratch Program • View Sample Projects • Create a simple Scratch file
Session II • Practice with Scratch and explore all the possibilities of the new concepts learned • Create a simple Scratch project. • Share experiences with participants
Practice Project The first project for teachers is to create their own short story or poem by making the text switch randomly from pre-typed lines.
Setting the Stage • The Stage needs to be customized to fit the story being told. • Click the backgrounds tab • Then click Edit • You may now import a picture to the stage. • Type your title and tagline. • “Remember this will not change when the program is running”
The Sprites • Now we must create 5 sprites with 5 costumes These lines will be used to tell the story later randomly.
Scripts Used • Scripts used • Control Menu – When key pressed • Looks Menu • Switch to continue • Operators Menu • Pick random • Note: The script has to be placed on each sprite for this to work properly.
Thank you • Once you are finished simply press the space bar to see your story in action. • Don’t forget to save often • Thank you for learning something new…
Scratch Resources • http://scratched.media.mit.edu/ • http://learnscratch.org/ • http://scratch.redware.com/lessonplan