Download

1 / 13
130 likes | 362 Views
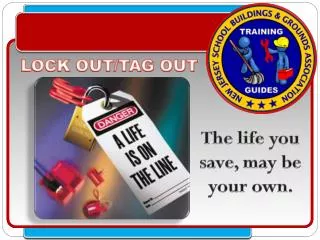
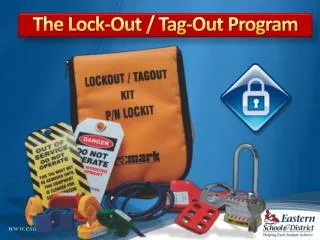
Lock out / Tag Out. The Control of Hazardous Energy. Lock Out / Tag Out. Prevent injuries from the accidental or inadvertent release of energy. Comply with Title 29 CFR 1910.147 The Control of Hazardous Energy. Basic premise = One person one lock.

E N D
Lock out / Tag Out The Control of Hazardous Energy
Lock Out / Tag Out Prevent injuries from the accidental or inadvertent release of energy. Comply with Title 29 CFR 1910.147 The Control of Hazardous Energy. Basic premise = One person one lock. Personal lock must have the name of the owner, the company and a contact phone number. Purpose
7 Steps of a Lockout • 1.) Identify the energy sources and proper procedures. • 2.) Notify all affected personnel. • 3.) Neutralize & secure all energy sources. • 4.) Test the energy source and apply personal lock on de-energized equipment / lock box. • 5.) Perform work. • 6.) Notify affected workers. • 7.) Unlock and re-energize equipment.
Lockout Modification Card • When a lockout procedure has been modified, the box will be identified with this sign as shown in the photo to the right. • Check the lockout with your work assignment. • If you have questions contact your mill representative or Plant Protection.
Lock Out Verification • Steps for Verification • Check that your work order is listed and/or your assignment is described on or attached to the procedure. • Check that the paperwork has been properly completed and signed. • Confirm that the correct number of red equipment locks has been used and the yellow seal tag is in place (match the yellow seal tag to the paperwork). • Look for any changes that have been made to the original procedure.
Lock Out Verification – Cont. • Verify in the field - any of the following ways: • Follow the lockout procedure step by step. • Have the lockout person/operator show you how the lockout was performed. • Have the operator “push the button” (after clearing all personnel from harm’s way). • Perform a visual check of your work area for indications that energy is under control. • Have a qualified person perform an electrical check.
Additional Information • Personal locks shall be identified with the Employees Name, and Company and phone number if other than SDW. • No one is permitted to put on, or remove, another persons lockout lock. • Personal locks are not to be left on the board when the contractor is not present at the workplace. • Contractors who neglect to remove their personal lock before leaving will be recalled to the mill on their own time to remove the lock. • Notify your work contact when complete and personal locks are removed.
LOTO Issues & Reminders • Never move to another job or location without checking that the LOTO procedure covers the new work. • Make sure personal lockout locks are identified. Legible. • If your lockout procedure differs from SAPPI’s work with your SAPPI contact or SAPPI Safety Reps to combine the two methods. • If there is ever a question STOP and get your SAPPI representative involved. • Verify!