Download
1 / 7
70 likes | 153 Views
Press escape on the keyboard to close this presentation.

E N D
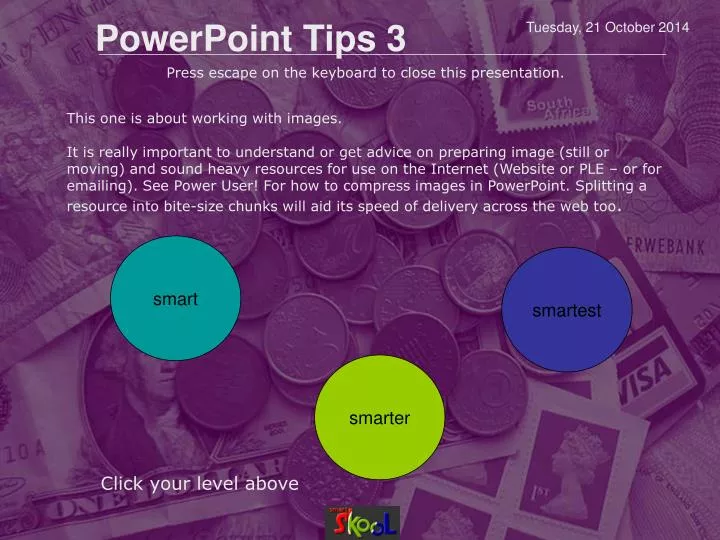
Press escape on the keyboard to close this presentation. This one is about working with images.It is really important to understand or get advice on preparing image (still or moving) and sound heavy resources for use on the Internet (Website or PLE – or for emailing). See Power User! For how to compress images in PowerPoint. Splitting a resource into bite-size chunks will aid its speed of delivery across the web too. Click your level above smart smartest smarter
AIM: Image Basics – resizing – size does matter. smart Press escape on the keyboard to close this presentation. Handles When you click on a picture (or any drawn shape, line or arrow) you should see handles. These may be little squares or circles depending on the format. They allow us to drag and change the size & shape. Have a go with your own PowerPoint open and try it on a variety of lines, arrows, shapes, text boxes, etc. Rotate. Click and drag to rotate the image either way. Scale. Click and drag on any corner handle to scale in proportion. Horizontal. Click and drag to stretch or squash across the image. Vertical. Click and drag to stretch or squash up or down. Click MORE to see some examples MORE
Image Basics > Resizing & cropping squashed lengthways decreasing in proportion - aspect locked by dragging corner handle stretched lengthways
smarter Press escape on the keyboard to close this presentation. • AIM: Working with the Picture Toolbar / Cropping • The picture toolbar is similar to that in Word. It should appear when you click on a picture (if not use the view menu/toolbars/tick picture OR right click on the picture and left click Show Picture Toolbar) One useful thing you may need to do is to cut out or zoom in on just one part of an image to make the learning point. The Cropping tool is what you want Click on this and your picture handle will change to thick lines. When these are dragged the image no longer changes shape but is, well, “cropped”. Click on the MORE to see an interactive example (you have to click to see it working). MORE
Image Basics > Resizing & cropping 1. Click here to see image cropped 2. click here to see enlarge Author: A Richardson
AIM: Full picture toolbar competence & compression When using images from a good digital camera or a lot of lower quality images it is vital to understand compression. It makes a huge difference to how long the end user has to wait to see them especially across the internet (ie through the PLE). The effect on file size is significant. Try it by looking at the files size (Right Click/ properties on the file icon) before and after versions of one of your presentations. smartest Press escape on the keyboard to close this presentation. In PowerPoint there is a handy compress pictures tool that has already been used to rescue slow & “non-working” resources. The Compress Pictures tool will open this dialogue box: Apply to. Just the picture you have selected or all of the pictures in your presentation. Unless you are zooming in close to a low resolution bit of detail then generally tick All… (Good idea to save before you compress – you can then reopen if anything goes wrong – unlikely) Resolution. Not a difficult choice here. Go for web/screen. Options. Cropping pictures does not delete the areas that are cropped. It just hides them – so they still add to memory size. This option deletes them. Warning message - will pop up when you click OK. If you have any doubts on quality (if your application is demanding) then you should save first. Going ahead will then allow you to preview without fear of losing your work. Experience in normal use: anyone will find it hard to see the difference in quality. Click MORE to see an overview of the Picture Toolbar. MORE
Clicking on a picture should activate the Picture Toolbar. If not then Right Click and select Show Picture Toolbar Image Basics > MS Office > Picture Toolbar Compress Picture Allows the file size to be decreased and for the cropped part of images to be deleted (again decreasing file size). This can make a huge difference for files with many images. Line Style Adds a border Colour – e.g. to convert to B&W Shortcut button to Insert > Picture > From File Brightness UP & DOWN Lightens or darkens the whole image Crop Tool Chops off the edges of images allowing you to eliminate all but the (rectangular) section of the image you wish to keep. An example is this picture of the Toolbar – a cropped section of the whole pc screen Contrast UP & DOWN UP makes the dark bits darker and the light bits lighter or DOWN does the opposite Reset Picture Undoes all changes Rotate Left 90° Does as it says