Download
1 / 14
140 likes | 280 Views
After completing this lesson, you will be able to:. Identify and use automatic options on a digital camera. Learn how to properly frame a subject. Understand how lighting affects a picture, and when and when not to use a flash or backlighting. Avoid red-eye.

E N D
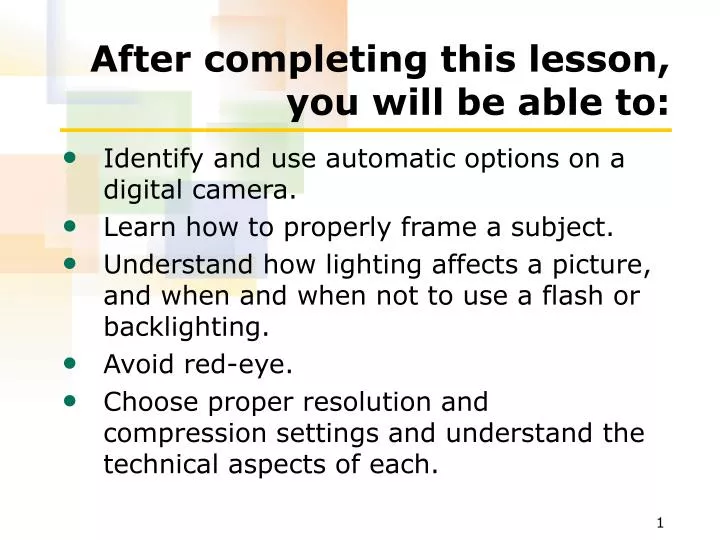
After completing this lesson, you will be able to: • Identify and use automatic options on a digital camera. • Learn how to properly frame a subject. • Understand how lighting affects a picture, and when and when not to use a flash or backlighting. • Avoid red-eye. • Choose proper resolution and compression settings and understand the technical aspects of each.
Exploring Digital Cameras Here’s a digital camera with a 12x optical zoom lens. Automatic flash Configure settings Manual focus Lens Lens cap The memory card and batteries are inserted underneath.
Using the Rule of Thirds The Rule of Thirds offers an easy way to successfully frame a picture • Compose the scene by breaking up the image into thirds. Think of the top third, the middle third, and the bottom third; and the left third, the middle third, and the right third. • Place your subjects where two of these imaginary lines meet or on any dividing line. (Continued on next slide.)
Using the Rule of Thirds (Continued) • With the subject(s) not directly in the center of the image, the photograph can better grab the attention of the viewer. • When taking pictures of the horizon, place the horizon across the bottom third of the image. • Here, the image’s subject is positioned where the top right lines meet.
Removing Red-Eye Basic steps for removing red-eye using Microsoft Office Picture Manager: • Click Tools, point to All Programs, point to Microsoft Office, point to Microsoft Office Tools, and select Microsoft Office Picture Manager. • Open the image, and from the Picture menu, select Red Eye Removal. • Use the mouse to click and select the red eyes in the picture. (Continued on next slide.)
Removing Red Eye (Continued) • Once the eyes are selected, click OK to correct. Correcting in Microsoft Office Picture Manager Image repaired
Taking Macro Pictures When taking a macro picture: • Use the LCD viewer. • Be careful not to let the camera cast a shadow on the image or block the flash. • Use a tripod or other steadying device. • If any options are available, choose wide angle.
Changing Monitor Resolution To see how resolution works to create more or fewer pixels in an image, change your monitor’s resolution: • Right-click an empty area of the desktop and select Properties. • From the Settings tab, set the Screen Resolution 800 x 600. Click Apply. • Set the Screen Resolution to 1024 x 768 and click Apply. • Continue experimenting with settings. When finished, select 1024 x 768 and click OK.
Viewing High-Resolution Images When viewing an image whose resolution is higher than the computers’, the image cannot be seen in its entirety without scrolling. Original 1536 x 2048 resolution image As seen in Paint on a computer with 800 x 600 resolution
Ordering Online When ordering online, most retailers suggest which print sizes make good choices for your specific images. As shown here, the first image, at 320 x 240, is not suitable for any sized print. The second print, at 1536 x 2048, is suitable for any sized print.
Sharing Pictures There are lots of ways to share pictures: • View as a slide show • Order prints online • Print pictures • Copy pictures to a CD • Share on the Web • E-mail