Download
1 / 20
210 likes | 337 Views
NR6 Rhinomanometer. The following presentation gives an overview of the main functions of theNR6 Rhinomanometer, it’s accessories and normal operational procedures. NR6 Rhinomanometer Interface Cards.

E N D
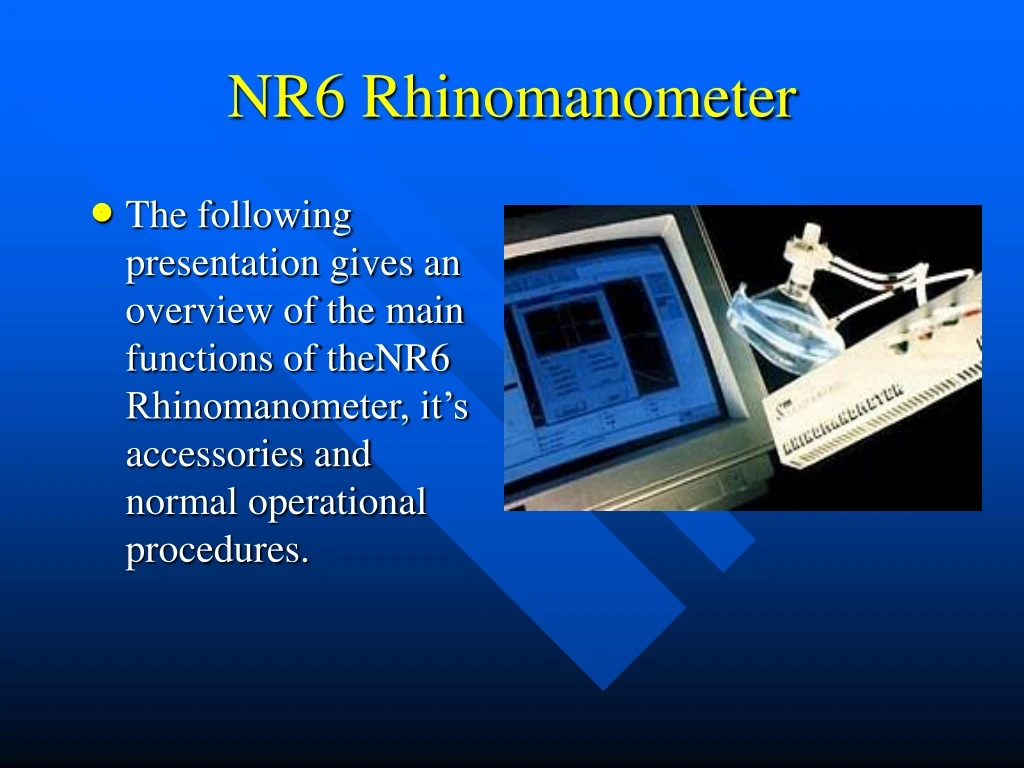
NR6 Rhinomanometer • The following presentation gives an overview of the main functions of theNR6 Rhinomanometer, it’s accessories and normal operational procedures.
NR6 RhinomanometerInterface Cards • The system comprises the NR6 Rhinomanometer linked to an IBM or compatible PC through either a PCI, PCMCIA or USB interface card. PCI cards are used with desktop PC’s and PCMCIA or USB interfaces with notebook PC’s.
NR6 Rhinomanometer Software/Hardware • Software capable of running with Windows from 95 up to XP is provided. • Anterior or Posterior techniques can be used. • Face masks for adults and children are provided.
NR6 Rhinomanometer Anterior Accessories • Tape to make the pressure connection to the nose. • Tip connectors to attach a tube to the tape. • Tube and connector to link to the main NR6 tube set. • Hole punch to fit Tip connector through tape.
NR6 RhinomanometerPosterior Accessories • Posterior Accessories include:- • Posterior adult and child masks. • Posterior (mouth) tubing.
Nr6 RhinomanometerCommon Accessories • Flowhead. • 3 tube set. • Calibration adjustment tool.
NR6 RhinomanometerSoftware • The software opens on the patient details tab. • All of the fields shown can be moved, deleted, edited or altered to define which character type and number of characters are allowed. • One field can be set as the file name for the patient.
NR6 RhinomanometerSoftware • Under Tools and View it is possible to select the colour used for any element on the screen and also on the printouts. • It is also possible to define the line style and thickness used.
NR6 RhinomanometerSoftware • Under the NR6 tab you can set:- • The default test type (Broms or fixed pressure). • Anterior or Posterior measurements. • The number of respirations used for the calculation.
NR6 RhinomanometerSoftware (continued) • You can set the scale range for horisontal and vertical axis. • You can switch on/off a screen marker used for patient training. • You can switch in additional measurements such as lateralisation percentage and additional values shown on the system printouts.
NR6 RhinomanmeterSoftware (continued) • The printout margins, header and additional information can be selected from the Printout tab. • Printout colours can be set from the View tab
NR6 Rhinomanmeter Operation • If your patient has not had previous tests click on the NEW button • If they have previously been tested, then click on the OPEN button, and select their record file.
NR6 Rhinomanometer Operation • The Patient Information tab is selected and shows whatever patient details are recorded. • Note that the fields shown here can all be edited when setting up the unit to include only the fields you require.
NR6 RhinomanometerOperation • The TESTS tab, if selected will show all previous records for this patient, listed by date of test, and any previous test can be selected or compared with any other, and can be printed or --
NR6 RhinomanometerOperation • By selecting the OUTPUT Tab, you can select a number of previous test results for printout in report form.
NR6 RhinomanometerOperation • To make a new measurement, select the NR6 button and:- • Check that the SIDE and TEST buttons are set as you want them. • Click on the ZERO button. • Connect the patient • Click on the RED button to make a measurement
NR6 RhinomanometerOperation • Comparisons can be made between any two left or any two right side curves. Also between any left and right side result. • The picture shows a normal anterior right/left display.
NR6 RhinomanometerOperation • This picture shows the diagnostic information display which can be used with an anterior measurement, and you are looking for nasal valve collapse.
NR6 RhinomanometerOperation • The final operation in a test sequence will be to save the new results to the patient record file. • This is done by clicking on the save button which generates a SAVE AS dialog box, which will show the name of the file already opened, in the case of someone who has been tested before, or the name from the patient details tab designated to be the file name.
NR6 RhinomanometerOperation • Having saved/updated the previous records, click on NEW to start testing a patient new to the system, or click on OPEN to add records to someone who has already been tested, or on EXIT to close the program.