Download
1 / 28
290 likes | 734 Views
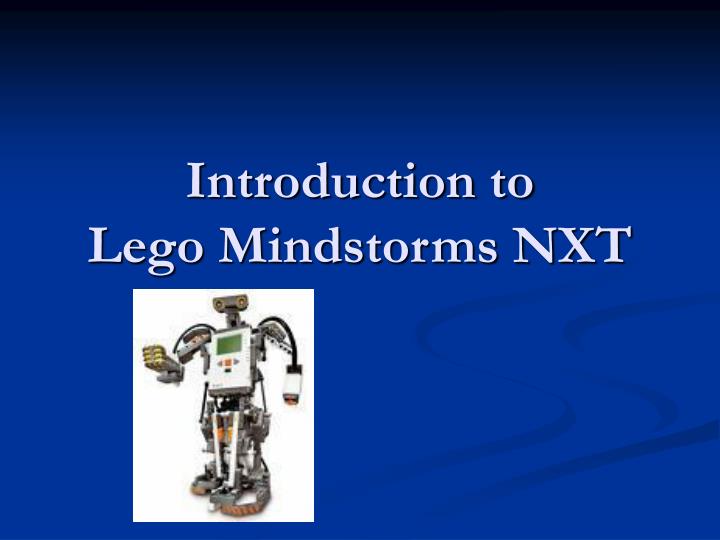
Introduction to Lego Mindstorms NXT. Video clips:. Rubix cube solver Roboflush Gum ball sorter. Lego Minstorms NXT in Prairie Rose School Division. 4 NXT sets 1 resource kit Resource books are also available with each set Teachers may book the kits through the Elie Resource Center

E N D
Video clips: • Rubix cube solver • Roboflush • Gum ball sorter
Lego Minstorms NXT in Prairie Rose School Division • 4 NXT sets • 1 resource kit • Resource books are also available with each set • Teachers may book the kits through the Elie Resource Center • Additional NXT sets in PRSD • Carman Collegiate • 1 NXT set • 1 resource kit • Iberville School • 2 NXT sets • 1 resource kit
Things to consider when using the NXT sets: • Time • Space • Grouping • Roles: assign roles such as “Piece Master”, “Instruction Guru” • Use step-by-step instructions as a starting point
Curriculum Connections • Science (Design Process) • Grade 5: Forces and Simple Machines • Grade 7: Forces and Structures • Grade 11: Physics • Electronics • Computer Programming
What does the base kit include? • NXT Intelligent Brick • Rechargeable lithium battery and charger • 3 motors • 1 each: light sensor, sound sensor, ultrasonic sensor • 2 touch sensors • 3 rotation sensors built into the motors • 3 converter cables (for using existing sensors and motors with the NXT Brick) • 7 connector cables (one .2M, two .5M, four .35M) • 3 lamps • USB cable • Hundreds of Technic building elements • Plastic storage bin with sorting trays
Pieces used to control your creation Brick: The “brain”; output motor ports and USB port, input sensor ports Motors: Basically we program them to make calculated: rotations. They are connected to A, B or C Touch sensor: Can sense the button being pressed, the button being released, and the button being pressed and then released. Light sensor: Measures the intensity of light, how dark or how bright. Darkest it does is a dark closet, to get a reading of 100% you hold it to a flashlight. It can indirectly distinguish colours.
Sound sensor: Measures the “loudness” of a sound, it cannot recognize pitch or tone or voice commands. Quiet living room is about 4-5, distant talking is about 5 to 10. Moderate music is 10-30, yelling is 30 to 100. Ultrasonic sensor: Uses sonar to measure distance (sound waves) and has an accuracy of 3cm, range of 8.5 feet. Caution: This is the only piece that is incompatible with other pieces like it. Cables: includes 7 cables of different lengths, you use the cables to connect both the motors and the sensors.
Beams Pieces used to form the structure of your creation - think of them as supports, or the walls of a house. • #1-7 = straight beams-measured by number of holes (15, 13, 11, 9, 7, 5, 3), coloured. (light and dark stone grey) • #8-10=angled beams- measured by number of holes (11.5 (big hole=1.5), 9, 7), coloured. (dark stone grey) • #11-12=perpendicular angled beams- measured by number of holes (7, 5), coloured. (dark stone grey) • #14-15 = TECHNIC bricks-measured by top-down dimensions of nubs (1x4, 1x6), coloured. (dark stone grey) -#13 = triangular half beam-coloured. (black)
Straight Beam Straight Beam - Most basic structural piece. - Number of holes (usually odd) used to connect to other pieces with connectors. This piece is measured by number of holes. - If just the word beam is used assume it means straight beam. Most basic structural piece. Number of holes (usually odd) used to connect to other pieces with connectors. This piece is measured by number of holes. If just the word beam is used assume it means straight beam. Angled Beam - Used to make creation more interesting or for specific uses (E.g. claws) - Is almost exactly the same in function as the straight beam, but it has one or more angles at 45 or 90 degree angles depending on the specific piece.
Half-Beam - Beams of a variety of shapes that are only half as wide as standard beams. - The only one in your set is in a triangular shape (these pieces aren’t measured under any standard). TECHNIC Bricks - Pieces that have holes in their sides to interact with other beams but also studs on the top/bottom to interact with standard LEGO pieces.
Connectors Pieces used to connect other parts of your creation, namely beams. Think of them as screws, bolts, or nails. • #1-5,7-8,10-11 = axles -measured by chart (12,10, 8, 7, 6, 5, 4, 3, 2), coloured. (black, medium and dark stone grey) • #6,9=stopped axles- measured by chart (5.5,3), coloured. (dark stone grey) • #2,13 = bushing-half width of full width, coloured.(mediumstonegrey) -#14,15,17,20,21,23 = pegs- variety of colors, lengths, and circle/cross ends. Other = assorted connectors/”connector blocks”- variety of axles/pegs/other joints or places to put them for more specific and dynamic connections.
Axle Length of axle designed to be fixed into a cross hole or to spin freely in a round hole. Most common connector piece usually attached to spinning parts such as motors. Can be held in place with bushings. • Bushing • Their purpose is to be slid onto the ends of axles • and keep the axles fixed into round holes without • them falling out the sides.
Pegs One of the most vital connectors in LEGO Mindstorms, these pieces quickly attach 2 round holes, 3 round holes, or a round hole and a cross hole in a freely turning joint. Assorted Connectors/”Connector Blocks” • A large variety of different pieces with round and/or cross holes in a variety of different shapes to input axles and pegs into in order to enhance your construction capabilities.
Gears Pieces used to transmit motion and forces and to change speed/torque ratios. • #1-4 = spur gears- measured by teeth # (8, 16, 24, 40), coloured. (medium stone grey) • #5-7=double bevel gears- measured by teeth # (12, 20, 36), coloured. (black, medium stone grey) • #8-10 = other- assorted gears such as worm gears, knob wheels, and turntables, coloured.(black)
Spur Gear - The most standard gear designed to transmit motion in a parallel plane. • Measured by number of teeth, coloured medium stone grey. • Gears are usually mounted the right spacing apart on free spinning axles. - The second gear will turn in the opposite direction as the first gear. If the second has less teeth speed will be increased; if it has more teeth torque will be increased. Double Bevel Gear - Essentially the same as a spur gear, but the number of teeth differs and these can be mounted parallel OR perpendicular to each other.
Worm Gear A gear to greatly reduce the speed of a motor while also greatly increasing torque. It has to be mounted specifically (see picture) and can only turn gears; gears can’t turn it. Knob Wheel Not really a gear but functions as a gear when coupled with other knob wheels. Turntable A large powerful gear usually used specifically to mount large portions of a creation that should be rotatable.
Miscellaneous Elements Random pieces that do not fit into other categories. Includes claws (to grab things?), balls (to shoot?), tires and wheels (to drive), decorative cones and teeth (to look cool!), and pulley wheels (to do physics!).
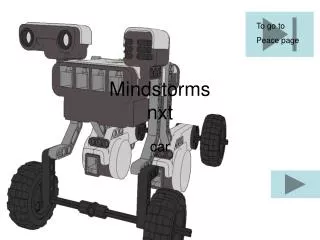
Building Your task: Build Zippy-Bot!
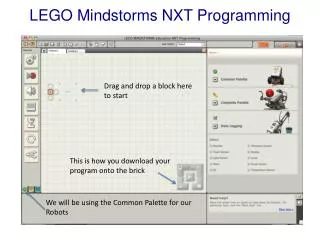
Programming • Make a program that plays a sound file. • Try to use the display and wait programming icons.
Problem-solving Process • What is the robot’s task? • What behaviors are needed to accomplish it? • Create the program – debug then download. • Run the program. • Is the NXT behaving badly (doesn’t do task)? • Check the robot first. If there’s a problem, can you fix it? • Next, check the program. Problem? Can you fix it? • Last, go back to the beginning and reread the task. Does your program really tell the robot what it’s supposed to do?
Programming • Challenge 1:Create and test a program to make the robot go forward in a straight line for exactly 1 second • Challenge 2: Create and test a program to make the robot go in a square
Challenge 3: Light Dark Program Create and test a program to make the robot: • Go forward until it finds a dark line • Stop for 1 second • Go forward until it finds light • Stop for 1 second • Reverse for 4 seconds
Challenge 4: Tracker Program Create a program to make the robot: • Go forward until it finds a dark line • Move forward along the edge of the line • Save your program as your first name and Tracker Hints: You need a loop, and it’s easier if the robot starts at less than a 90 angle
Challenge 5: Bump Program Create a program to make the robot: • Go forward until it finds a wall • Turn moving backward for 2 seconds • Repeat these behaviors for 5 “wall bumps” • Save your program as your first name and Bump Hint: You’ll need to use wait until Touch in for the first step.
Bonus Beep Challenge Create a program to make the robot: • Go forward until it finds a line • Stop for 1 second and beep • Repeat for 5 lines • For fun, end with a different sound • Save your program as your first name and Beep